
Revlon 473 Disassembly

Jessica Leyva and 2 other contributors
Last updated on May 7, 2024
Views: 3K
View statistics:
- Past 24 Hours:
- 5
- Past 7 Days:
- 25
- Past 30 Days:
- 125
- All Time:
- 2,974
Comments: 0
No one has left comments on this guide. Will you be first?
Go to guide commentsCompleted: 1 2
1 person has marked this guide "completed." Will you be next?
2 people have marked this guide "completed." Including you — great job!
Favorites: 3 4
3 people have favorited (and subscribed to) this guide. Will you be next?
4 people have favorited (and subscribed to) this guide — including you!
Needs More Images
A few more images would make this guide's procedures crystal clear.
Action Shots
Be an action hero! This guide needs images that better demonstrate how to perform specific actions.
Introduction
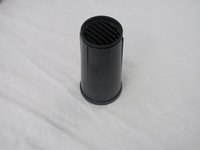
Go to step 1 ↓Clean the head of the hairdryer, including the vent, to prevent the fan from getting clogged. Debris in the fan may cause a rattling noise or cause the fan to stop working.
What you need
Tools


-
-
-
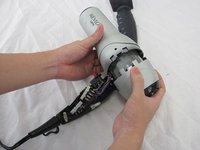
Separate the shell from the main component.
-
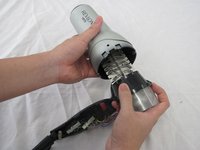
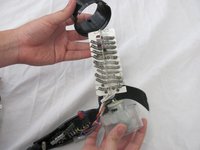
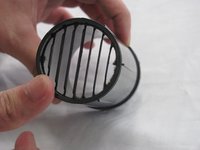
Check to ensure each piece is free from debris.
-
-
-
-
Take the head of the hairdryer and pull the pieces apart.
-
-
Tool used on this step:Tweezers$4.99
-
If there is lint in the vent, use tweezers or a toothbrush to extract it from the vent.
-
-
-

 Ask FixBot





To reassemble your device, follow these instructions in reverse order.
Cancel: I did not complete this guide.
One other person completed this guide.

Team

Cal Poly, Team 1-5, Propen Fall 2012 Member of Cal Poly, Team 1-5, Propen Fall 2012
CPSU-PROPEN-F12S1G5
3 Members
60 Guides authored
