
Retroid Pocket 3 LCD Screen Replacement

Last updated on Jun 12, 2024
Views: 2.7K
View statistics:
- Past 24 Hours:
- 1
- Past 7 Days:
- 23
- Past 30 Days:
- 119
- All Time:
- 2,724
Comments: 2
1 comment on steps, 1 guide comment.
Go to guide commentsCompleted: 0 1
No one has marked this guide "completed." Will you be the first?
1 person has marked this guide "completed." It's you — great job!
Favorites: 0 1
No one has favorited (and subscribed to) this guide. Will you be the first?
1 person has favorited (and subscribed to) this guide — and that's you!
Inconsistent Images
Updating the images on this guide to be more consistent with the prerequisites would increase its awesomeness.
Needs Better Images
Better photos will improve this guide. Help out by taking, editing, or uploading new ones!
Missing Steps
Oops! This guide is currently missing one or more important steps.
Introduction
Go to step 1 ↓If your screen on your Retroid Pocket 3 is damaged showing: dead pixels, touch malfunction, flickering screen, black spots, lines, discoloration, a totally black screen or cracks on the screen, your LCD screen needs replacement. Follow this guide that will take you step by step on how to replace your LCD screen on your Retroid Pocket 3. This process will take approximately 40 minutes, and the tools required for this project are listed in the guide.
What you need
Parts
-
https://www.goretroid.com/collections/diy/products/retroid-pocket-3-handheld-console-plastic-shell For sale from another site
The screen is pre-installed in the front case.
Tools
-
Spudger4.9


-
-
-
Unplug any cables connected to the Retroid Pocket 3+.
-
Ensure your device has a charge of 5% or less as a charged battery can be dangerous if punctured.
 Ask FixBot
-
-
-
Remove the four 6 mm screws from the backplate of the device with a T5 Torx screwdriver.
-
Use a plastic opening tool or spudger to gently pry apart the backplate from the device.
-
-
-
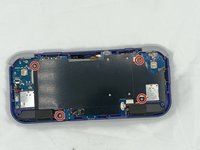
Remove the four 4.5 mm screws with a Phillips #00 screwdriver.
-
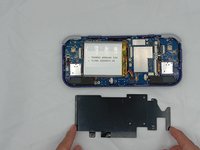
Lift off the metal plate.
-
-
-
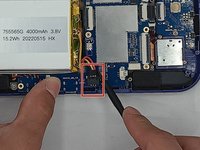
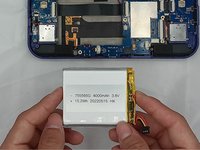
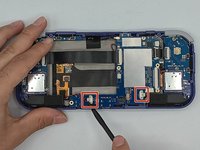
Use a plastic opening tool or spudger to unclip the battery connector.
-
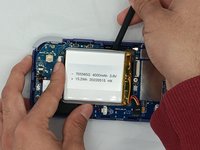
Carefully lift the battery from the case.
-
Lift and remove the battery.
-
-
-
-
-
Remove the three 4.5 mm screws with a Phillips #00 screwdriver on the main board.
-
-
-
Using a spudger, put the tip under the aerial connecter and rotate upwards to unclip the plug.
-
-
-
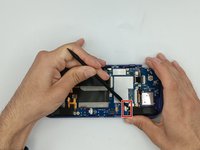
Use a spudger to disconnect the two speaker cables on the bottom of the board.
-
-
-
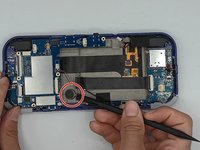
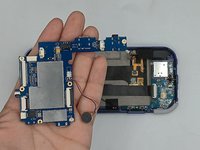
Start lifting the board to give you access to the vibration motor on the metal case.
-
Use a spudger to carefully pry the motor free; it is bound with double-sided tape.
-
Carefully lift the board out of the device.
-
-
-
-
-
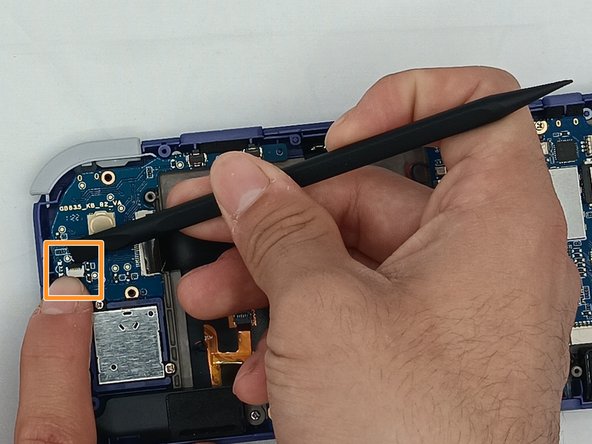
Undo the ribbon cable clips using the Spudger tool.
-
Unclip the cable on the left side of the board.
-
Carefully lift the ribbon cable to the right to remove it from the clip.
-
-
-
Use a Phillips #00 screwdriver to remove the three 5.9 mm screws from the controller board.
-
Carefully lift the board out of the device.
-
-
-
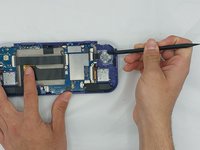
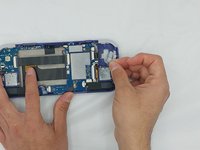
Using the Spudger tool, put the tip under the edge of the rubber button pad to start lifting it.
-
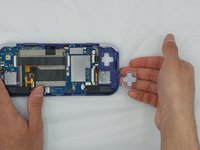
Button pad will loosen and lift straight out of the casing.
-
-
-
Using a spudger, undo the ribbon cable clip connected to the main PCB along with the joystick ribbon cable.
-
-
-
-
Use a Phillips #00 screwdriver to remove the two 5.9 mm screws.
-
Carefully lift the board out of the device.
-
-
-
-
-
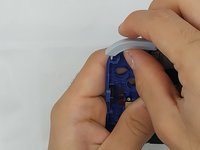
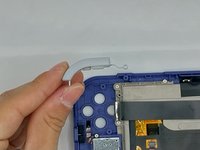
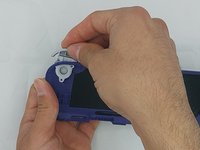
Using the spudger, put the tip under the top round clip at the top.
-
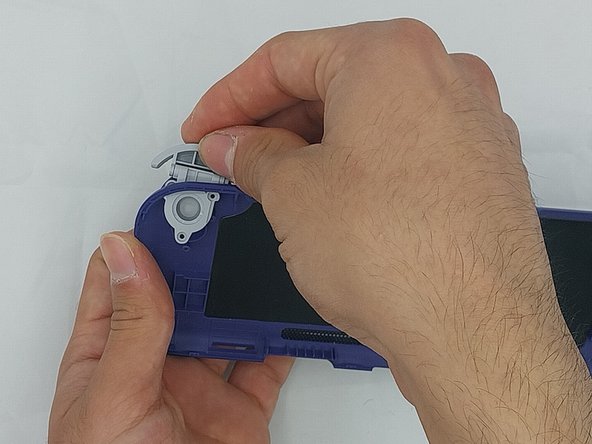
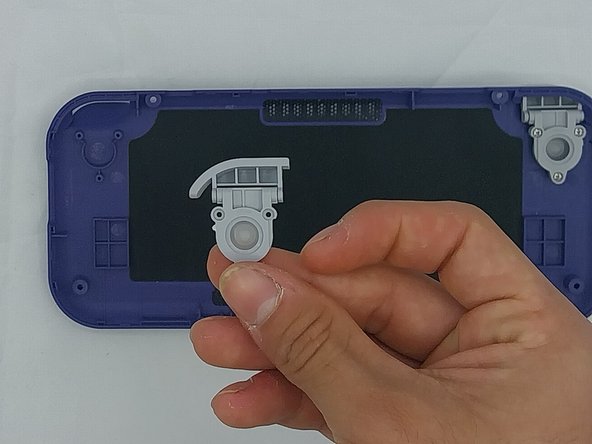
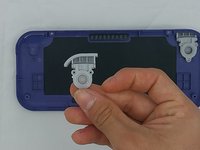
Carefully start lifting the clip to slide it off the plastic pin on the case, tilting the trigger button as you lift it to remove.
-
-
-
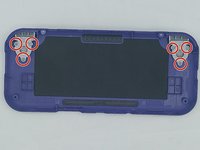
Remove the six 4.4 mm screws on the trigger buttons with a Phillips #00 screwdriver.
-
Gently pull the trigger button through until it has come undone.
-
-
-
-
-
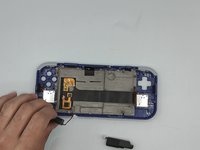
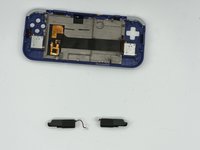
Using the Spudger tool, remove the two speakers at the bottom of the device by gently prying them out.
-
-
-
Remove the joysticks by unscrewing the two 3.5mm screws with a Phillips #00 screwdriver.
-
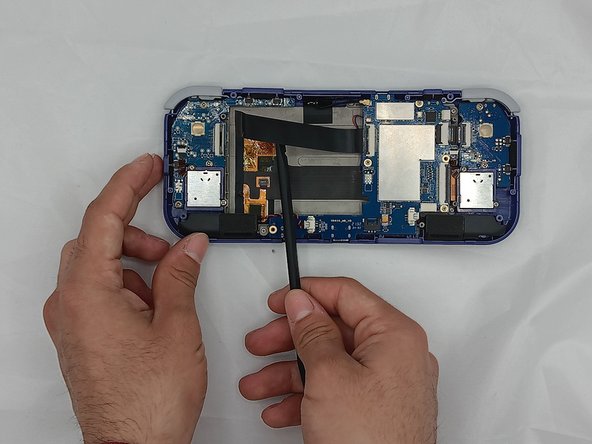
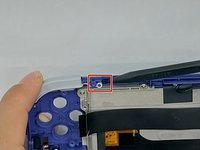
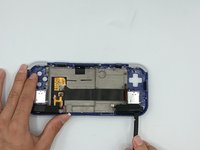
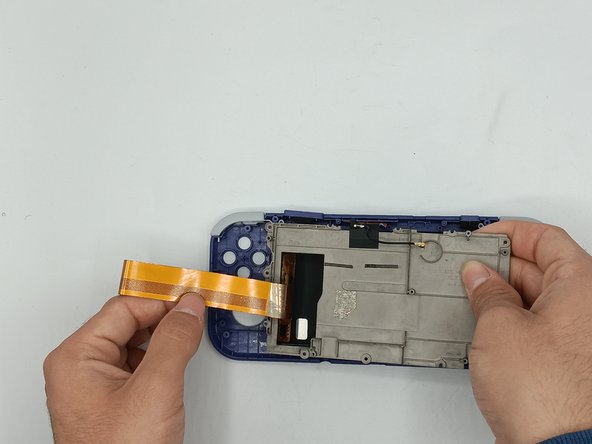
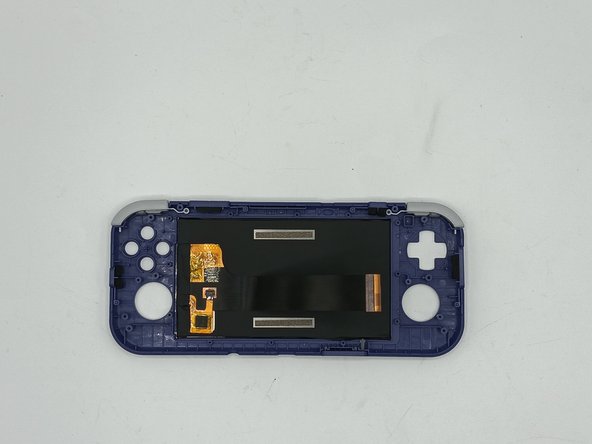
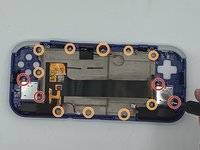
Remove the metal backplate from the front casing of the device by unscrewing the ten 3.5mm screws using the Phillips #00 screwdriver.
-
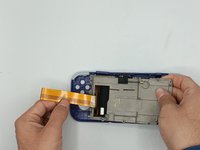
Carefully lift the ribbon cable from the metal backplate
-
-








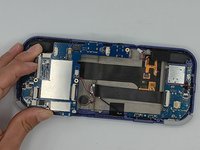

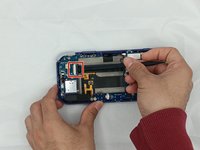
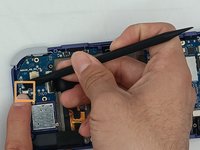
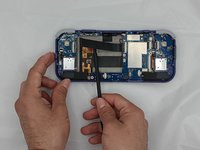


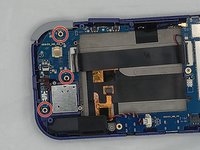
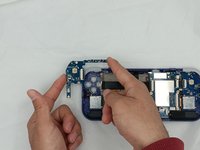


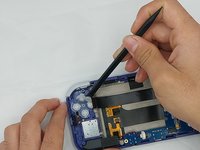
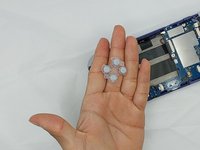


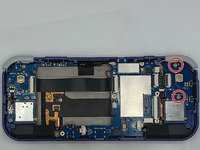
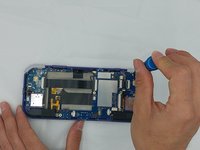
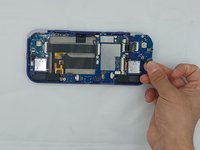

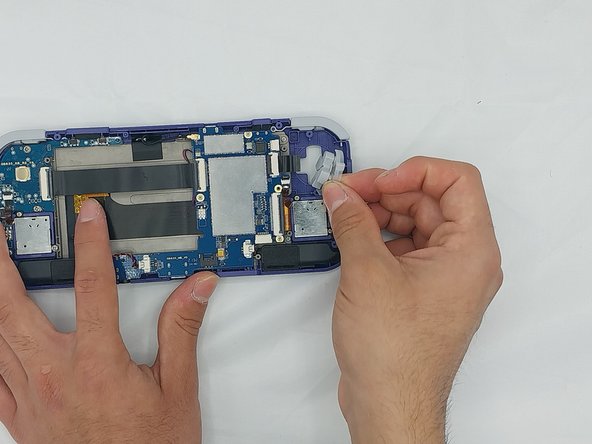
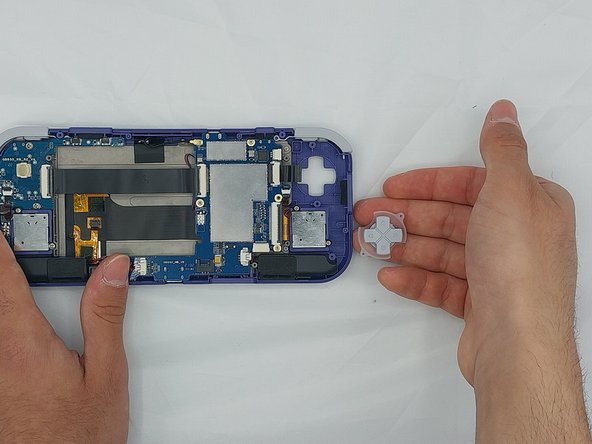






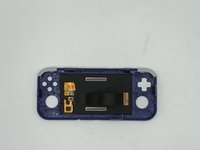
To reassemble your device, follow these instructions in reverse order.

Team

University of North Texas, Team 4-7, Harold Spring 2024 Member of University of North Texas, Team 4-7, Harold Spring 2024
UNT-HAROLD-S24S4G7
4 Members
60 Guides authored
1 Guide Comment
Hello. Can you tell where I can find a new replacement screen?
