
RetroMini Miyoo Mini Plus Case Replacement

Kaden and 3 other contributors
Last updated on Dec 26, 2024
Views: 1.4K
View statistics:
- Past 24 Hours:
- 4
- Past 7 Days:
- 24
- Past 30 Days:
- 101
- All Time:
- 1,381
Comments: 0
No one has left comments on this guide. Will you be first?
Go to guide commentsCompleted: 0 1
No one has marked this guide "completed." Will you be the first?
1 person has marked this guide "completed." It's you — great job!
Favorites: 0 1
No one has favorited (and subscribed to) this guide. Will you be the first?
1 person has favorited (and subscribed to) this guide — and that's you!
Action Shots
Be an action hero! This guide needs images that better demonstrate how to perform specific actions.
Introduction
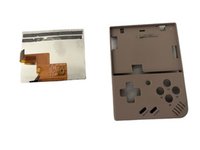
Go to step 1 ↓If the shell of your Retro Mini Miyoo Plus breaks in some manner, use this guide to transfer all of the parts into a new casing for further use.
What you need
Tools


-
-
-
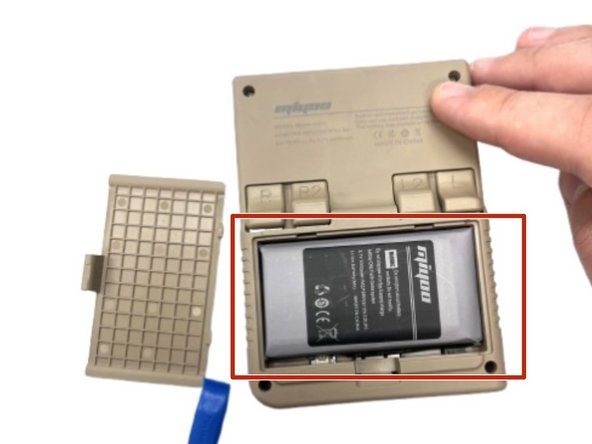
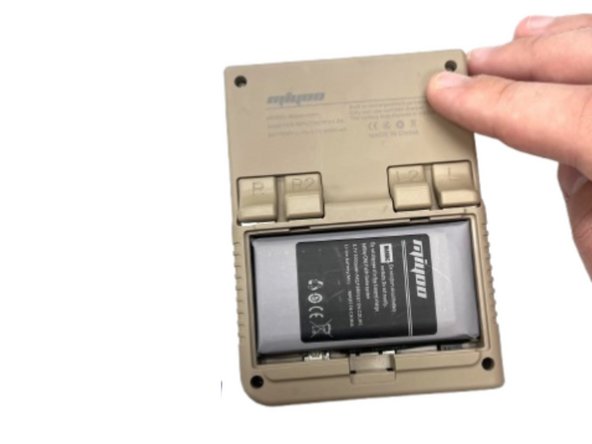
Use your fingernail to push in the battery compartment tab.
-
Lift the cover up to expose the battery.
-
-
-
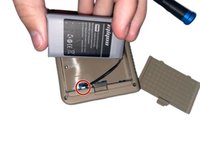
Use an opening tool to gently lift the the battery from its compartment.
-
Gently pull the battery out and set the battery next to the system, with care not to strain the attached wire.
-
-
-
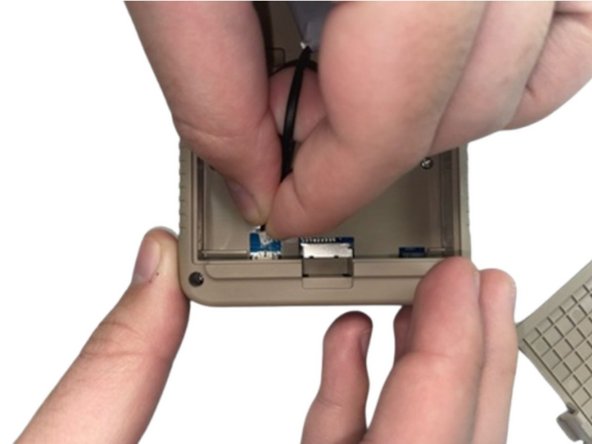
Pinch the white battery connector and pull it directly out of its socket.
-
Completely remove the battery.
-
-
-
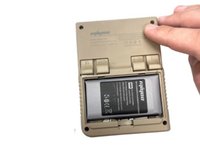
When you have the new battery, put the new battery wire into the connecter.
-
Place the battery back into the empty space with the wire at the bottom of the battery.
-
-
-
-
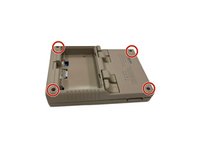
Remove the four screws securing the rear case with a Phillips screwdriver.
-
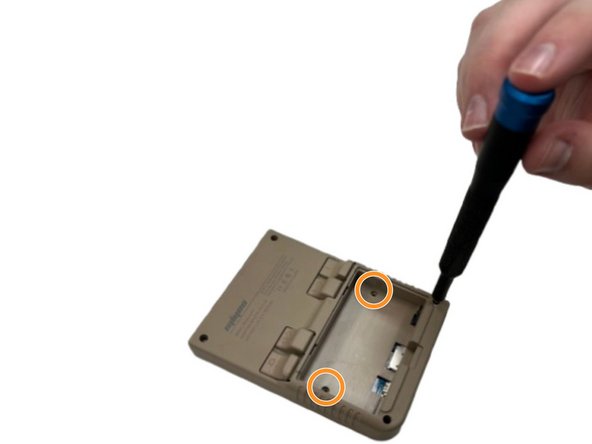
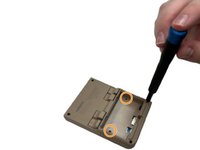
Remove the two Phillips screws inside the battery compartment.
-
-
-
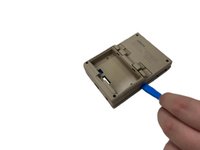
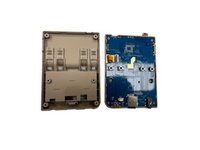
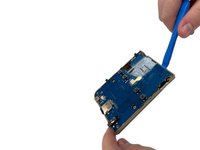
Insert an opening tool into the seam between the front and rear case.
-
Pry the front and rear case apart.
-
-
-
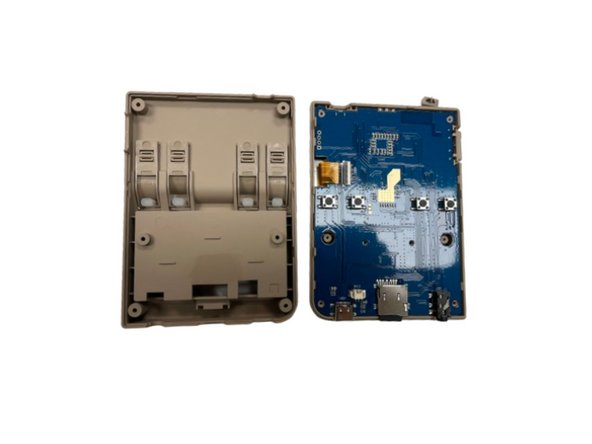
Gently set the rear case aside.
-
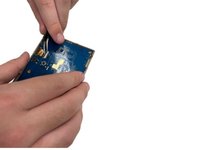
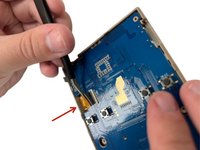
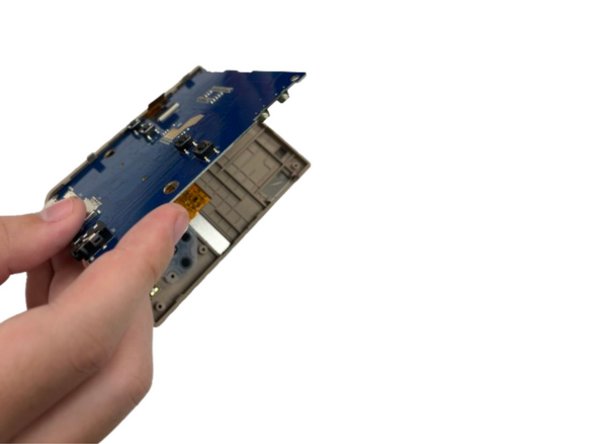
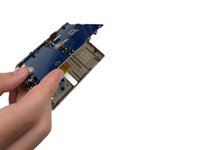
Make sure you lift the black tab on the left side of the motherboard and gently remove the ribbon cable as to not damage it when removing the motherboard from the case.
-
-
-
-
-
Heat an iOpener according to the instructions here.
-
Rest the iOpener Gel Bag on the screen for a minute.
-
-
-
-
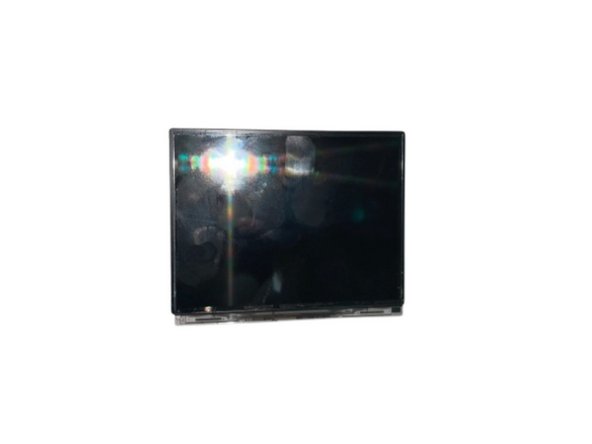
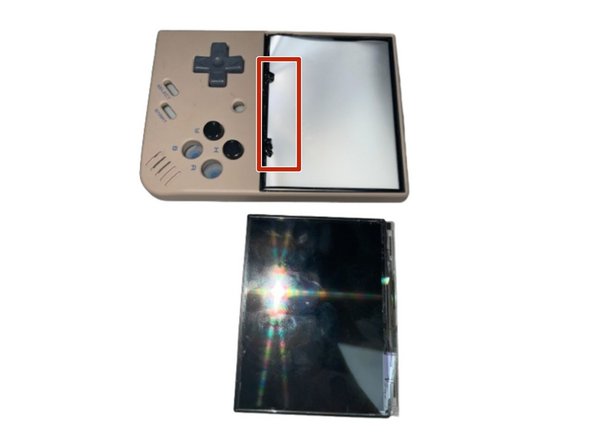
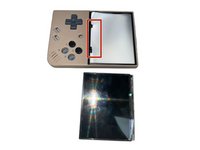
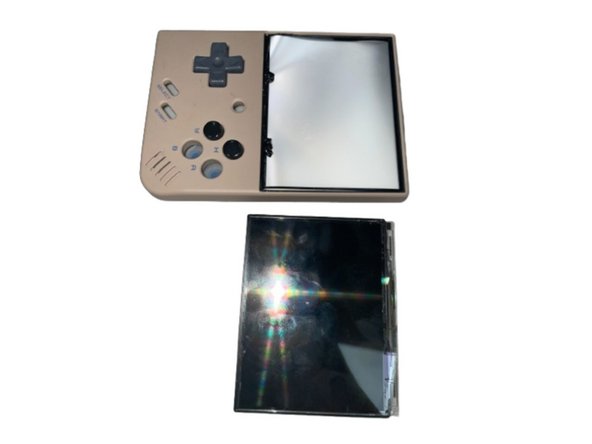
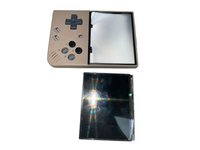
Gently apply pressure to the highlighted area on the front cover of the device.
-
While applying the pressure gently peel the screen off of the device.
-
-
-
-
-
Heat up the IFixit IOpener Gel Bag for 30 seconds once again.
-
Once heated, rest the IFixit IOpener Gel Bag on the bottom of the device for a minute.
-
Repeat this step if the glue holding the speakers on has not melted.
-
-
-
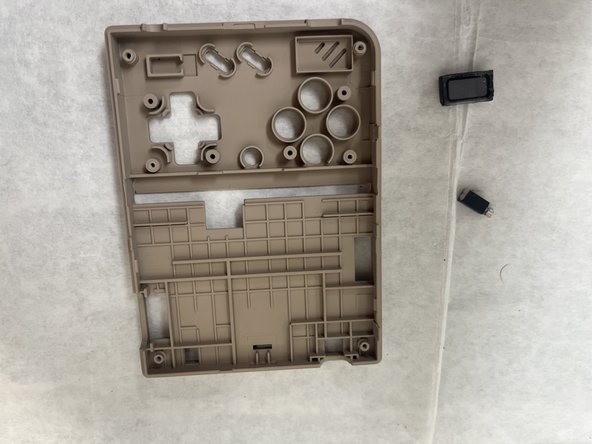
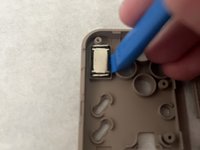
Gently wedge an opening between the shell and the speakers and lift up.
-
Place the speakers off to the side once both are removed.
-


 Ask FixBot










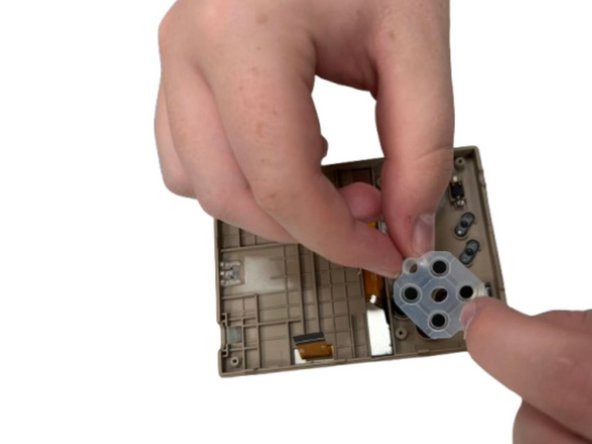

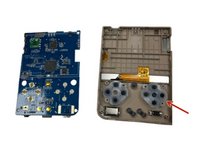
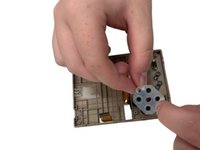
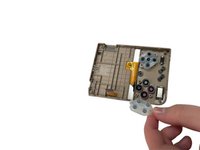


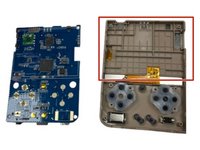
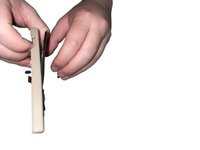

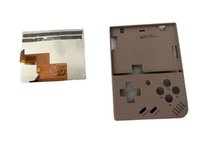




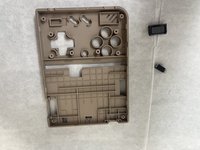
To reassemble your device, follow these instructions in reverse order.

Team

University of North Texas, Team 5-2, Kilpatrick Fall 2024 Member of University of North Texas, Team 5-2, Kilpatrick Fall 2024
UNT-KILPATRICK-F24S5G2
4 Members
48 Guides authored
