
Restroom Sink Replacement

Robertcastillo and one other contributor
Last updated on May 25, 2023
Views: 821
View statistics:
- Past 24 Hours:
- 1
- Past 7 Days:
- 18
- Past 30 Days:
- 100
- All Time:
- 821
Comments: 0
No one has left comments on this guide. Will you be first?
Go to guide commentsCompleted: 0 1
No one has marked this guide "completed." Will you be the first?
1 person has marked this guide "completed." It's you — great job!
Favorites: 1 2
1 person has favorited (and subscribed to) this guide. Will you be next?
2 people have favorited (and subscribed to) this guide — including you!
Introduction
Go to step 1 ↓Replacing a sink is important to do when it is old or doesn't appeal to the eye. Some people don't change it because it could be an expensive job when you involve a plumber. But it turns out to be a simple job that anyone can do. It will not only save time but will also save money. Due to covid, some homeowners might not want to bring in strangers to their homes. This avoids the fear and discomfort of being placed in said situation. All you need is a plier and gloves. If you are changing the hardware you might need to purchase a plumber's cement.
Once the job is complete, check for leaks under the sink to avoid damage to the sink cabinet.
What you need
Parts
Tools


-
-
-
Turn off the water source beneath the sink.
-
Wear Gloves for better grip of knobs and to prevent spills over your hand or arm.
 Ask FixBot
-
-
-
Turn on the knobs on the sink to confirm the water is off and release the remaining water.
-
Once you are finished reassuring, you can move onto step 3.
-
-
-
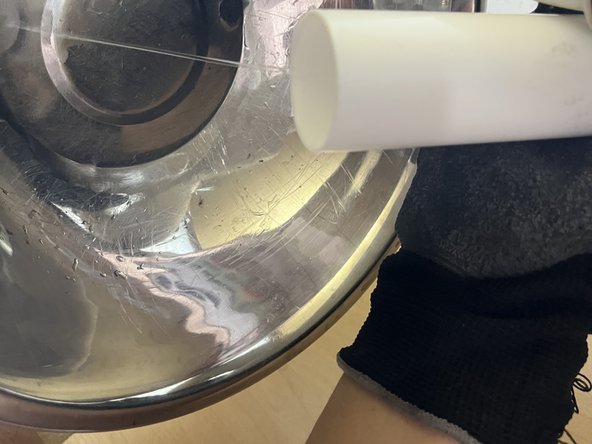
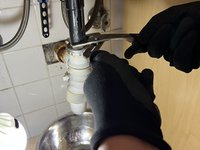
Gently loosen the elbow that connects the sink to the pipe leading to the wall with pliers.
-
Use a container to catch any water in the elbow.
-
-
-
With a sharp blade, cut along the old silicon to detach the sink from the cabinet.
-
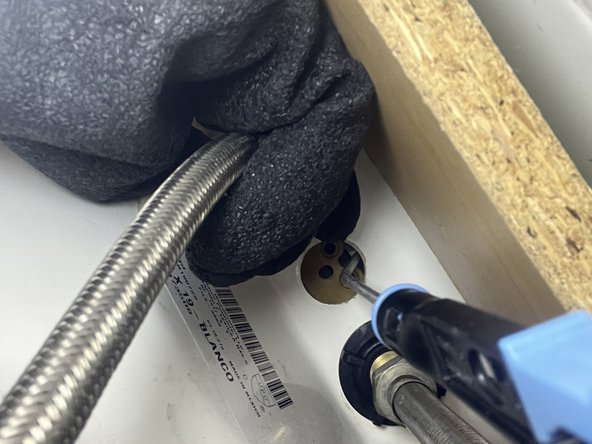
Then detach the hoses from below the sink.
-
-
-
-
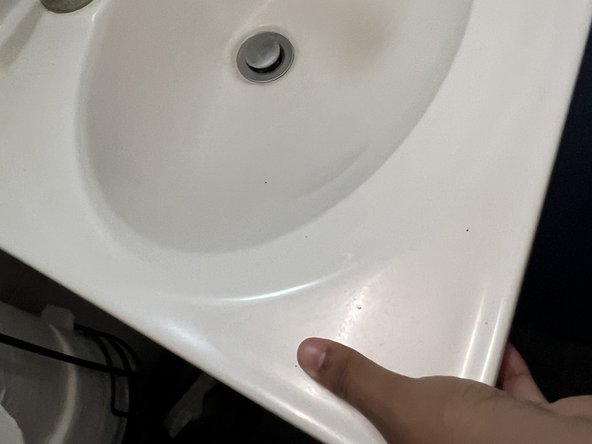
When you are done with steps 1 through 4, remove the old sink and replace it with the new one.
-
-
-
Reconnect the hoses and turn on the water with the knobs under the sink, to make sure it runs smoothly.
-
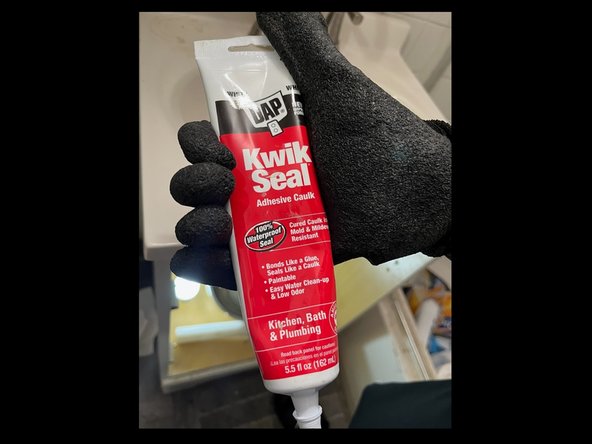
Apply silicon to seal areas around sink and let it dry.
-
-













To conclude, replacing a sink seems like a tedious job. But, any beginner can do it without a plumber's assistance. Therefore, saving lots of money on labor.

Team

CSU Los Angeles, Team 1-24, Briggs Spring 2023 Member of CSU Los Angeles, Team 1-24, Briggs Spring 2023
CSULA-BRIGGS-S23S1G24
1 Member
12 Guides authored
