Introduction
The circuit board of the ResMed VPAP Auto 25 is a very fragile component of this product and can be damaged from human error (dropping or mistreating the product), wear and usage, or exposure to moisture. The circuit board is difficult to find as a replacement part, but when searched properly, can be ordered from its manufacturer at www.setec.com.au. By replacing the circuit board in the ResMed VPAP Auto 25, you could save lots of money and not have to purchase a new device. The circuit board removed in this guide contain the ports and blower vent, so any problems with these components may be alleviated by replacing this secondary circuit board, rather than the motherboard.
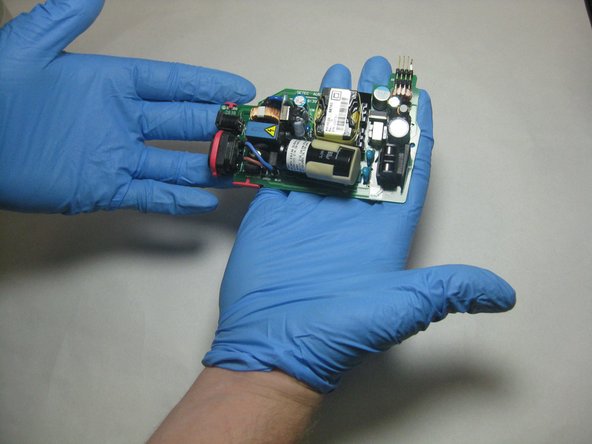
This circuit board also contains a large capacitor, so use cation when handling the board that you don’t accidentally discharge it.
What you need
-
-
Remove the four 26.7 mm T3 Torx screws from the bottom side of the ResMed VPAP Auto 25.
 Ask FixBot
-
-
-
Flip the device over.
-
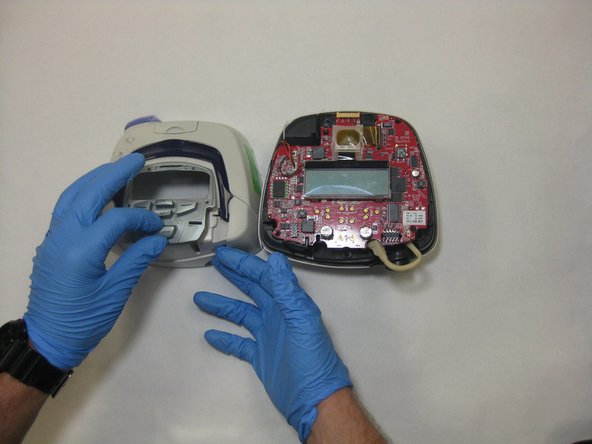
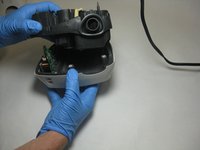
Pry the outermost plastic cover off with the metal spudger until the cover is loose and able to be removed.
-
-
-
-
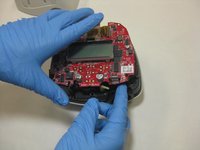
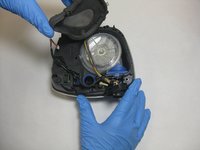
Loosen the motherboard from the rubber dowels holding it in place and unplug the screen components.
-
-
-
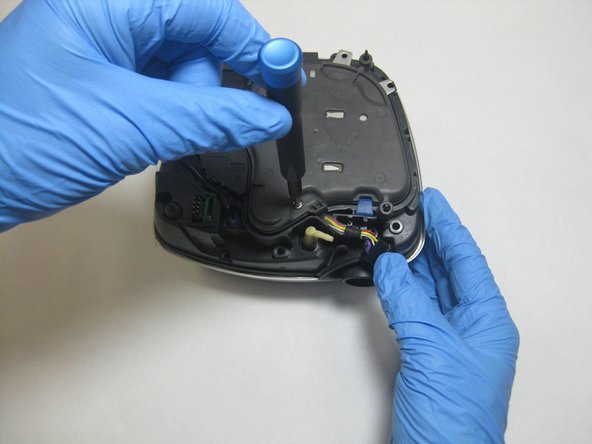
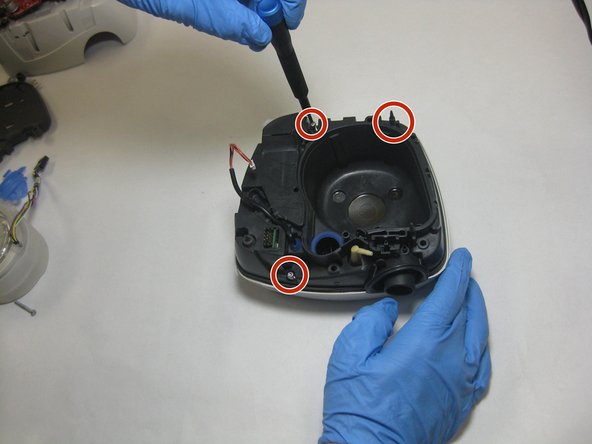
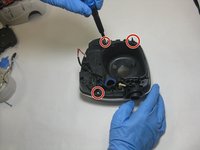
Remove the three 26.7 mm T3 Torx screws from the now visible rubber fan motor cover.
-
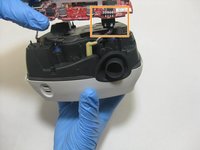
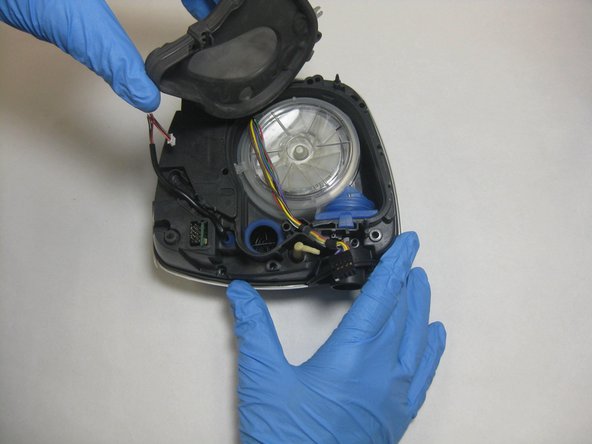
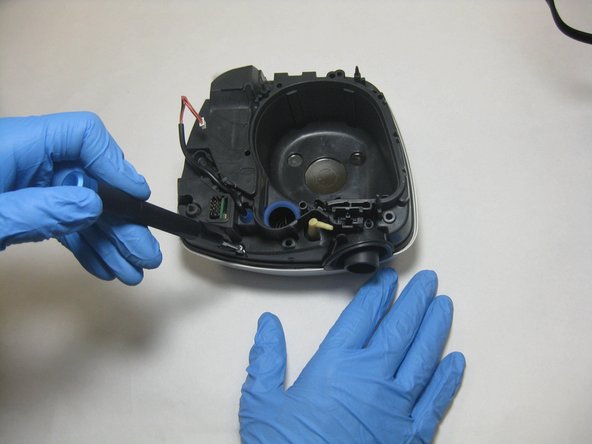
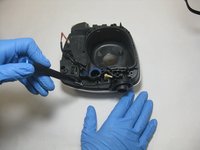
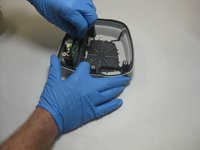
Lift off the rubber fan motor cover, revealing the fan motor.
-
-
-
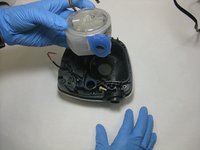
Remove the fan motor unit from its housing.
-
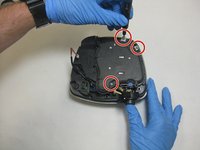
Remove the three 26.7 mm screws securing the motor housing to the bottom piece with a T3 Torx screwdriver.
-
-
-
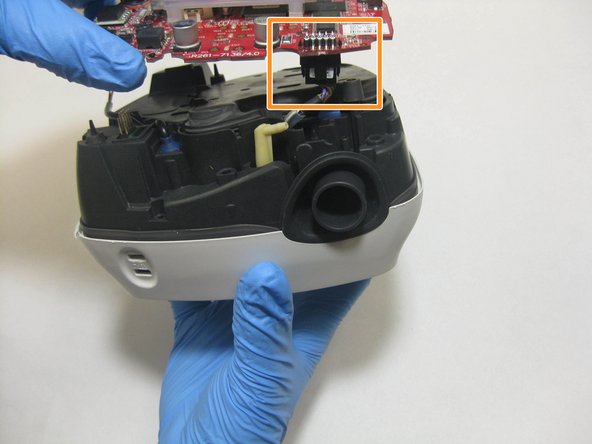
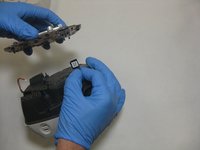
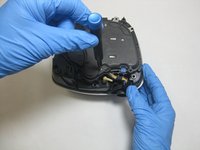
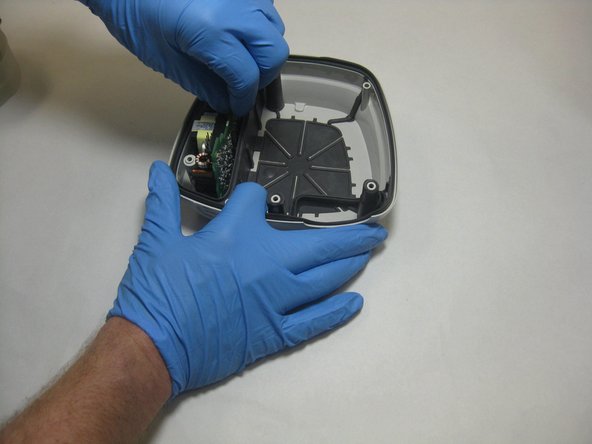
Pull out the fan motor housing from the bottom cover, revealing a foam insulation pad and the circuit board.
-
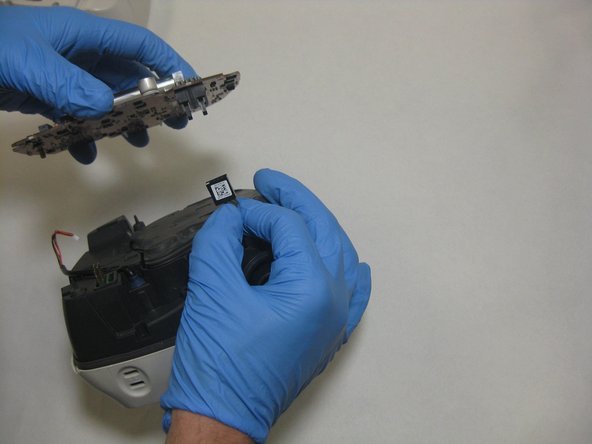
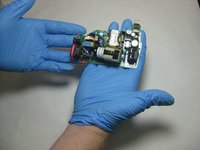
Slide the circuit board out of its plastic grooves in the bottom cover to retrieve the desired component.
-






To reassemble your device, follow these instructions in reverse order.

Team

The Citadel Military College of South Carolina, Team S3-G17, Eggleston Fall 2020 Member of The Citadel Military College of South Carolina, Team S3-G17, Eggleston Fall 2020
CMCSC-EGGLESTON-F20S3G17
3 Members
5 Guides authored
