
Replacing the friction pads

Avrila and 2 other contributors
Last updated on Aug 27, 2026
Views: 831
View statistics:
- Past 24 Hours:
- 2
- Past 7 Days:
- 10
- Past 30 Days:
- 83
- All Time:
- 831
Comments: 0
No one has left comments on this guide. Will you be first?
Go to guide commentsCompleted: 1 2
1 person has marked this guide "completed." Will you be next?
2 people have marked this guide "completed." Including you — great job!
Favorites: 0 1
No one has favorited (and subscribed to) this guide. Will you be the first?
1 person has favorited (and subscribed to) this guide — and that's you!
Community-Contributed Guide
An awesome member of our community made this guide. It was not created by iFixit staff.
Introduction
Go to step 1 ↓Thrustmaster sells spare part through their online Eshop.
You can also contact Thrsutmaster technical support to get spare part if not available in your region.
What you need

-
-
-
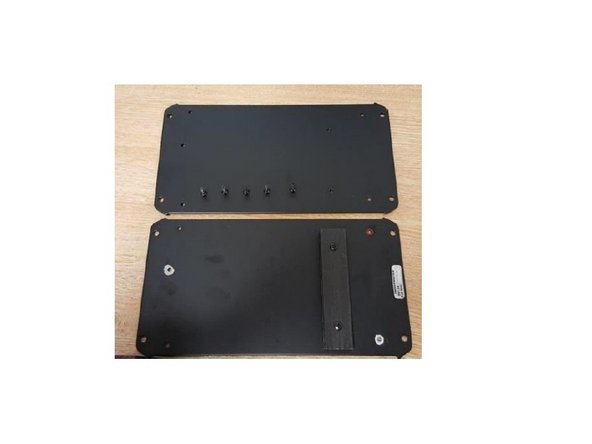
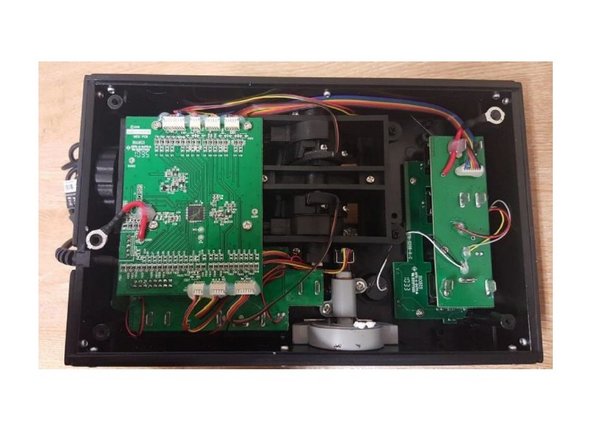
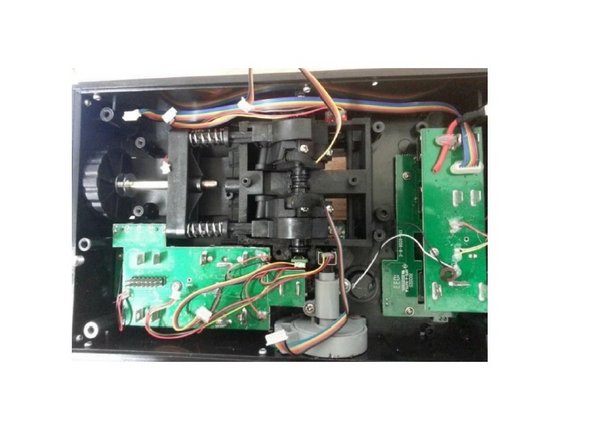
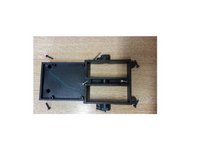
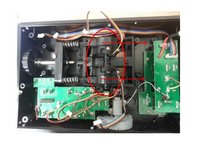
Unscrew the 4 screws, disconnect all the connectors and take off the PCB
-
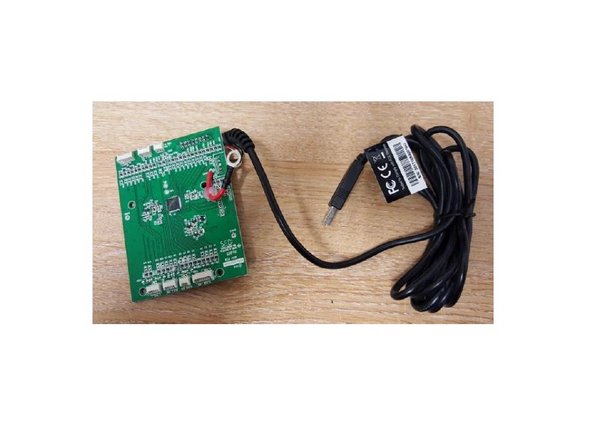
Remove the 4 screws, disconnect all wires and remove the PCB.
-
-
-
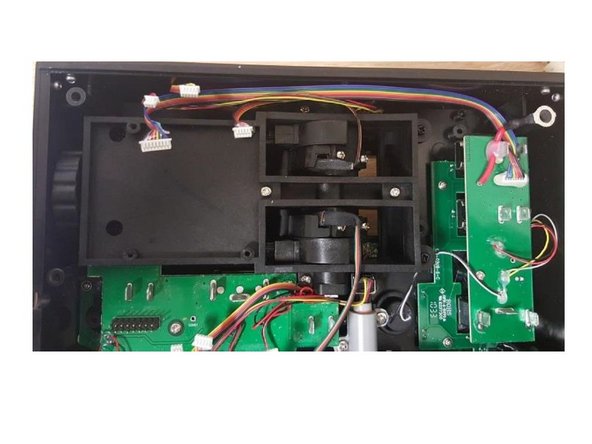
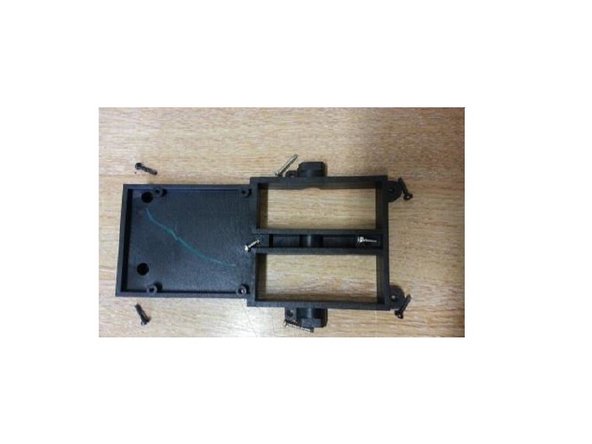
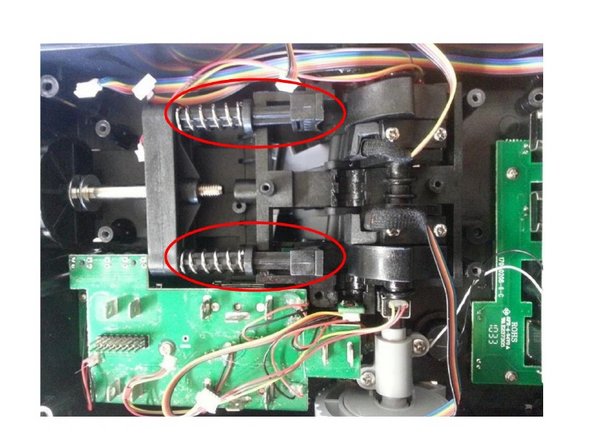
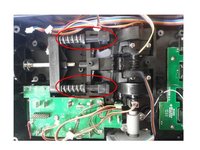
Push the lever arms to gain access to the friction pads.
-
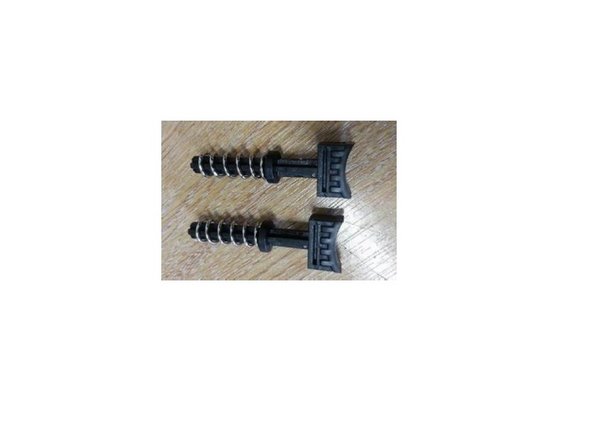
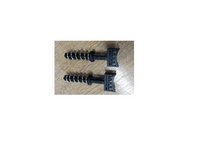
You can now remove the Friction pads
-
-



 Ask FixBot




Reassemble the product by following this procedure in reverse order.
Cancel: I did not complete this guide.
One other person completed this guide.
Special thanks to these translators:
100%


These translators are helping us fix the world! Want to contribute?
Start translating ›

