Introduction
Applicable to all engines (H4D and H4Bt)
This tutorial is shown on an H4D. The procedure is identical for the H4Bt.
Replacement of the accessory belt and pulleys is recommended every 120,000km or 6 years. This operation should be performed with the vehicle slightly elevated.
-
-
-
Unscrew the 6 screws by hand or with a T50 socket.
-
Lift and set aside the engine hood.
-
-
-
-
Remove the 4 screws from the belt protection cover using a 10mm wrench.
-
Remove the protective cover from the belt.
-
-
-
-
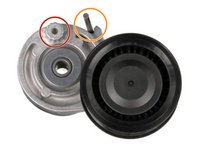
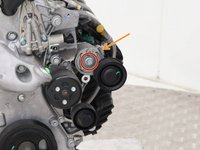
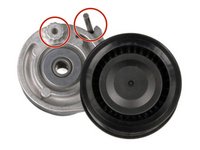
Our aim is to have a colored tensioner like the one shown in the picture and like the new tensioner.
-
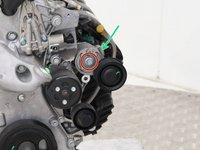
Use a 13mm hexagonal wrench and place it on the tensioner.
-
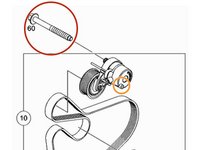
Turn the tensioner clockwise until you can insert a 4mm-thick pin into the hole and lock it in this position.
-
The tensioner is now locked and the accessory belt has loosened. It can now be removed.
-
-
-
Remove the single 13mm hexagonal screw from the tensioner and pull it out.
-
Fit the new tensioner roller, ensuring that the pin is correctly positioned.
-
Tighten the single new 13mm screw to 62 N/m.
-
Keep the tensioner in place for belt replacement.
-
-
-
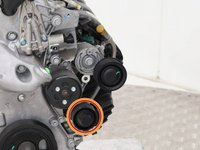
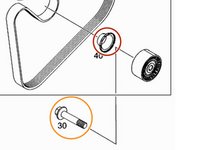
Use a screwdriver to remove the cap from the winding roller.
-
Remove the single 13mm screw from the winding roller.
-
Fit the new winding roller and tighten the single new 13mm screw to a torque of 50 N/m.
-
-
-
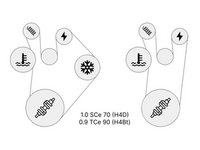
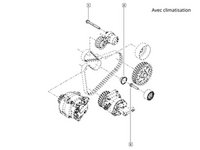
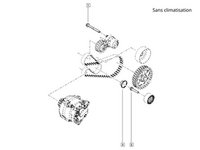
Install the accessory belt in the correct position, depending on whether or not the vehicle is fitted with an air-conditioning compressor. Make sure the belt passes correctly over the pulleys.
-
-
-
Using a 13mm hex wrench, release the tensioner roller to remove the pin and return it to the tensioned position.
-
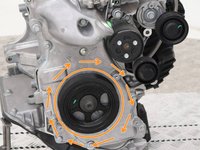
Turn the crankshaft pulley two revolutions clockwise with a 19mm socket wrench to ensure that the belt turns and is positioned correctly.
-
-
-
Replace the accessory belt cover and tighten the 4x 10mm screws to 10 N/m.
-
-

 Ask FixBot











Felicitations! You've just replaced your accessory belt and rollers!
Cancel: I did not complete this guide.
One other person completed this guide.
Special thanks to these translators:
100%


These translators are helping us fix the world! Want to contribute?
Start translating ›

5 Guide Comments
Hi! Is this good for SCe 75 engines too? I got a Dacia Sandero II with a B4D 411 engine and i was wondering if i could use this guide to change my parts too
Hi ! This tutorial is not applicable to your B4D 411 engine, part number 8201704417. The belt routing on this engine looks very different from the pictures I found online.
Other than than, many parts are different on this engine, including the injectors and all.
However, you might find some useful information on those links:
https://www.catcar.info/renault/?lang=en... (various schematics)
https://www.youtube.com/watch?v=IoF0ixzo... (B4D 422, also known as B4D LS, for Low-Spec)
Bonjour,
Il y a plusieurs calculateurs dans les Twingo III. Pouvez-vous préciser quel calculateur ?
Si vous faisiez référence au calculateur moteur (ECU):
Renault Twingo III Phase 1 (2014-2019)
