
Replacing a Baseball Bat Grip

Matthew McNabb and 8 other contributors
Last updated on Mar 5, 2020
Views: 67K
View statistics:
- Past 24 Hours:
- 7
- Past 7 Days:
- 69
- Past 30 Days:
- 200
- All Time:
- 66,930
Comments: 0
No one has left comments on this guide. Will you be first?
Go to guide commentsCompleted: 9 10
9 people have marked this guide "completed." Will you be next?
10 people have marked this guide "completed." Including you — great job!
Favorites: 2 3
2 people have favorited (and subscribed to) this guide. Will you be next?
3 people have favorited (and subscribed to) this guide — including you!
Introduction
Go to step 1 ↓You will learn how to change a worn out grip on a baseball bat. When the grip begins to tear or shred is usually when an old bat is thrown away; this repair will help you keep a bat longer with no skills required to replace the grip. You will need a clean flat surface to work on as you are guided through removing the old grip, cleaning the handle, and putting a new grip on.
What you need
Parts
Tools


-
-
-
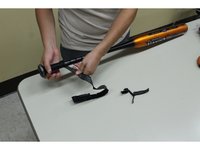
Place the bat on a firm surface with the grip hanging off the edge.
-
Draw a line on the top of the old grip using a marker.
-
Use the utility knife to cut the tape where you made your mark.
-
Peel off the old grip.
 Ask FixBot
-
-
-
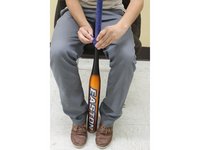
Sit in a chair and hold the bat in-between your legs with the knob facing upwards.
-
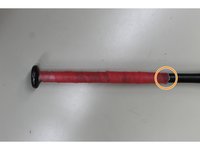
Take the pre-wrap, begin at the knob of the bat and wrap downward in a spiraling motion toward the mark.
-
Stop applying the prewrap at the marked line.
-
-
-
Hold the bat in the same position used for applying the pre-wrap.
-
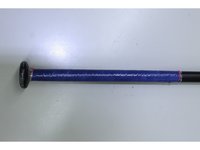
Apply the electrical tape over the previous wrap using the same motion as before.
-
-
-
-
Apply a small piece of electrical tape at the beginning and end of the wrap to fasten it to the bat.
-
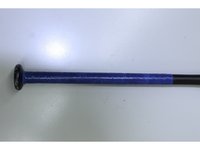
Now that your new grip is complete, you're ready to play ball!
-
-












Cancel: I did not complete this guide.
9 other people completed this guide.

Team

Sam Houston State, Team 16-6, Nardone Fall 2015 Member of Sam Houston State, Team 16-6, Nardone Fall 2015
SHSU-NARDONE-F15S16G6
5 Members
12 Guides authored
