Free Shipping on Domestic Orders $75+

Replacing Oster 6329 Bread Lift Shelf

What you need

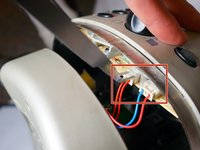
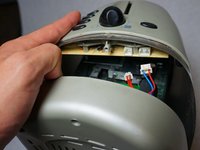
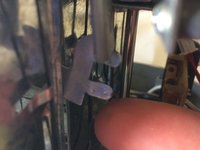
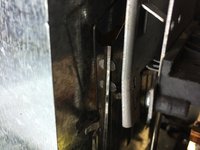
  1. Replacing Oster 6329 Bread Lift Shelf, Outer Shell Removal: step 1, image 1 of 2 Replacing Oster 6329 Bread Lift Shelf, Outer Shell Removal: step 1, image 2 of 2
    • Using the Phillips-head #2 screwdriver, unscrew the three 1cm Phillips-head screws on the plastic base of the toaster to separate the outer metal shell from the plastic base.

    Ask FixBot

    Add Comment

  2. Replacing Oster 6329 Bread Lift Shelf: step 2, image 1 of 1
    • Push the plastic push-down handle down and pull the plastic handle straight from metal arm.

    Ask FixBot

    Add Comment

  3. Replacing Oster 6329 Bread Lift Shelf: step 3, image 1 of 1
    • Loosen the outer metal shell from the plastic base by holding the plastic base while pulling up on the metal shell.

    • Only lift the outer shell a little so as not to disconnect the cables that connect the circuit board.

    Ask FixBot

    Add Comment

  4. Replacing Oster 6329 Bread Lift Shelf: step 4, image 1 of 2 Replacing Oster 6329 Bread Lift Shelf: step 4, image 2 of 2
    Tool used on this step:
    Tweezers
    $4.99
    Buy
    • Disconnect the cable clips from the circuit board using the tweezers to free the outer metal shell from the plastic base.

    Ask FixBot

    Add Comment

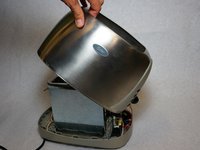
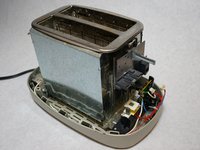
  5. Replacing Oster 6329 Bread Lift Shelf: step 5, image 1 of 2 Replacing Oster 6329 Bread Lift Shelf: step 5, image 2 of 2
    • Lift the top outer metal shell.

    • Carefully lift the outer metal shell at an angle so as not to damage the components in the front of the toaster.

    Ask FixBot

    Add Comment

  6. Replacing Oster 6329 Bread Lift Shelf, Bread Lift Shelf: step 6, image 1 of 1
    • Use a flat-head screwdriver to separate the metal flap from the metal plate.

    Ask FixBot

    Add Comment

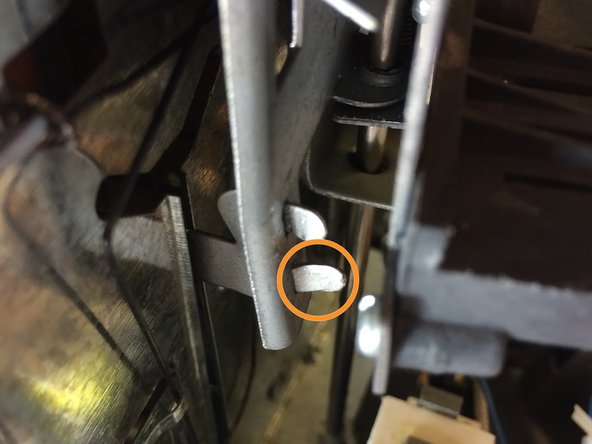
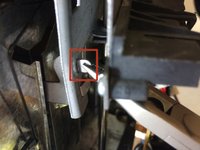
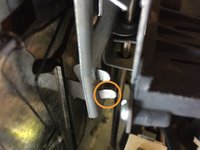
  7. Replacing Oster 6329 Bread Lift Shelf: step 7, image 1 of 2 Replacing Oster 6329 Bread Lift Shelf: step 7, image 2 of 2
    • Grasp the metal flap with the large needle nose pliers.

    • Unbend metal flap until at a 90 degree angle from the metal plate.

    • Repeat these steps for the second metal flap.

    Ask FixBot

    Add Comment

  8. Replacing Oster 6329 Bread Lift Shelf: step 8, image 1 of 1
    • Use the large need nose pliers to grab the metal panel.

    • Pull the metal panel away from the body of the toaster to dislodge the flaps.

    Ask FixBot

    Add Comment

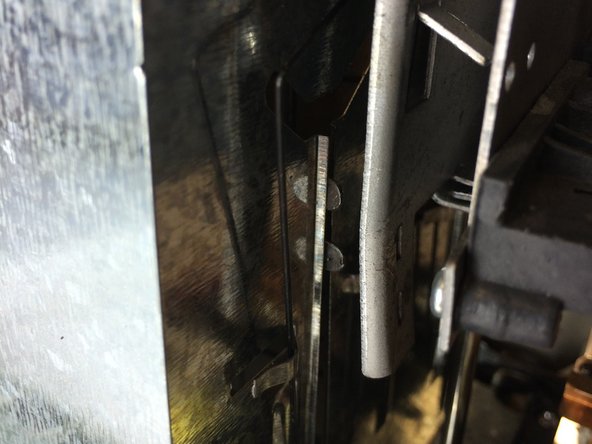
  9. Replacing Oster 6329 Bread Lift Shelf: step 9, image 1 of 2 Replacing Oster 6329 Bread Lift Shelf: step 9, image 2 of 2
    • Push the metal flaps towards the body of the toaster to access the bread lift shelf.

    Ask FixBot

    Add Comment

  10. Replacing Oster 6329 Bread Lift Shelf: step 10, image 1 of 1
    • Push down on the opposite side of the bread lift shelf to expose the metal flaps.

    Ask FixBot

    Add Comment

  11. Replacing Oster 6329 Bread Lift Shelf: step 11, image 1 of 1
    • Pull up on the bread lift shelf to remove from the toaster.

    Ask FixBot

    Add Comment

Conclusion

To reassemble your device, follow these instructions in reverse order.

Cancel: I did not complete this guide.

One other person completed this guide.

Jason Yoon

Member since: 01/31/14

116 Reputation

1 Guide authored

Team

Cal Poly, Team 13-15, Regan Winter 2014 Member of Cal Poly, Team 13-15, Regan Winter 2014

CPSU-REGAN-W14S13G15

5 Members

12 Guides authored

0 Guide Comments

Add Comment

View Statistics:

Past 24 Hours: 0

Past 7 Days: 7

Past 30 Days: 33

All Time: 1,052