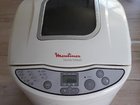
Replacement thermal fuse on bread machine

Gilles Guérin and one other contributor
Last updated on Jan 16, 2023
Views: 3.7K
View statistics:
- Past 24 Hours:
- 7
- Past 7 Days:
- 33
- Past 30 Days:
- 176
- All Time:
- 3,683
Comments: 1
1 guide comment.
Go to guide commentsCompleted: 0 1
No one has marked this guide "completed." Will you be the first?
1 person has marked this guide "completed." It's you — great job!
Favorites: 0 1
No one has favorited (and subscribed to) this guide. Will you be the first?
1 person has favorited (and subscribed to) this guide — and that's you!
Featured Guide
This guide has been found to be exceptionally cool by the iFixit staff.
Community-Contributed Guide
An awesome member of our community made this guide. It was not created by iFixit staff.
Introduction
Go to step 1 ↓Description of the disassembly and diagnostic steps on Moulinex Homebread bread machine model 573801, ref: OW200030/B72 - 4308R where we come to the conclusion that a thermal fuse is to be replaced. Replacement of this fuse and reassembly.
Two crimping rings are used to connect the fuse with its power cords. These two rings are also to be replaced. You have to choose them with a maximum inner diameter of 3 mm, otherwise we can have difficulty putting on the thermal protection braid after crimping.
Work off power.
What you need
Tools


-
-
-
Place the cover in an upright position
-
Lift it out of its joint
 Ask FixBot
-
-
-
Remove the 4 shutters from the control panel with a very thin screwdriver. This can be difficult or even impossible.
-
Use a forest as a last resort to start a drill.
-
Catch each shutter with the forest
-
-
-
With a PH2 screwdriver remove the 4 screws dia 3 x 13
-
Lift and tilt the panel forward
-
-
-
With a PH2 screwdriver remove the 4 upper screws dia 4.2 x 9.5
-
With a PH2 screwdriver remove the 4 lower screws M 4 x 6
-
Lift the crankcase
-
-
-
With a PH2 screwdriver remove the 2 screws dia 4.5 x 9.3
-
Tilt and slide the screen down along the two wires of the temperature probe
-
This gives you access to the environment of the two thermal fuses
-
-
-
The purpose is to deposit the sheet metal flange that holds the two fuses (two large white and red textile sheaths) and the probe (small white sheath)
-
The maintenance of this flange is ensured by a single sheet metal screw whose head is accessible inside the thermal housing.
-
Use a small ratchet wrench or a short screwdriver with PH2 bit, and continue by hand.
-
-
-
-
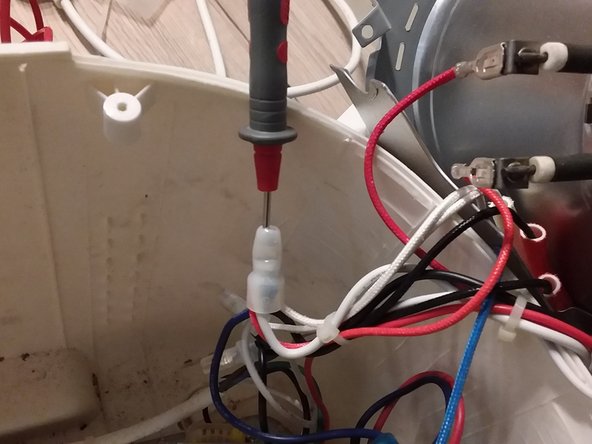
The absence of a power supply requires a diagnosis. The electrical test can be facilitated by opening the back of the splices with a cutting clamp.
-
Open only the strict minimum to be able to pass the touch point of the multimeter.
-
Open only the strict minimum to be able to pass the touch point of the multimeter.
-
In our case, using the continuity function of the multimeter, it is the thermal fuse protected by the white sheath that is found to fail.
-
-
-
Slide the textile sheath to make the fuse and its set rings appear.
-
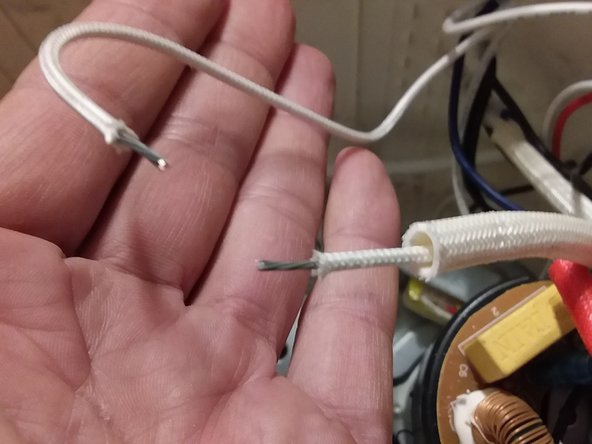
Cut the wire at the level of the two rings
-
Bare on a length corresponding to those of new rings
-
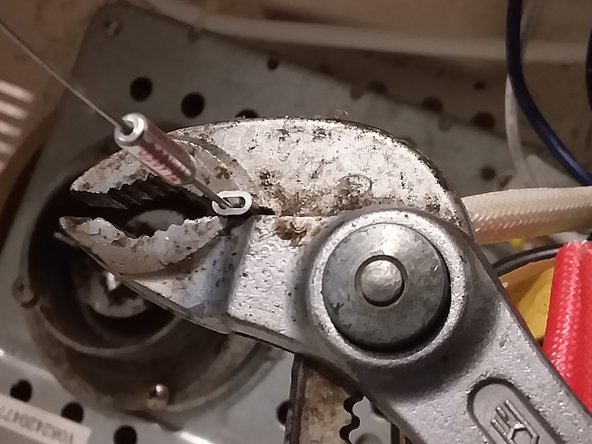
Set up the three elements and crimp firmly.
-
Check the electrical continuity
-
Replace the textile sheath.
-
-


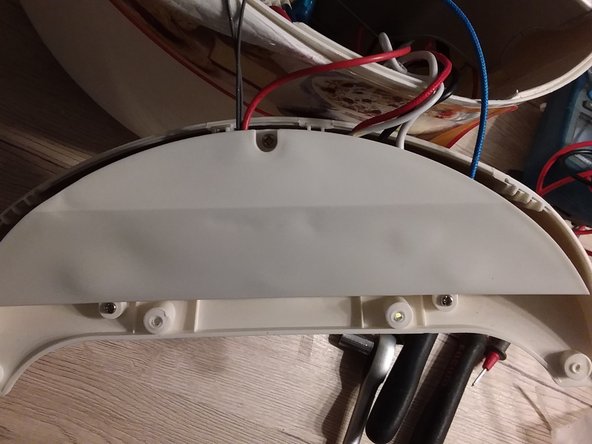


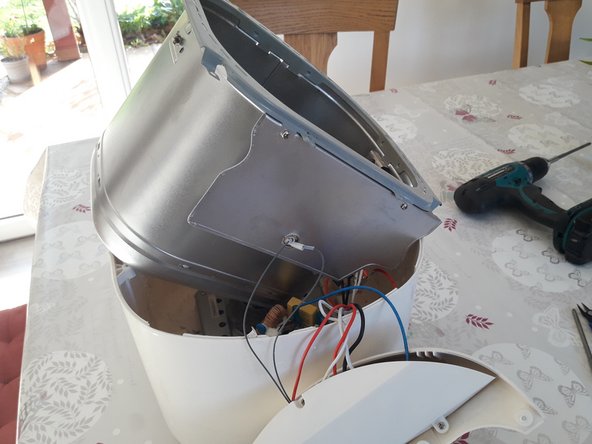


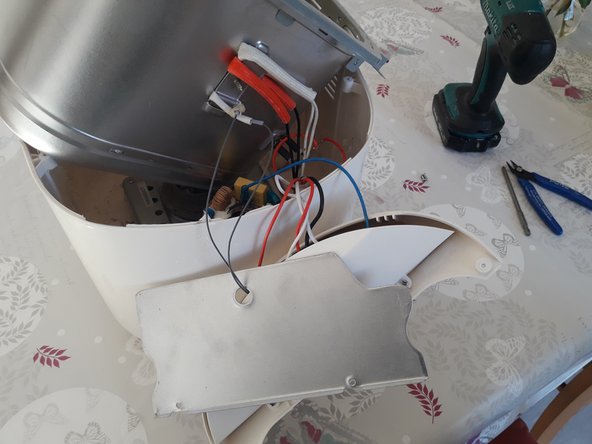






To reassemble your device, follow the instructions in reverse order. Shutters, possibly damaged in step 2, are not strictly necessary. But they make it easier to clean the machine.
Special thanks to these translators:
100%

HelloMacOS is helping us fix the world! Want to contribute?
Start translating ›

