Free Shipping on Domestic Orders $75+

Replacement of why! L140/1PU upper screen frame

What you need

    1. Replacement of why! L140/1PU upper screen frame, Back cover: step 1, image 1 of 2 Replacement of why! L140/1PU upper screen frame, Back cover: step 1, image 2 of 2
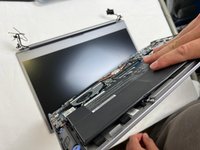
      • Remove the screws.

      • Lift the cover.

      Ask FixBot

      Add Comment

    1. Replacement of why! L140/1PU upper screen frame, Disconnection: step 2, image 1 of 2 Replacement of why! L140/1PU upper screen frame, Disconnection: step 2, image 2 of 2
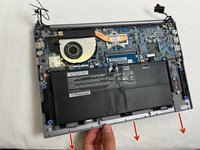
      • For safety reasons, the battery must be disconnected before each intervention.

      • Disconnect the battery your fingers.

      • Other components can now be replaced safely.

      Ask FixBot
      Add Comment

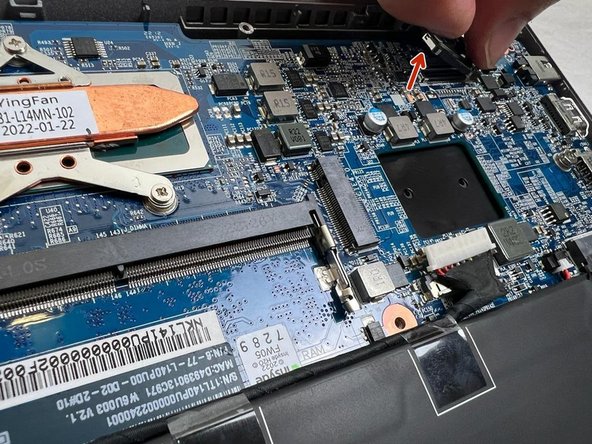
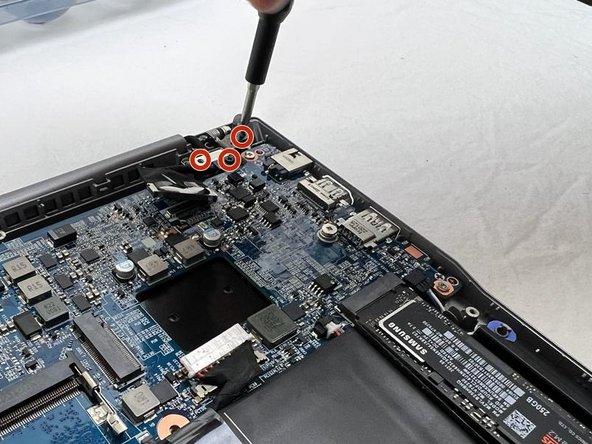
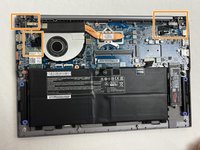
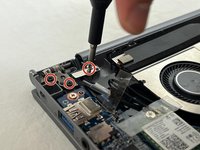
    1. Replacement of why! L140/1PU upper screen frame, Upper frame 1: step 3, image 1 of 3 Replacement of why! L140/1PU upper screen frame, Upper frame 1: step 3, image 2 of 3 Replacement of why! L140/1PU upper screen frame, Upper frame 1: step 3, image 3 of 3
      • The orange squares indicate the zones we will focus on.

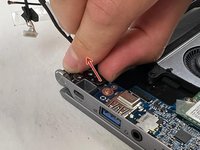
      • Unplug the screen cable.

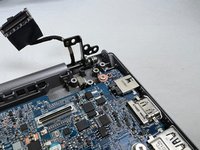
      • Unscrew the screw of the cover and those of the hinge. Remove the cover.

      Ask FixBot
      Add Comment

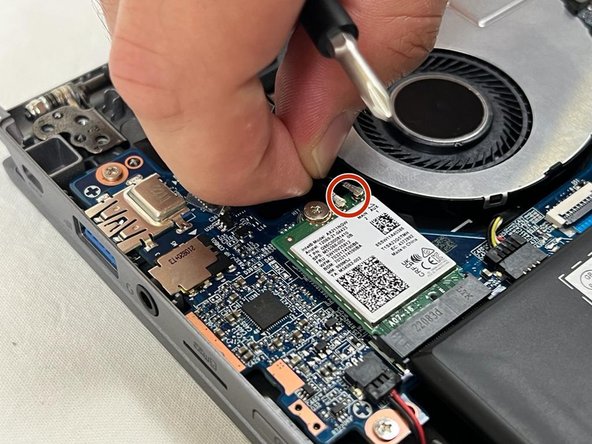
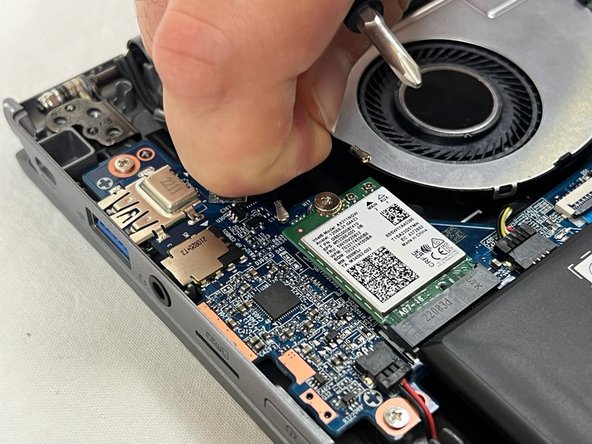
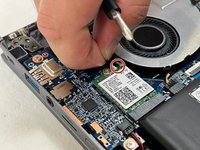
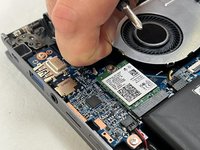
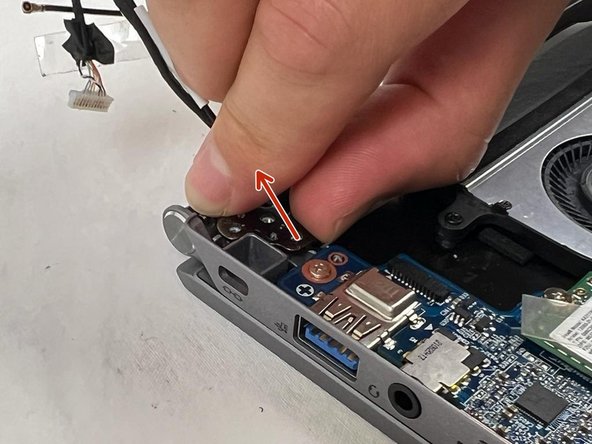
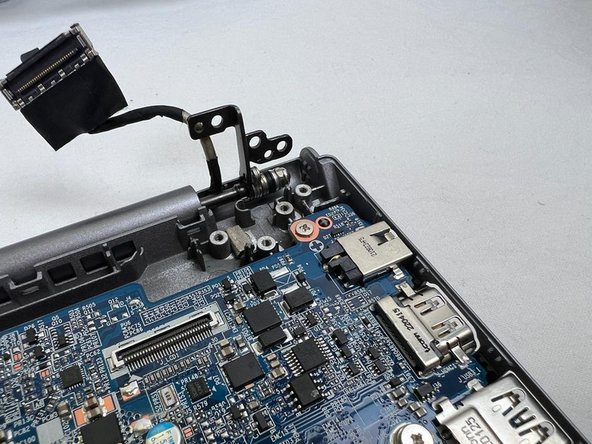
    2. Replacement of why! L140/1PU upper screen frame, Upper frame 2: step 4, image 1 of 3 Replacement of why! L140/1PU upper screen frame, Upper frame 2: step 4, image 2 of 3 Replacement of why! L140/1PU upper screen frame, Upper frame 2: step 4, image 3 of 3
      • Unscrew the screw of the cover, and those of the hinge. Remove the cover.

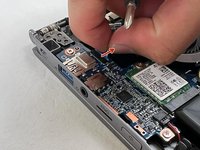
      • Unplug the Wifi cables.

      Ask FixBot
      Add Comment

    3. Replacement of why! L140/1PU upper screen frame, Upper frame 3: step 5, image 1 of 3 Replacement of why! L140/1PU upper screen frame, Upper frame 3: step 5, image 2 of 3 Replacement of why! L140/1PU upper screen frame, Upper frame 3: step 5, image 3 of 3
      • Unplug the camera cable.

      • Open the two hinges.

      Ask FixBot
      Add Comment

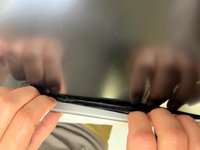
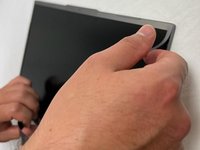
    4. Replacement of why! L140/1PU upper screen frame, Upper frame 4: step 6, image 1 of 3 Replacement of why! L140/1PU upper screen frame, Upper frame 4: step 6, image 2 of 3 Replacement of why! L140/1PU upper screen frame, Upper frame 4: step 6, image 3 of 3
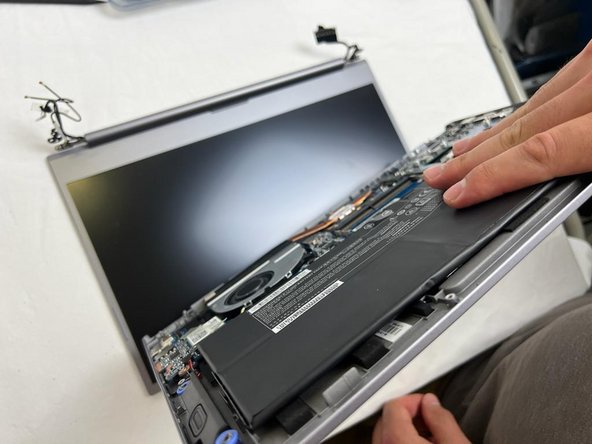
      • Remove the upper case, separating it from the screen.

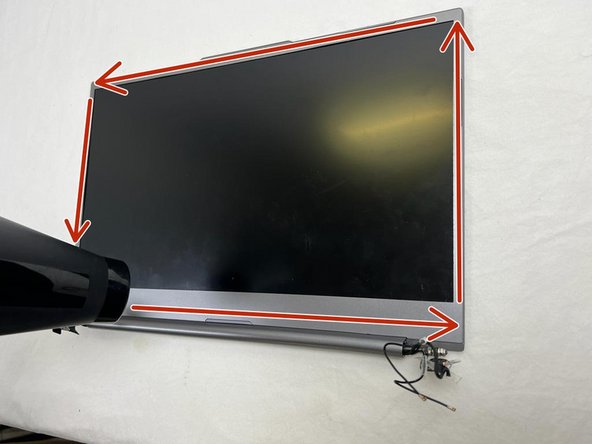
      • Using a hair dryer, blow hot air around the screen to soften the frame's adhesive.

      • In order to avoid damaging components, never keep the hair dryer aimed at the same spot.

      Ask FixBot
      Add Comment

    5. Replacement of why! L140/1PU upper screen frame, Upper Frame 5: step 7, image 1 of 3 Replacement of why! L140/1PU upper screen frame, Upper Frame 5: step 7, image 2 of 3 Replacement of why! L140/1PU upper screen frame, Upper Frame 5: step 7, image 3 of 3
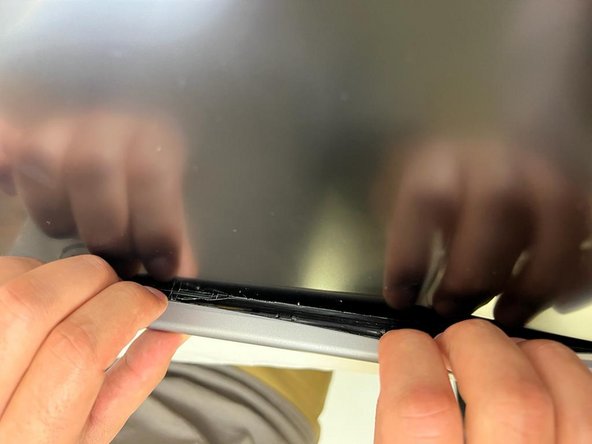
      • Separate the frame.

      • You can use the iFixit opening pick for this, or just your fingernails.

      Ask FixBot

      Add Comment

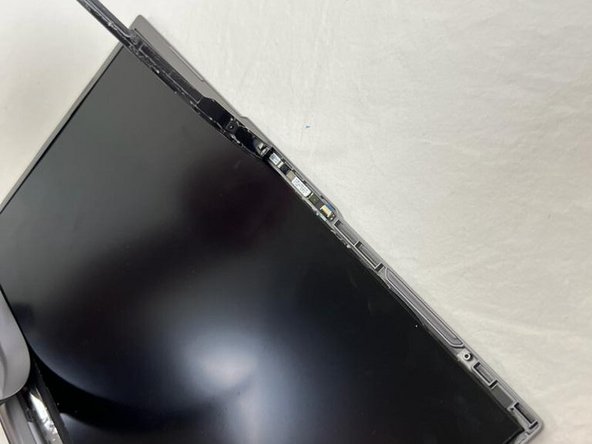
    6. Replacement of why! L140/1PU upper screen frame: step 8, image 1 of 2 Replacement of why! L140/1PU upper screen frame: step 8, image 2 of 2
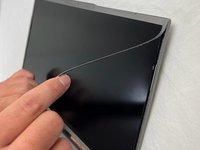
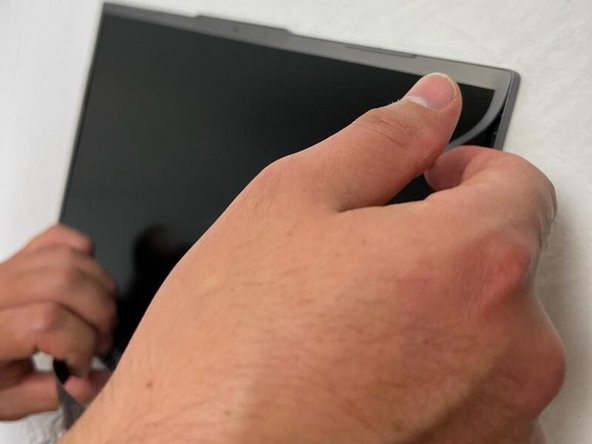
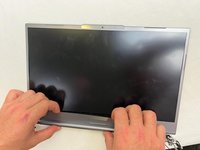
      • Remove the upper frame of the screen.

      Ask FixBot
      Add Comment

Conclusion

To reassemble your device, follow the instructions in reverse order.

Cancel: I did not complete this guide.
Special thanks to these translators:

fr en

100%

These translators are helping us fix the world! Want to contribute?
Start translating ›

Felice Suglia

Member since: 06/15/13

33,634 Reputation

283 Guides authored

0 Guide Comments

Add Comment

View Statistics:

Past 24 Hours: 0

Past 7 Days: 3

Past 30 Days: 18

All Time: 273