Introduction
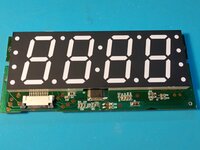
Digits are enlighted by leds. After a while, some led intensity decrease or goes into short circuit. Let see how to replace the led.
-
-
Unplug the power supply from the wall, remove batteries.
-
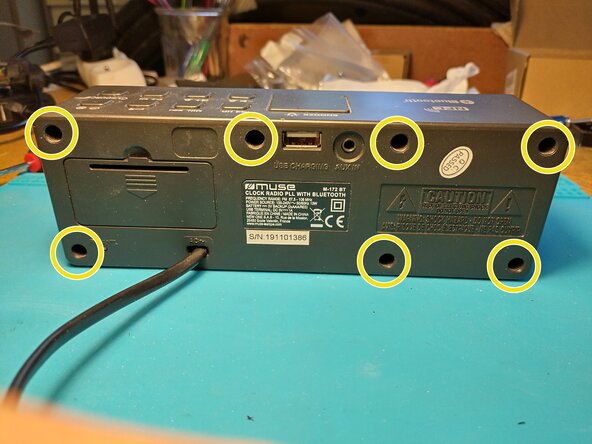
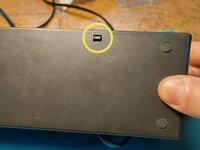
Unscrew x7 and open the device by unlocking the plastic clip on the bottom face.
-
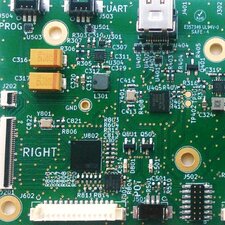
On the rear of the display panel, unscrew x2 and unclip the flat cable.
 Ask FixBot
-
-
-
We want to separate the digit support from the PCB to access the leds.
-
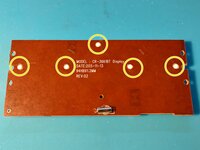
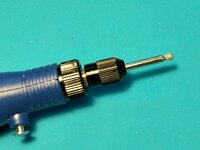
On the back, mill the white clips to free the PCB from the digit support. I used a Dremel like tool.
-
-
-
-
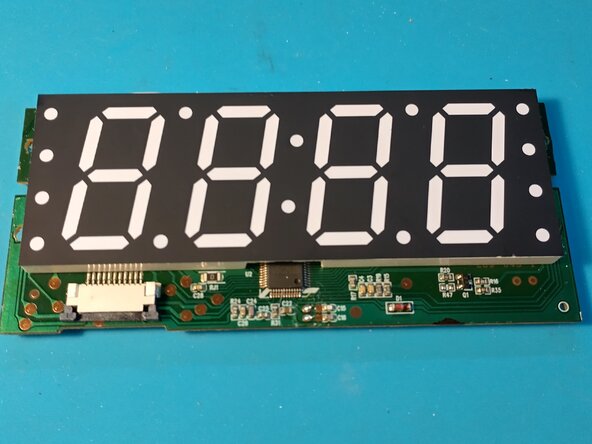
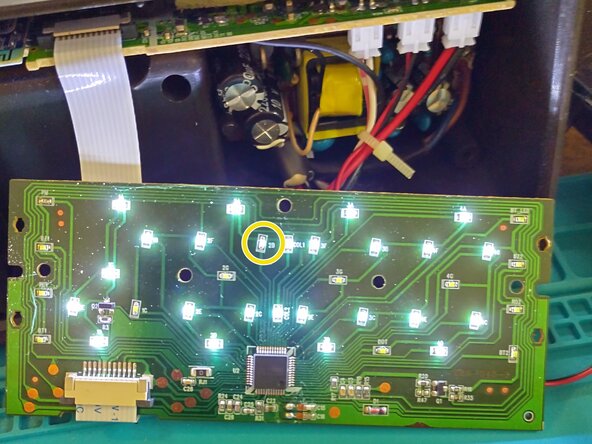
You can test the leds by plug in the flat cable. Be carefull of high voltage.
-
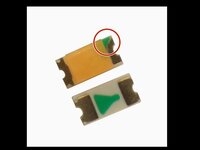
In my case, I had to replace the 2B led. Locate the green mark before unsoldering the led. Green mark goes to the driver chip.
-
To buy leds, search Internet with key words : white led smd 0603
-


Pour réassembler votre appareil, suivez les instructions dans l'ordre inverse.