Introduction
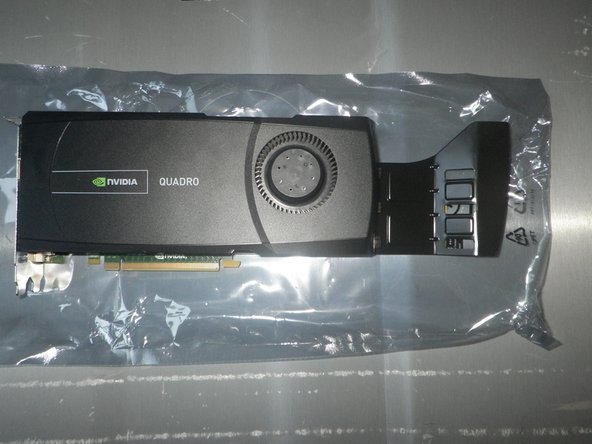
This CPU doesn't have the same graphics card as the disassembly tutorial. In the latter, the graphics card is a reduced format. However, full-size graphics cards are usually accompanied by a guide to prevent physical damage to the card or motherboard port.
This guide, screwed to the graphics card, makes installing or removing a graphics card more delicate. That's why this replacement tutorial will also include steps for reinstalling such a graphics card.
There's also a step-by-step guide to show which graphics cards are compatible with this model in terms of size.
-
-
-
First, pull the handle and raise the upper part of the case.
-
After taking the upper part off, you'll see the covers of the different pieces of the PC.
 Ask FixBot
-
-
-
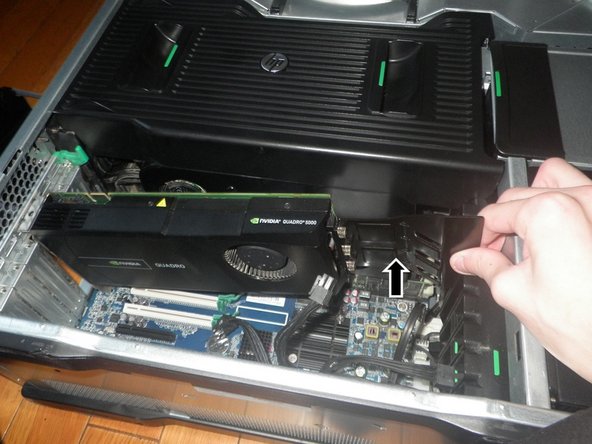
The GPU has a guide. It's necessary to pay attention and don't forget about it while taking the GPU off.
-
-
-
-
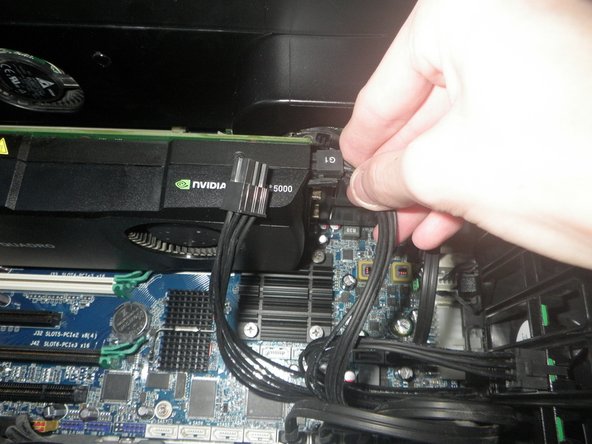
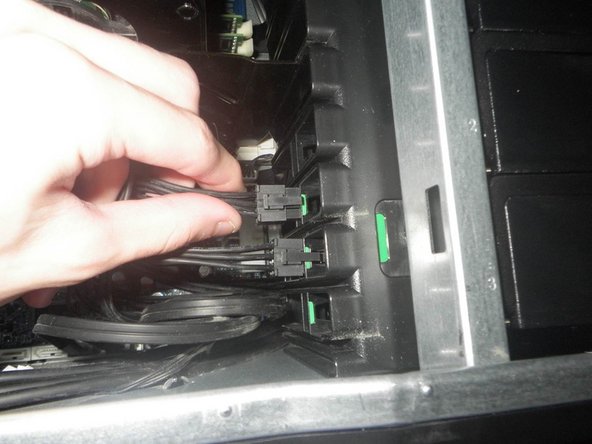
Disconnect the power connector from the GPU.
-
You can clip the connectors in a specifically designed place.
-
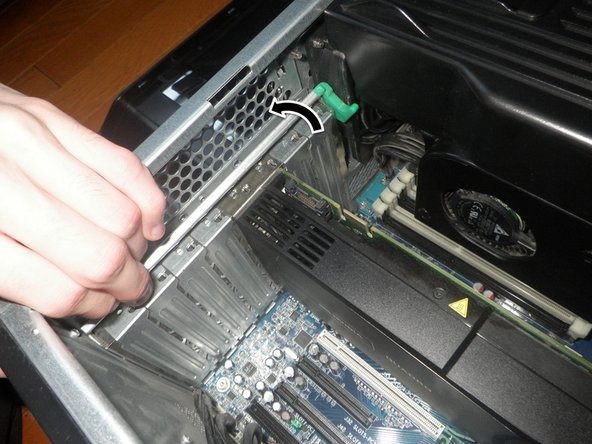
Raise the rod that maintains the PCI GPU in place.
-
-
-
Raise the tab that maintains the GPU in its port.
-
Raise the GPU slowly from the side of the guide until the GPU partially comes out of its port.
-
Raise the GPU from its other side.
-
-
-
Introduce the new GPU at 45º from the motherboard.
-
Place the guide in front of the appropriate slot and push the graphics card into it, making sure it fits into its PCI slot.
-
To check that your graphics card is correctly installed, check that the tab is properly locked in place.
-
-
-
Insert the graphics card into the PCI bracket until it clicks into place.
-
Don't forget to connect the power supply connectors to the GPU if it's necessary.
-
-
-
The Sapphire RX 5700XT GPU is the largest card that fits in the case without problems.
-
As it's already explained, the case has special spots for clipping the unused power supply ports.
-
-










The reinstallation stages are included in the tutorial.
Cancel: I did not complete this guide.
One other person completed this guide.
Special thanks to these translators:
100%


These translators are helping us fix the world! Want to contribute?
Start translating ›

