Free Shipping on Domestic Orders $75+

Removing the HP Compaq dx2000MT Optical (CD) Drive

What you need

  1. Removing the HP Compaq dx2000MT Optical (CD) Drive, Removing the HP Compaq dx2000MT Case Doors: step 1, image 1 of 1
    • Turn off your computer and remove the power cable by pulling it straight out of its socket.

    Ask FixBot

    Add Comment

  2. Removing the HP Compaq dx2000MT Optical (CD) Drive: step 2, image 1 of 2 Removing the HP Compaq dx2000MT Optical (CD) Drive: step 2, image 2 of 2
    • Remove the two Phillips #2 screws that secure the case door to the device.

    Ask FixBot

    Add Comment

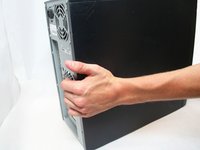
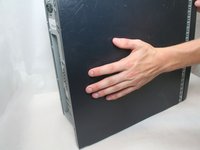
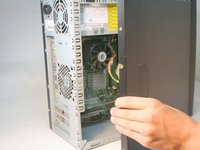
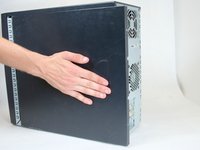
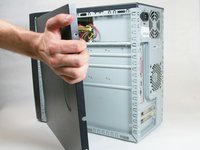
  3. Removing the HP Compaq dx2000MT Optical (CD) Drive: step 3, image 1 of 3 Removing the HP Compaq dx2000MT Optical (CD) Drive: step 3, image 2 of 3 Removing the HP Compaq dx2000MT Optical (CD) Drive: step 3, image 3 of 3
    • Remove the side case door by pushing towards the rear of the device with your hand.

    • This may take considerable force so keep pushing!

    • Once you slide the door back, remove it by pulling it outwards from the device.

    Ask FixBot

    Add Comment

  4. Removing the HP Compaq dx2000MT Optical (CD) Drive: step 4, image 1 of 1
    • Remove the two Torx T15 screws that secure the case door to the device.

    Ask FixBot

    Add Comment

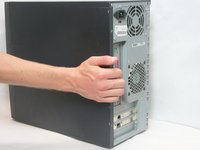
  5. Removing the HP Compaq dx2000MT Optical (CD) Drive: step 5, image 1 of 3 Removing the HP Compaq dx2000MT Optical (CD) Drive: step 5, image 2 of 3 Removing the HP Compaq dx2000MT Optical (CD) Drive: step 5, image 3 of 3
    • Remove the side case door by pushing towards the rear of the device with your hand.

    • Once again, this may take considerable force.

    • Once you slide the door back, remove it by pulling it outwards from the device.

    Ask FixBot

    Add Comment

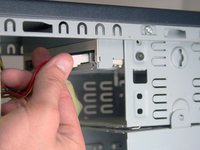
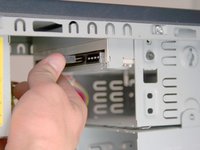
  6. Removing the HP Compaq dx2000MT Optical (CD) Drive, Optical (CD) Drive: step 6, image 1 of 3 Removing the HP Compaq dx2000MT Optical (CD) Drive, Optical (CD) Drive: step 6, image 2 of 3 Removing the HP Compaq dx2000MT Optical (CD) Drive, Optical (CD) Drive: step 6, image 3 of 3
    • Remove the IDE data cable and the power cable from the optical drive by pulling away from the drive.

    Ask FixBot

    Add Comment

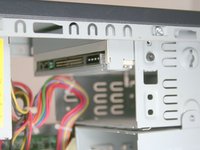
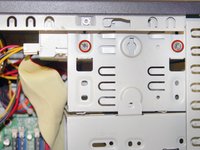
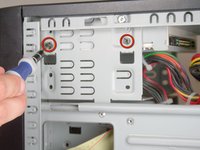
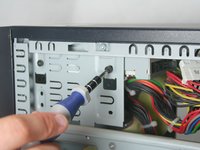
  7. Removing the HP Compaq dx2000MT Optical (CD) Drive: step 7, image 1 of 2 Removing the HP Compaq dx2000MT Optical (CD) Drive: step 7, image 2 of 2
    • Remove the 2 Torx T15 screws holding the optical drive in place.

    Ask FixBot

    Add Comment

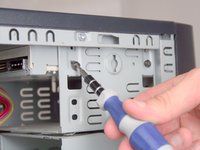
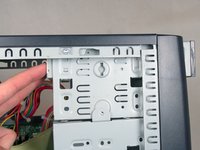
  8. Removing the HP Compaq dx2000MT Optical (CD) Drive: step 8, image 1 of 2 Removing the HP Compaq dx2000MT Optical (CD) Drive: step 8, image 2 of 2
    • Remove the other 2 Torx T15 screws holding the other side of the drive in place.

    Ask FixBot

    Add Comment

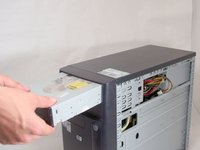
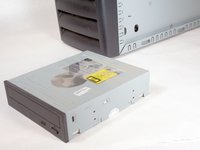
  9. Removing the HP Compaq dx2000MT Optical (CD) Drive: step 9, image 1 of 3 Removing the HP Compaq dx2000MT Optical (CD) Drive: step 9, image 2 of 3 Removing the HP Compaq dx2000MT Optical (CD) Drive: step 9, image 3 of 3
    • Remove the optical drive by sliding it out the front of the device.

    Ask FixBot

    Add Comment

Conclusion

To reassemble your device, follow these instructions in reverse order.

Cancel: I did not complete this guide.

One other person completed this guide.

Logan Pace

Member since: 10/12/11

2,414 Reputation

9 Guides authored

Team

Cal Poly, Team 17-16, Regan Fall 2011 Member of Cal Poly, Team 17-16, Regan Fall 2011

CPSU-REGAN-F11S17G16

4 Members

17 Guides authored

0 Guide Comments

Add Comment

View Statistics:

Past 24 Hours: 2

Past 7 Days: 5

Past 30 Days: 33

All Time: 1,903