
Removing Philips DC320 37 Bottom Panel

Greg Lane and 10 other contributors
Last updated on Dec 11, 2023
Views: 787
View statistics:
- Past 24 Hours:
- 1
- Past 7 Days:
- 9
- Past 30 Days:
- 30
- All Time:
- 787
Comments: 0
No one has left comments on this guide. Will you be first?
Go to guide commentsCompleted: 2 3
2 people have marked this guide "completed." Will you be next?
3 people have marked this guide "completed." Including you — great job!
Favorites: 0 1
No one has favorited (and subscribed to) this guide. Will you be the first?
1 person has favorited (and subscribed to) this guide — and that's you!
Featured Student Guide
This guide has been the hard work of our awesome students and is found to be exceptionally cool by the iFixit staff.
Introduction
Go to step 1 ↓Welcome to the DC320 Repair Guide, your comprehensive resource for restoring power and performance to your electronic device. Whether you're a seasoned technician or a DIY enthusiast, this guide will walk you through the steps to address common issues and revitalize your DC320.
What you need
Tools
-
-
Spudger4.9


-
-
-
Pry off the four white feet with the pointed end of the spudger
 Ask FixBot
-
-
-
Gently unscrew the four 15.5 mm Phillips #2 screws that hold the bottom panel to the dock.
-
-
-
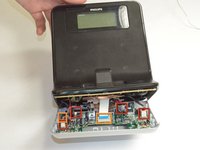
Use the flat end of the spudger to pry the lid off from the two connectors holding it to the body of the dock.
-
-
-
-
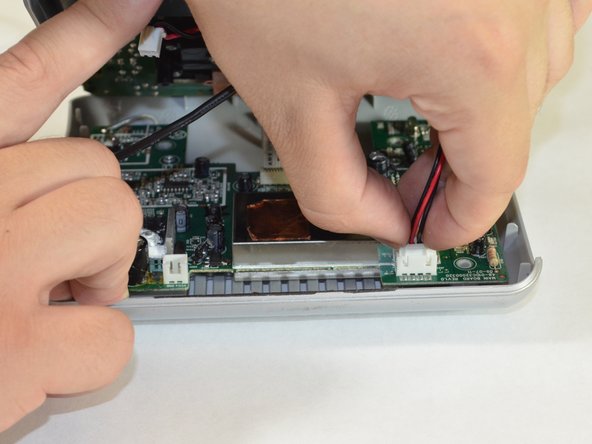
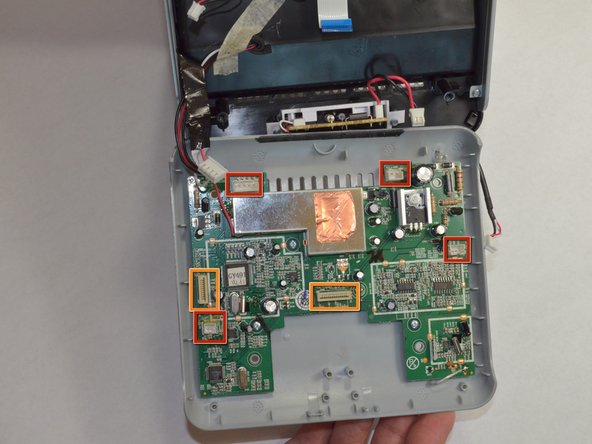
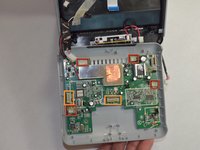
Carefully pull up and out the four electrical connectors and two ribbon connectors that connect the bottom panel to the dock.
-
Electrical Connectors
-
Ribbon Connectors
-
-


To reassemble your device, follow these instructions in reverse order.
Cancel: I did not complete this guide.
2 other people completed this guide.

Team

Cal Poly, Team 3-48, Amido Spring 2013 Member of Cal Poly, Team 3-48, Amido Spring 2013
CPSU-AMIDO-S13S3G48
4 Members
72 Guides authored
