
Removing Delphi MyFi XM2GO Keypad

Aubrey and 3 other contributors
Last updated on Jan 28, 2014
Views: 2.1K
View statistics:
- Past 24 Hours:
- 4
- Past 7 Days:
- 17
- Past 30 Days:
- 95
- All Time:
- 2,138
Comments: 2
2 comments on steps.
Completed: 0 1
No one has marked this guide "completed." Will you be the first?
1 person has marked this guide "completed." It's you — great job!
Favorites: 1 2
1 person has favorited (and subscribed to) this guide. Will you be next?
2 people have favorited (and subscribed to) this guide — including you!
Missing Steps
Oops! This guide is currently missing one or more important steps.
Inconsistent Images
Updating the images on this guide to be more consistent with the prerequisites would increase its awesomeness.
Needs Better Images
Better photos will improve this guide. Help out by taking, editing, or uploading new ones!
Step Trimmer
This guide has unnecessary steps. Trim them to be more concise!
What you need
Tools

-
-
-
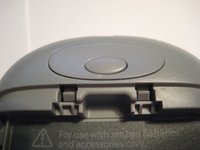
Locate the large button on the top of the device.
-
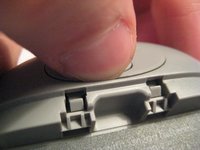
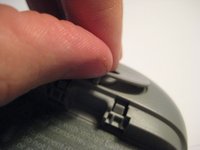
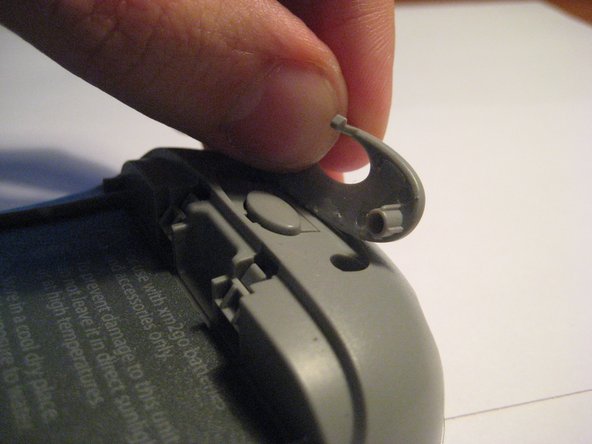
Push down on the button and slide the cover away from the button.
 Ask FixBot
-
-
-
-
-
Grab the red pull tab and pull down to unlock the latch.
-
Pull the battery out.
-
-
-
-
-
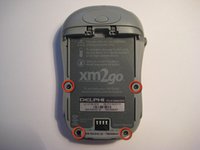
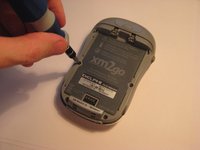
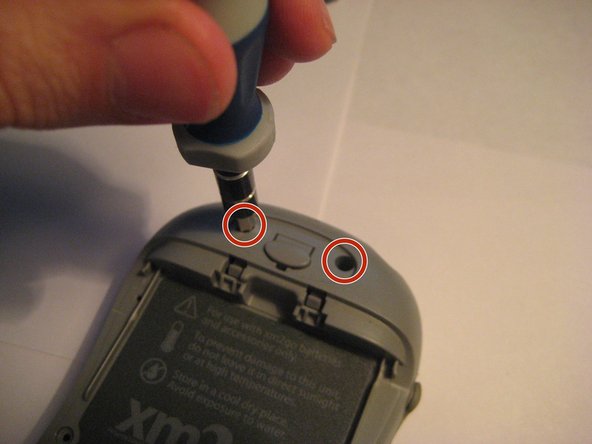
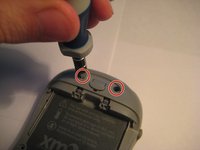
Remove the four screws from the bottom of the device using a T6 Torx screwdriver.
-
-
-
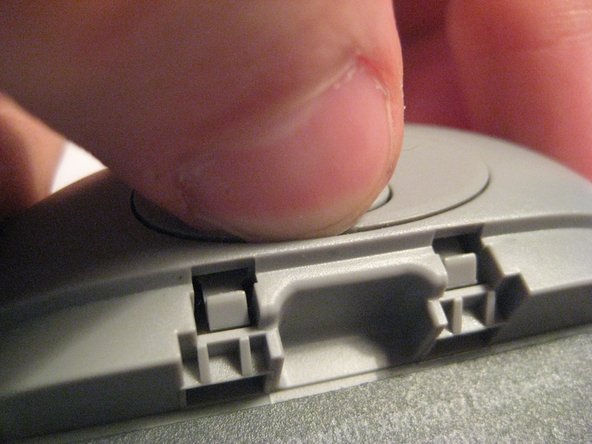
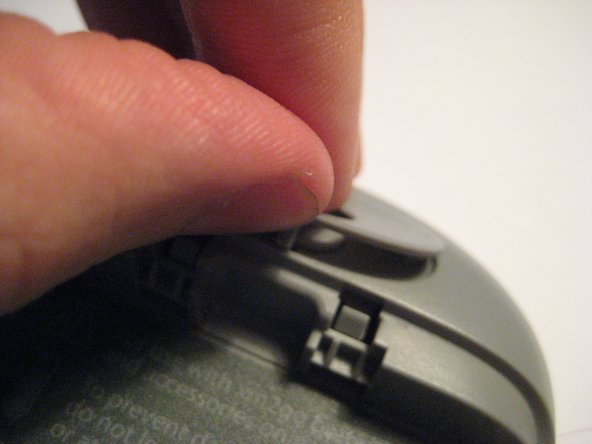
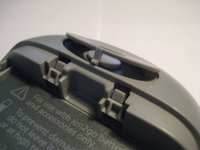
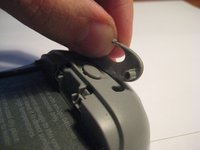
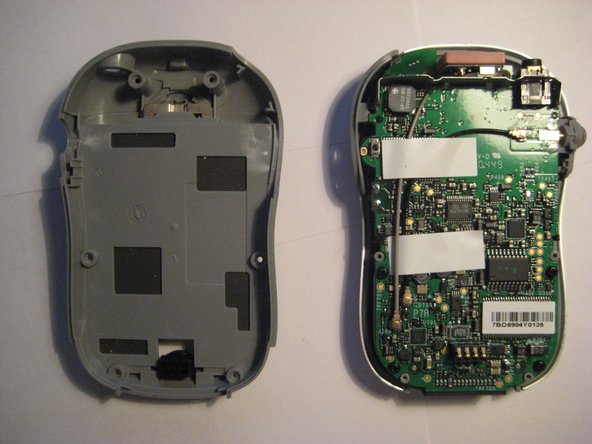
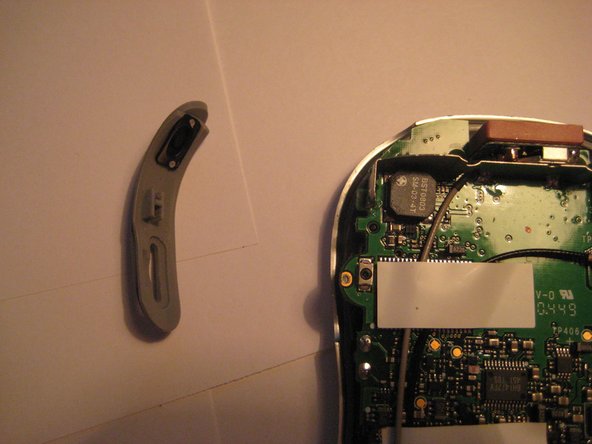
Remove the button cover on the back of the device by prying it up with a spudger or your thumb nail.
-
-
-
Remove the plastic antenna extension connector on the right side of the device.
-
-
-
-
-
The logic board must be exposed to begin.
-
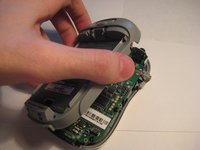
Flip the device over (see second picture).
-
-
-
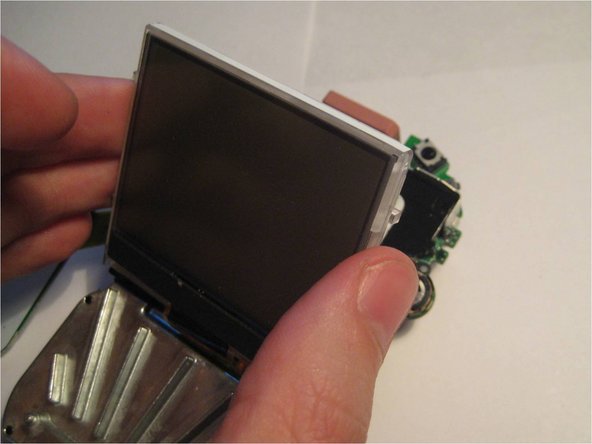
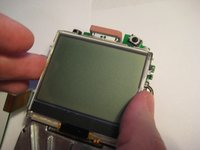
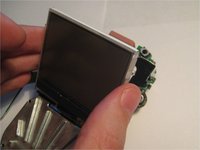
Pivot the LCD screen, pulling on the top and sides and keeping the bottom attached.
-
-
-
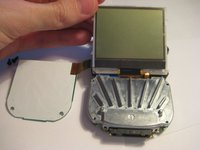
Continue to pivot the screen until it is lying on its face.
-
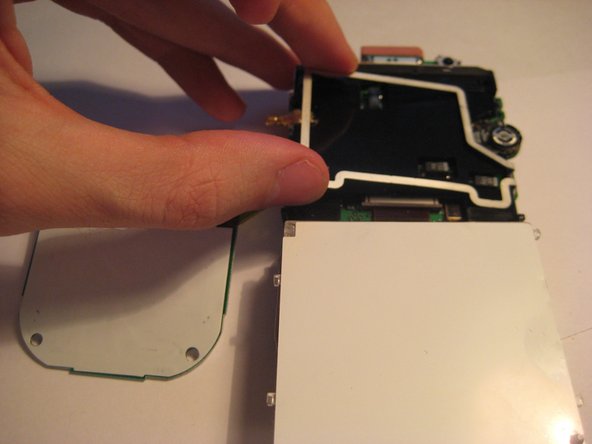
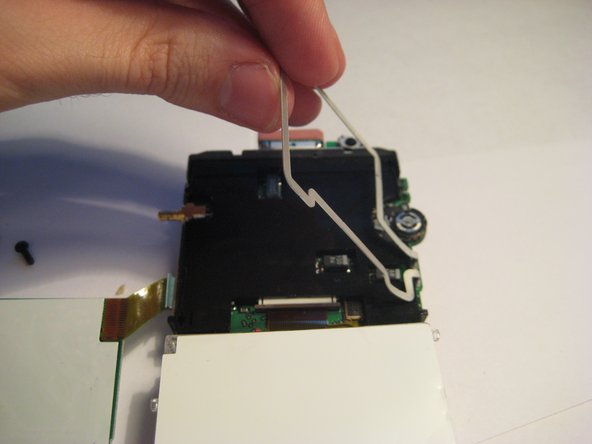
Pivot the wire frame, that was under the LCD, from the left side.
-
-
-
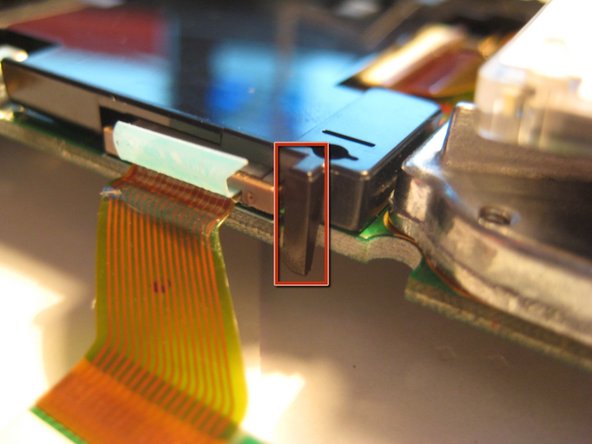
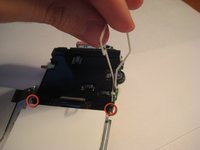
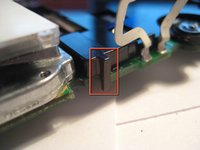
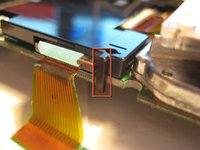
With the frame perpendicular to the device, locate the two black, plastic tabs shown in the two red circles.
-
The boxes show more detailed views in the following pictures.
-
-
-
-
WIth both hands, pull the tabs outwards to release the plastic cover from the board.
-
Once the tabs are disengaged, pivot the plastic cover upwards.
-
After the cover is pivoted slightly, remove it from the device.
-
-
-
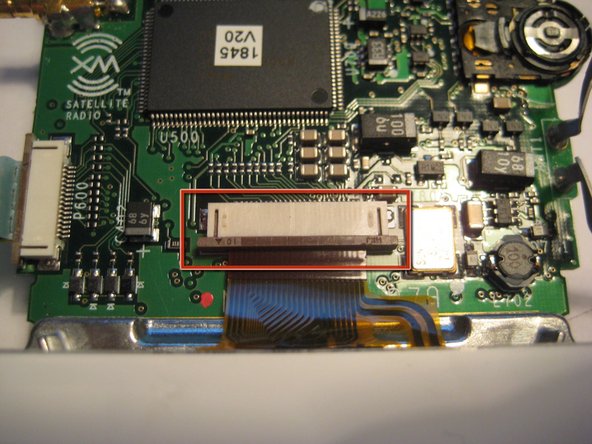
After the plastic cover is removed, locate the white, ribbon connector highlighted by the red square.
-
Rotate the device 90 degrees counterclockwise to remove the ribbon connector.
-
-
-
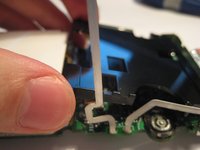
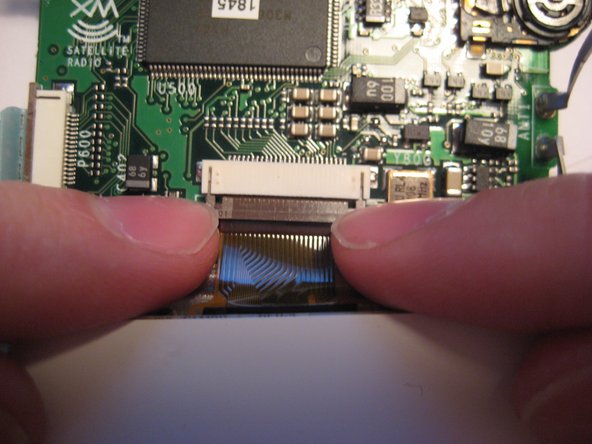
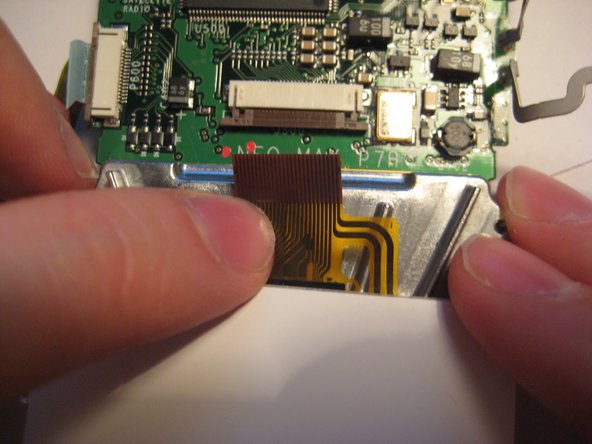
To remove the ribbon cable from the board, catch the sides of the connector with fingernails and pull downward.
-
After the latch is pulled down, the ribbon cable is free to slide out of the connector housing.
-
-
-
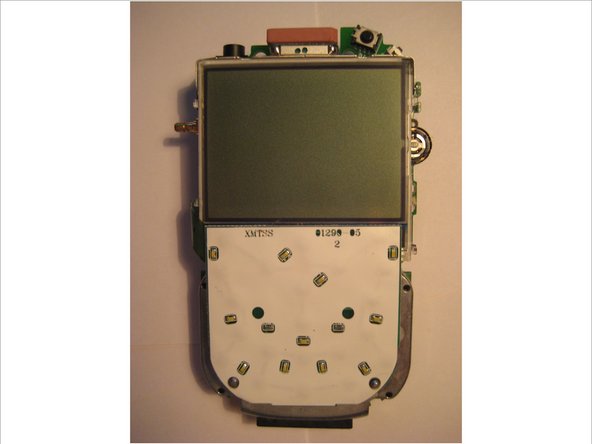
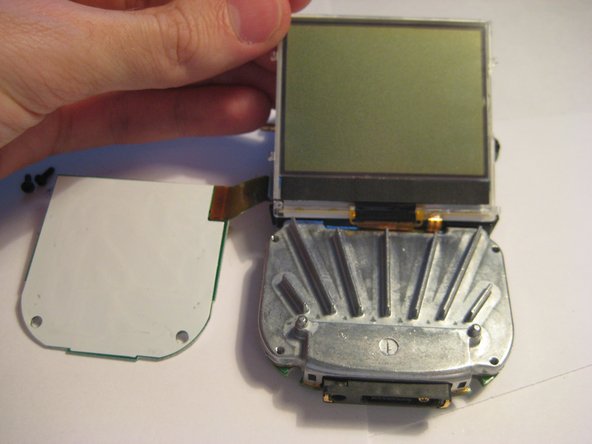
After following the prerequisite steps in the guide, the components are laid out as depicted in the picture.
-
The LCD screen is highlighted in red.
-
-
-
-
-
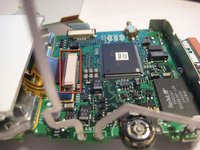
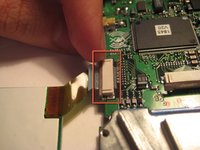
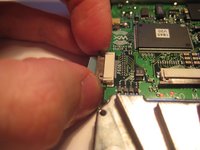
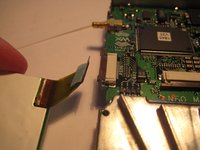
Locate the white ribbon connector attached to the keyboard.
-
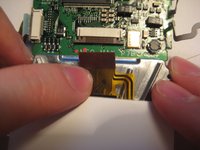
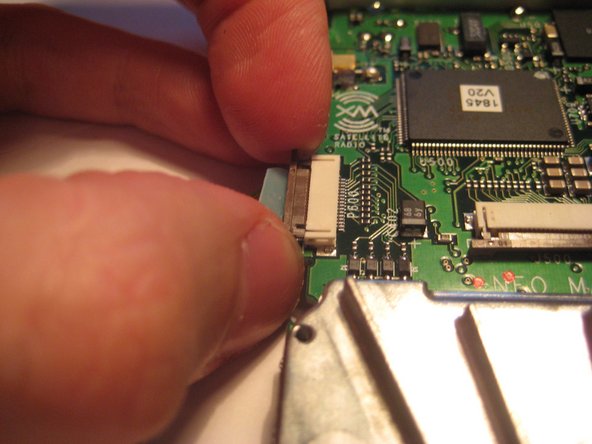
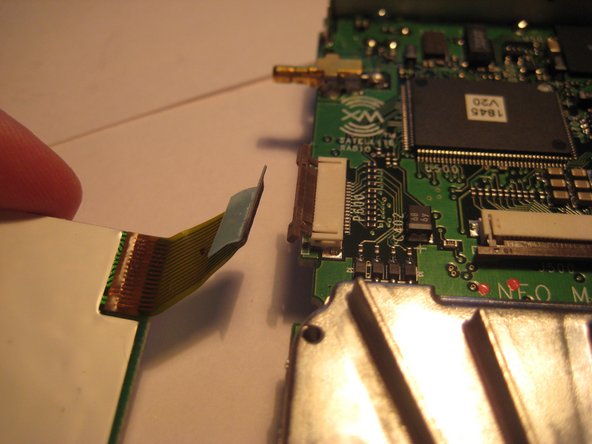
Catch the sides of the connector with fingernails and pull outward.
-
After the latch is pulled out, the ribbon cable is free to slide out of the connector housing.
-
-
-
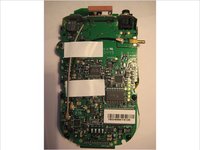
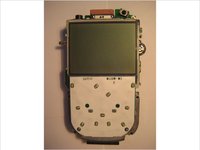
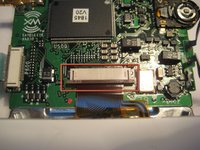
After following the prerequisite steps and the steps of this guide, all of the components should look like this.
-
The keyboard is highlighted in red.
-
-






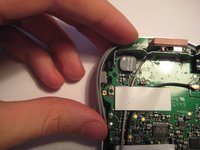
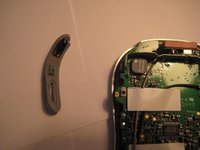

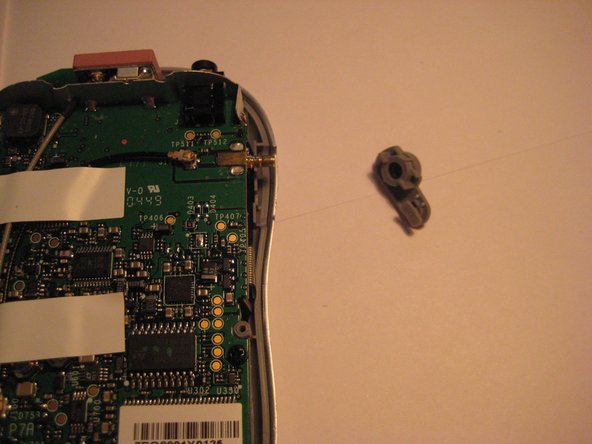
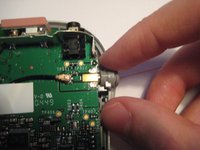
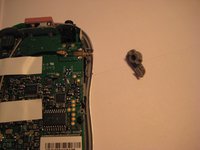

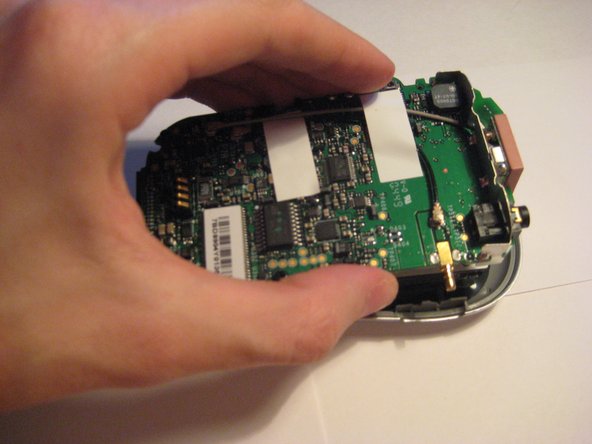
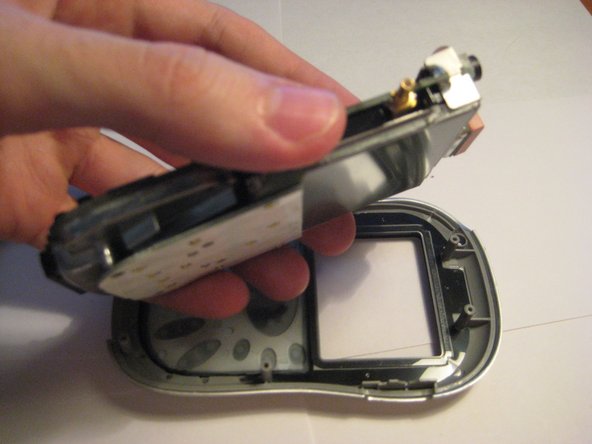
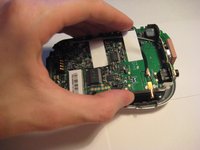
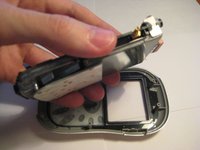




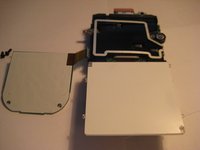
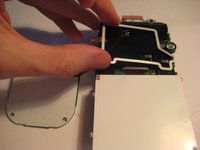
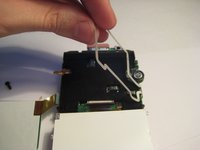

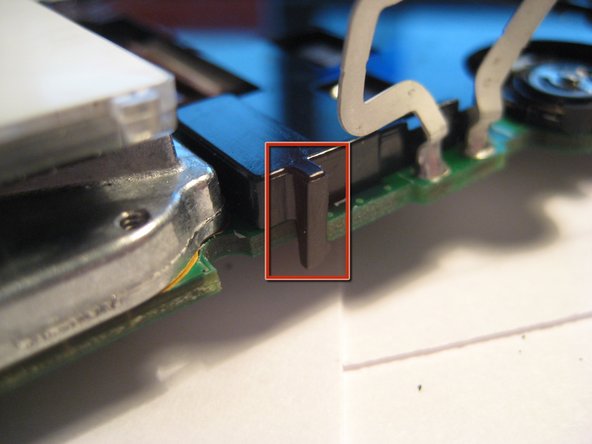

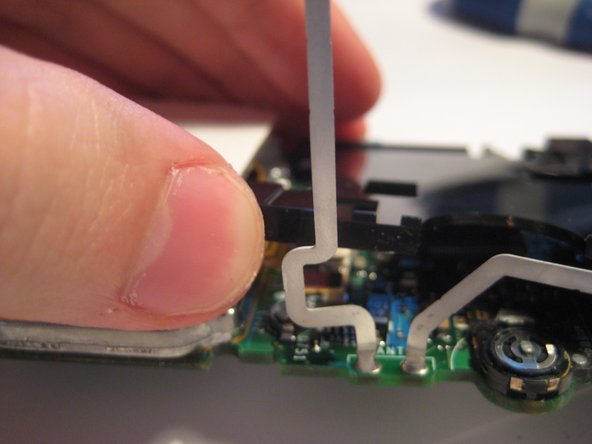
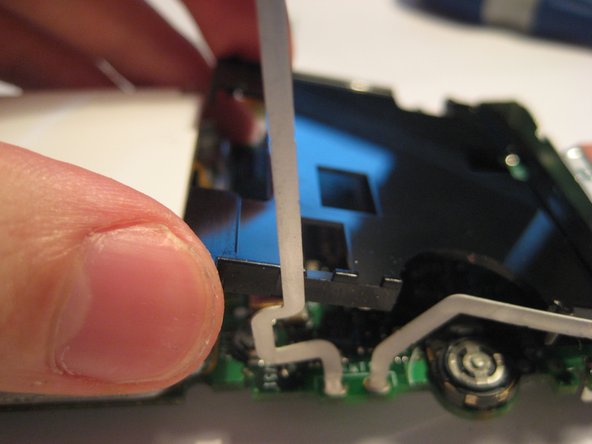





To reassemble your device, follow these instructions in reverse order.

Team

Clemson, Team 1-2, Benson Spring 2012 Member of Clemson, Team 1-2, Benson Spring 2012
CLEM-BENSON-S12S1G2
3 Members
108 Guides authored
