Free Shipping on Domestic Orders $75+

Removing Aftermarket Vehicle Window Tinting

Views: 1.1K

View statistics:

Past 24 Hours:
8
Past 7 Days:
63
Past 30 Days:
170
All Time:
1,089
Comments: 0

No one has left comments on this guide. Will you be first?

Go to guide comments
Completed: 1

1 person has marked this guide "completed." Will you be next?

Favorites: 0

No one has favorited (and subscribed to) this guide. Will you be the first?

Time Required: 20 minutes - 1 hour
Difficulty: Moderate
Community-Contributed Guide

An awesome member of our community made this guide. It was not created by iFixit staff.

Removing Aftermarket Vehicle Window Tinting

Introduction

Go to step 1 ↓

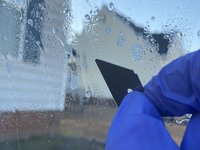
PLEASE READ: You'll need a heat gun and a razor blade to remove the tinting. Read and follow all the instructions for the tools you will be using. PLEASE use common sense when using these dangerous tools, and don't cut or burn yourself. Also, ensure you are working in a well-ventilated area in case of fumes.

The vehicle in this guide is a Nissan Altima.

What you need

Tools

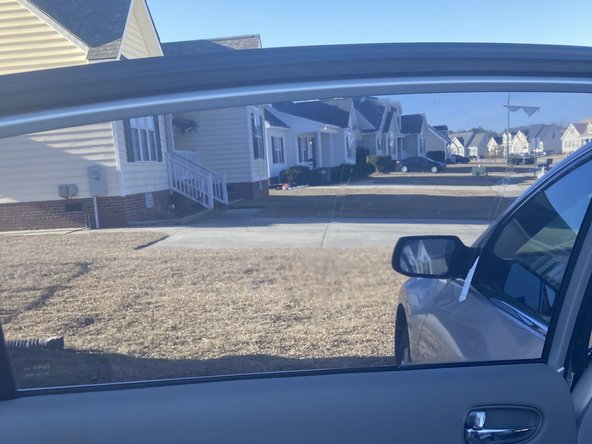
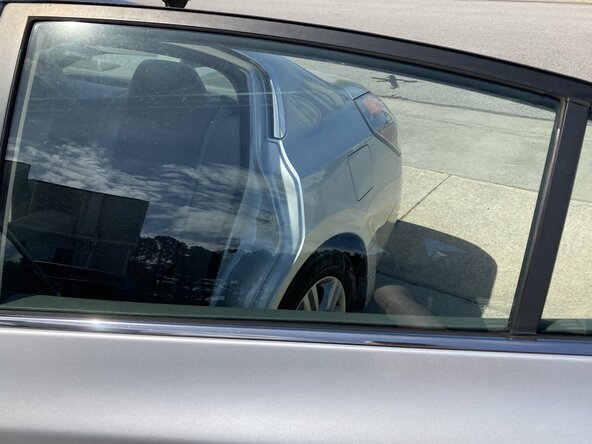
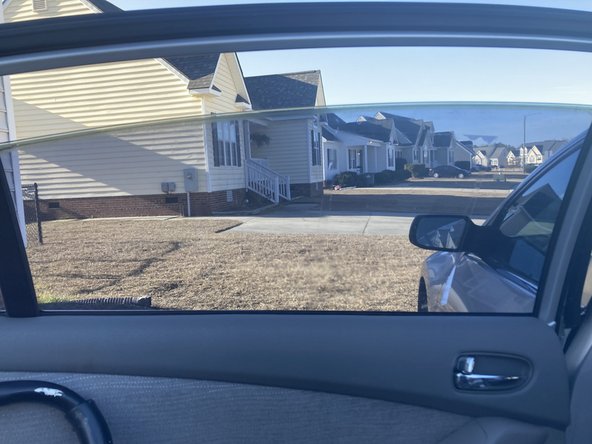
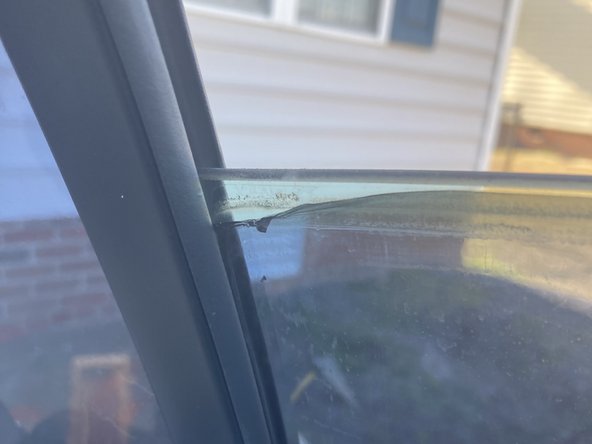
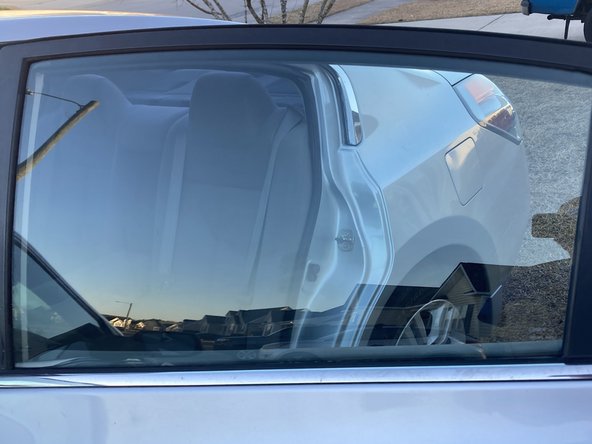
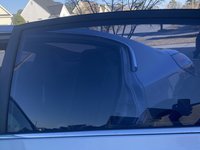
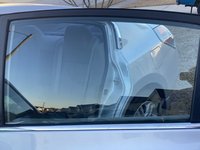
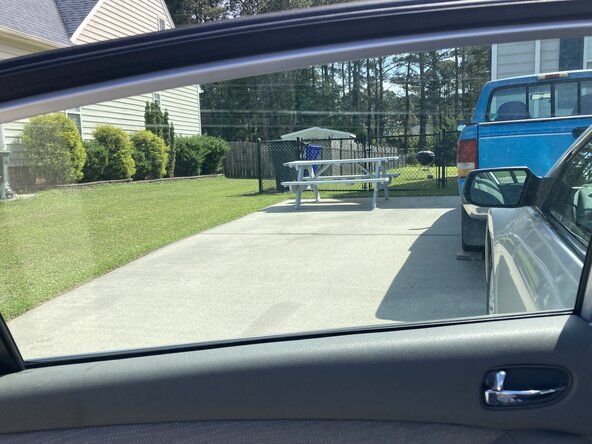
    1. Removing Aftermarket Vehicle Window Tinting, Before Photos: step 1, image 1 of 3 Removing Aftermarket Vehicle Window Tinting, Before Photos: step 1, image 2 of 3 Removing Aftermarket Vehicle Window Tinting, Before Photos: step 1, image 3 of 3
      • This is what your window will look like before.

      • And the third photo shows what it will look like after!

      Ask FixBot

      Add Comment

    2. Removing Aftermarket Vehicle Window Tinting: step 2, image 1 of 2 Removing Aftermarket Vehicle Window Tinting: step 2, image 2 of 2
      • Roll down the window about 1/4 of the way so you can start to remove the tint from the top.

      Ask FixBot

      Add Comment

    3. Removing Aftermarket Vehicle Window Tinting: step 3, image 1 of 3 Removing Aftermarket Vehicle Window Tinting: step 3, image 2 of 3 Removing Aftermarket Vehicle Window Tinting: step 3, image 3 of 3
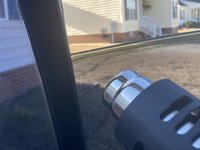
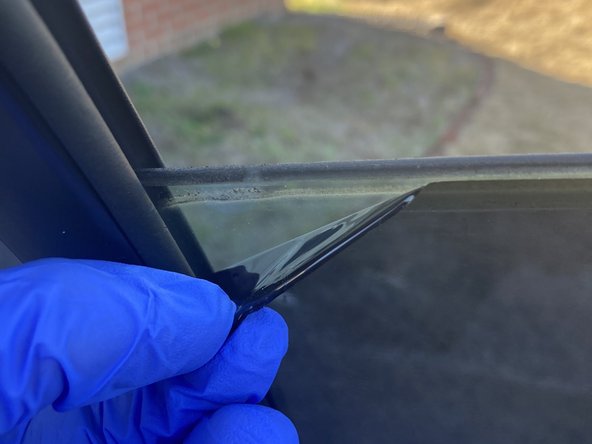
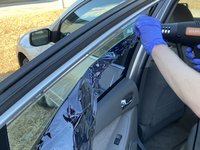
      • Heat the area with a heat gun at the window's edge.

      • Start by using the low setting on the heat gun to gradually heat the surface. After the area has warmed up, you can switch to high heat to make it easier to remove the film.

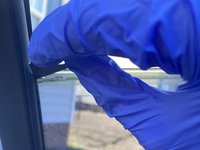
      • Use the razor blade to peel a small area of the tint film up.

      Ask FixBot

      Add Comment

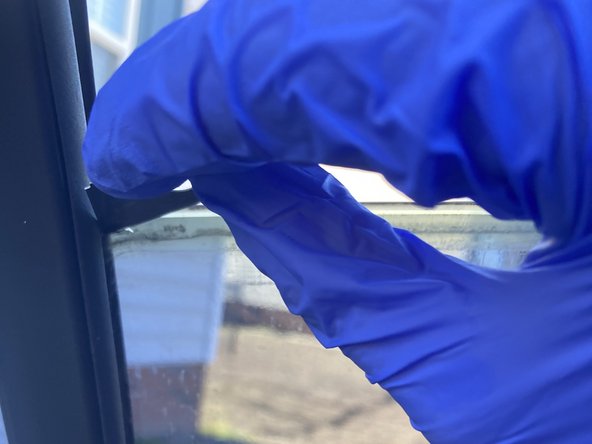
    4. Removing Aftermarket Vehicle Window Tinting: step 4, image 1 of 2 Removing Aftermarket Vehicle Window Tinting: step 4, image 2 of 2
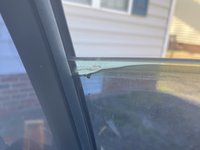
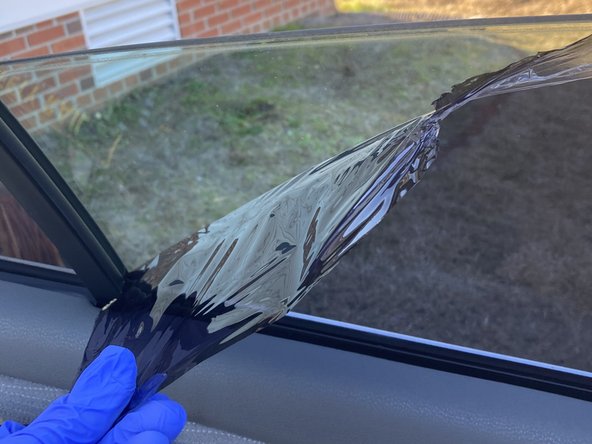
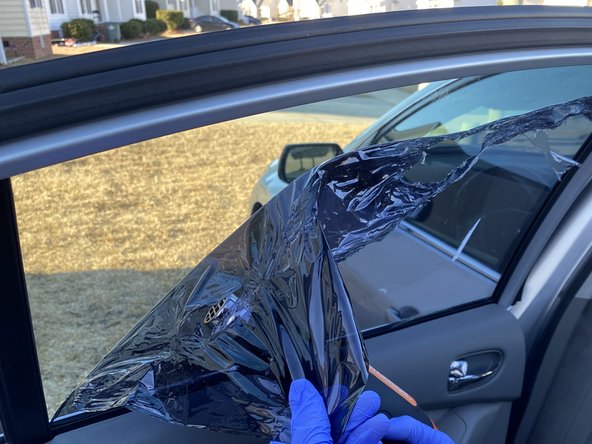
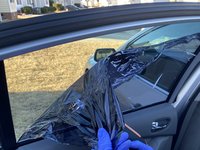
      • Once you've peeled enough with the razor blade to use your fingers, heat the area, then peel with your fingers.

      • Don't pull with your fingers and heat the area with the gun simultaneously. You'll burn yourself.

      • Heat the film angling the heat gun up. This will ensure that the film will not rip easily.

      Ask FixBot

      Add Comment

    5. Removing Aftermarket Vehicle Window Tinting: step 5, image 1 of 1
      • When you've pulled enough film off so that you don't burn your fingers while simultaneously pulling, use a back-and-forth motion with the heat gun along the area where the film is still on the window while pulling on the film. (See next step)

      Ask FixBot

      Add Comment

      • How to heat the area with the heat gun.

      Ask FixBot

      Add Comment

    6. Removing Aftermarket Vehicle Window Tinting: step 7, image 1 of 2 Removing Aftermarket Vehicle Window Tinting: step 7, image 2 of 2
      • Once you have removed the film from the top of the window, you can roll up the window.

      • Continue doing a back-and-forth motion and pulling on the film until all of the film comes off.

      • If the film rips, no worries. Just continue. You can heat up those sections and remove them later.

      Ask FixBot

      Add Comment

    7. Removing Aftermarket Vehicle Window Tinting: step 8, image 1 of 2 Removing Aftermarket Vehicle Window Tinting: step 8, image 2 of 2
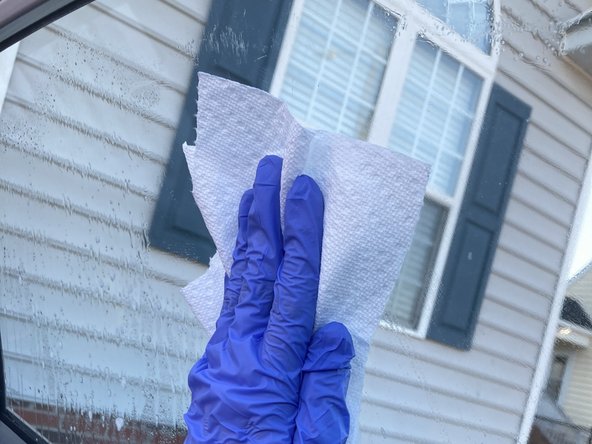
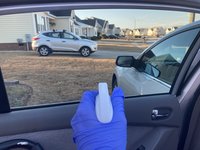
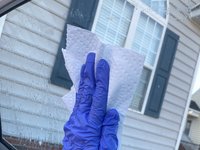
      • Once you have removed all of the film, spray the window with glass cleaner and clean the window with either a rag or paper towel.

      Ask FixBot

      Add Comment

    8. Removing Aftermarket Vehicle Window Tinting: step 9, image 1 of 2 Removing Aftermarket Vehicle Window Tinting: step 9, image 2 of 2
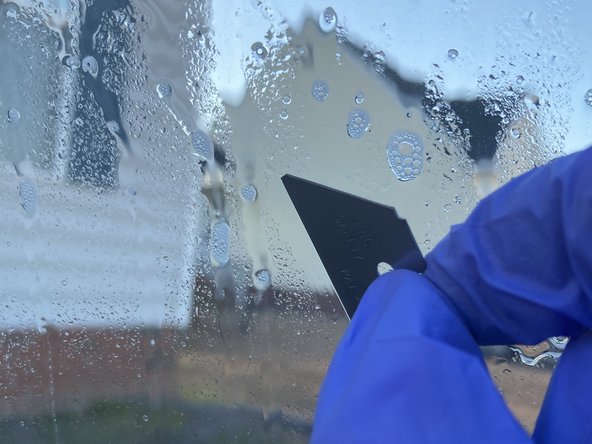
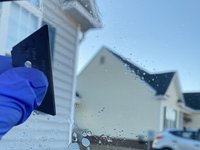
      • For areas where some residue is still on the window, spray the area with glass cleaner and use the razor blade to scrape the area to remove the residue.

      • For really tough residue, use Goo Gone in lieu of glass cleaner.

      Ask FixBot

      Add Comment

    9. Removing Aftermarket Vehicle Window Tinting: step 10, image 1 of 2 Removing Aftermarket Vehicle Window Tinting: step 10, image 2 of 2
      • First photo: Before

      • Second photo: After

      Ask FixBot

      Add Comment

    10. Removing Aftermarket Vehicle Window Tinting, Before and After: step 11, image 1 of 2 Removing Aftermarket Vehicle Window Tinting, Before and After: step 11, image 2 of 2
      • First photo: Before

      • Second photo: After

      Ask FixBot

      Add Comment

Conclusion

You are finished! Repeat the steps in this guide for every window you wish to remove the tinting.

Cancel: I did not complete this guide.

One other person completed this guide.

S.I. Dalton

Member since: 09/05/24

1,728 Reputation

4 Guides authored

Team

Apple fan boys Member of Apple fan boys

Community

57 Members

384 Guides authored

0 Guide Comments

Add Comment

View Statistics:

Past 24 Hours: 8

Past 7 Days: 63

Past 30 Days: 170

All Time: 1,089