Introduction
Since the original part is made of brass and thus too soft for its intended purpose, it is subject to high wear (even when driven with the standard plastic main gear).
What you need
-
-
Here, a screwdriver or other stable thin object (in the picture: letter opener) can be helpful
-
-
-
-
If there is an additional main sprocket and engine sprocket protection (not serial condition), this must be removed first. To do this, all marked screws must be turned out with a PH1 screwdriver. These are two different screws.
-
When the vehicle is in the delivery state, only the red marked screw has to be removed.
-
-
-
Then remove the red marked screw (PH1) on the underside (hold the green marked part),
-
to take out the green marked column / column.
-
-
-
To loosen the pinion, the grub screw that fixes it to the motor output shaft must be loosened. For this you need a 1.5mm Imbus.
-
The rod to adjust the fall on the right rear wheel (direction of travel) should be solved on the vehicle side to remove the old part better (in the photo already done) and the new one to lead.
-
Then it can simply be pulled back and removed
-
-
-
When pushing the new part onto the shaft, please note that it has a flattened side. At this the grub screw (marked in green) should rest.
-
-
-
To adjust, slightly open the green marked screw and tilt the motor in the desired direction.
-

 Ask FixBot


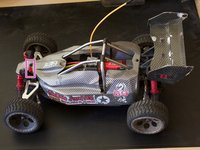
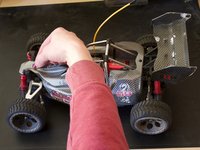


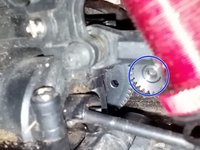
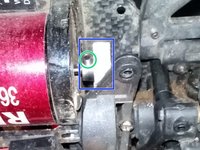

Please dispose of the old part properly! Best in the metal container on the recycling center, so it can be recycled. It has nothing to do with household waste. Work the steps in reverse order to reassemble the vehicle.
Cancel: I did not complete this guide.
One other person completed this guide.
Special thanks to these translators:
100%

irlanda is helping us fix the world! Want to contribute?
Start translating ›

