Free Shipping on Domestic Orders $75+

RedOctane X-Plorer Front Case Replacement

What you need

    1. RedOctane X-Plorer Front Case Replacement, Rear Case: step 1, image 1 of 2 RedOctane X-Plorer Front Case Replacement, Rear Case: step 1, image 2 of 2
      • Remove the strap by pulling it off of the mounts located on the body and neck.

      Ask FixBot

      Add Comment

    2. RedOctane X-Plorer Front Case Replacement: step 2, image 1 of 3 RedOctane X-Plorer Front Case Replacement: step 2, image 2 of 3 RedOctane X-Plorer Front Case Replacement: step 2, image 3 of 3
      • Remove the nine 12mm Phillips #1 screws around the perimeter of the case with a screwdriver.

      • Remove the two 15mm Phillips #1 screws connecting the body panel to the neck panel with a screwdriver.

      • These screws can also be Torx on some models.

      • Pull off the rear case.

      Ask FixBot

      Add Comment

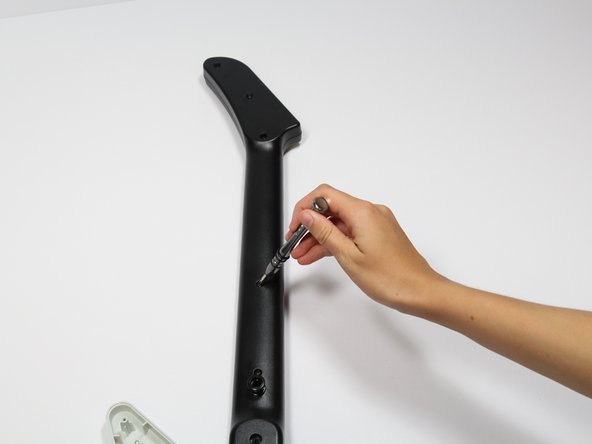
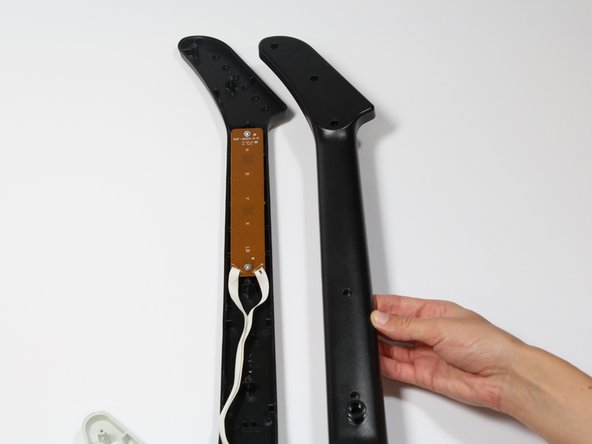
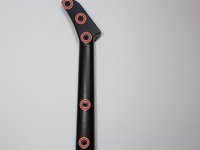
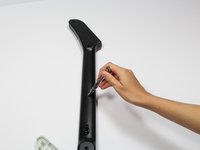
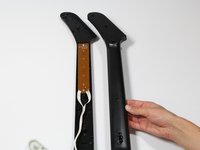
    3. RedOctane X-Plorer Front Case Replacement: step 3, image 1 of 3 RedOctane X-Plorer Front Case Replacement: step 3, image 2 of 3 RedOctane X-Plorer Front Case Replacement: step 3, image 3 of 3
      • Remove the five 12mm Phillips #1 screws along the neck with a screwdriver.

      • Pull off the top shell of the neck to expose the internal features.

      Ask FixBot

      Add Comment

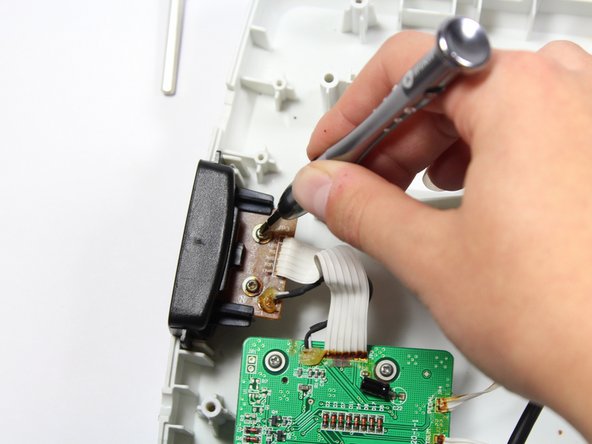
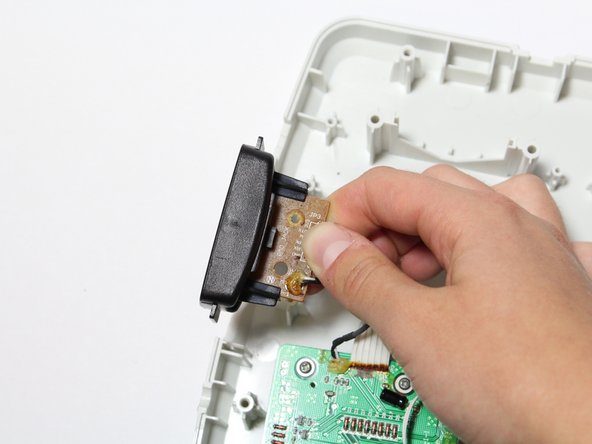
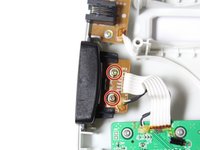
    1. RedOctane X-Plorer Front Case Replacement, Auxiliary Port: step 4, image 1 of 3 RedOctane X-Plorer Front Case Replacement, Auxiliary Port: step 4, image 2 of 3 RedOctane X-Plorer Front Case Replacement, Auxiliary Port: step 4, image 3 of 3
      • Remove the two 10mm Phillips #1 screws from the auxiliary port board using a screwdriver.

      • Gently lift up on the auxiliary port to remove it from the case.

      Ask FixBot

      Add Comment

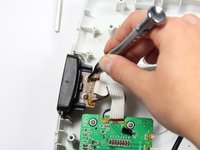
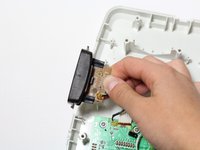
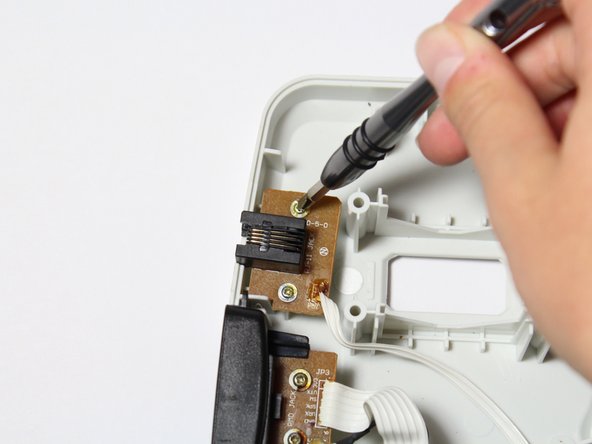
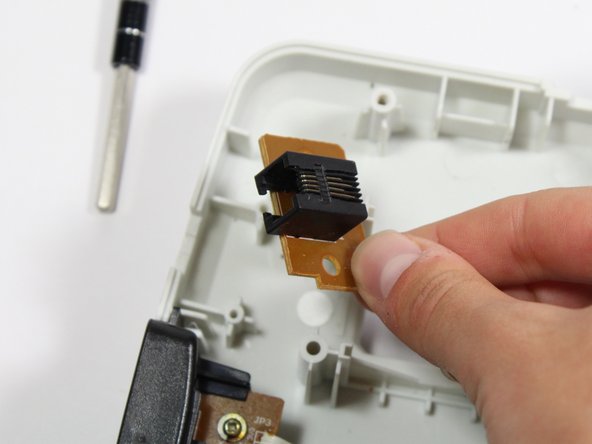
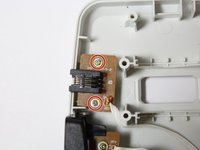
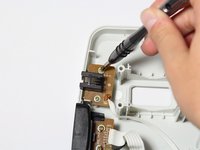
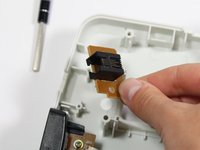
    1. RedOctane X-Plorer Front Case Replacement, RJ-14 Connector: step 5, image 1 of 3 RedOctane X-Plorer Front Case Replacement, RJ-14 Connector: step 5, image 2 of 3 RedOctane X-Plorer Front Case Replacement, RJ-14 Connector: step 5, image 3 of 3
      • Remove the two 10mm Phillips #1 screws from the RJ-14 connector board.

      • Lift the RJ-14 connector to remove it from the case.

      Ask FixBot

      Add Comment

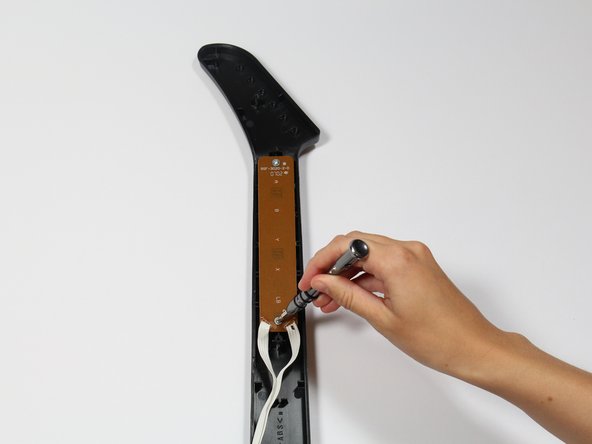
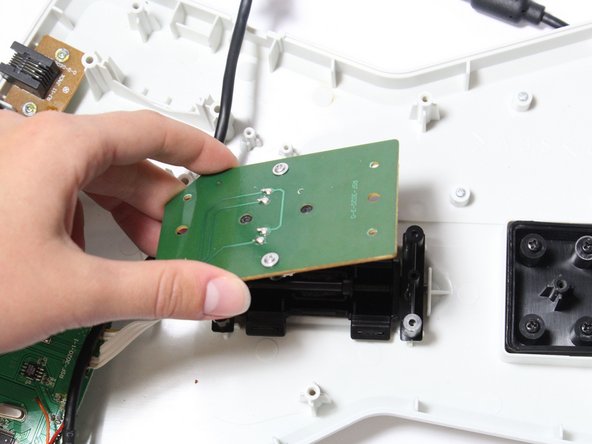
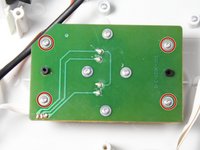
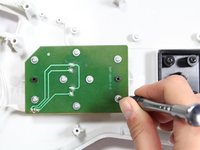
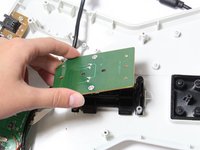
    1. RedOctane X-Plorer Front Case Replacement, Keys: step 6, image 1 of 3 RedOctane X-Plorer Front Case Replacement, Keys: step 6, image 2 of 3 RedOctane X-Plorer Front Case Replacement, Keys: step 6, image 3 of 3
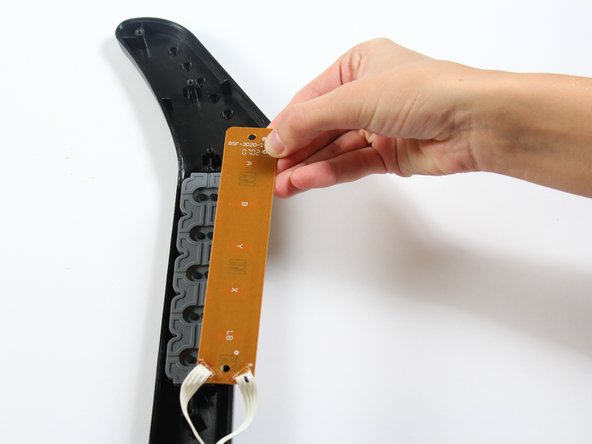
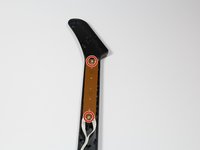
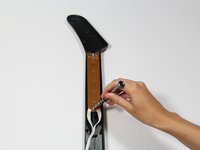
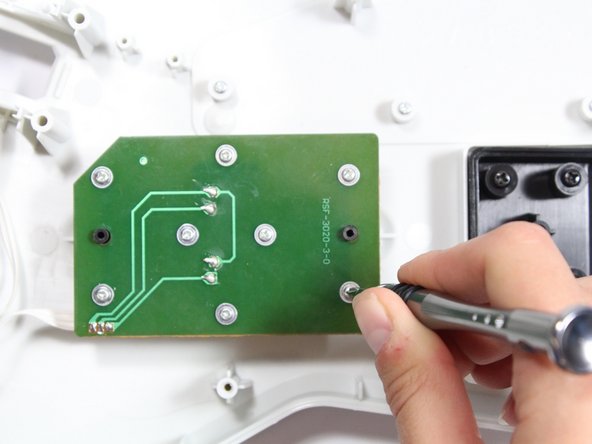
      • Use a screwdriver to remove the 10 mm Phillips #1 screws from the key sensor board.

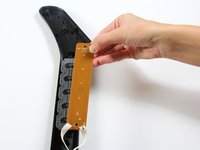
      • Lift up on the key sensor board to remove it from the guitar neck.

      • When using the screwdriver, make sure to avoid puncturing the wires.

      Ask FixBot

      Add Comment

    2. RedOctane X-Plorer Front Case Replacement: step 7, image 1 of 1
      • Using your fingers, remove the rubber pad to expose the colored keys.

      Ask FixBot

      Add Comment

    3. RedOctane X-Plorer Front Case Replacement: step 8, image 1 of 2 RedOctane X-Plorer Front Case Replacement: step 8, image 2 of 2
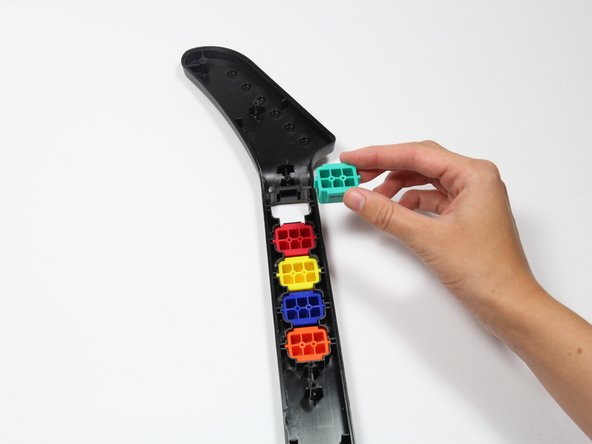
      • Reach one finger under the guitar to push the key out of the casing.

      • Repeat this step for the four remaining keys.

      Ask FixBot

      Add Comment

    1. RedOctane X-Plorer Front Case Replacement, Strum Bar Sensor Board: step 9, image 1 of 3 RedOctane X-Plorer Front Case Replacement, Strum Bar Sensor Board: step 9, image 2 of 3 RedOctane X-Plorer Front Case Replacement, Strum Bar Sensor Board: step 9, image 3 of 3
      • Use a screwdriver to remove the four 14mm Phillips #1 screws around the perimeter of the strum bar sensor board.

      • Lift up on the strum bar sensor board to remove it from the case.

      Ask FixBot

      Add Comment

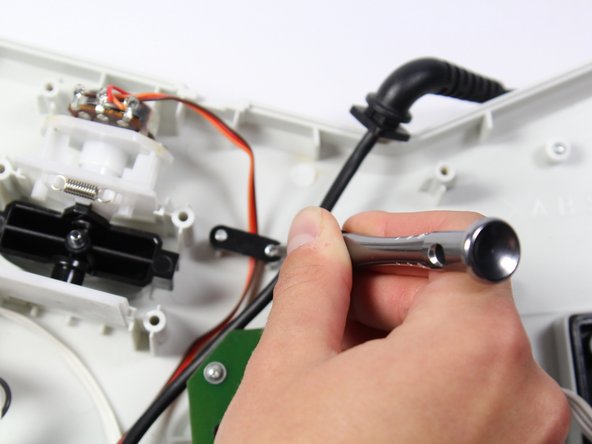
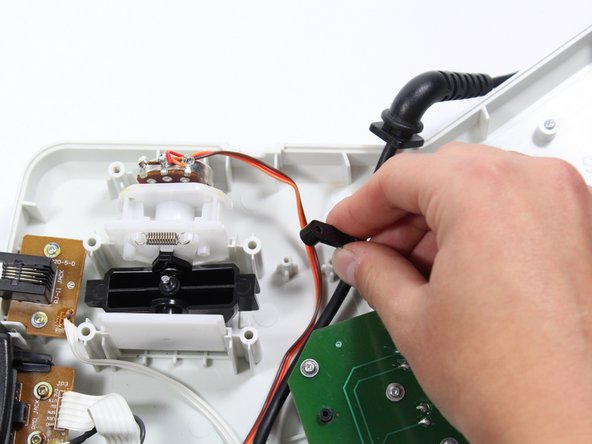
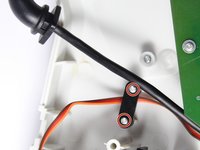
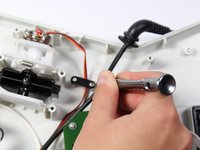
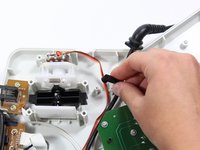
    1. RedOctane X-Plorer Front Case Replacement, Whammy Bar Sensor: step 10, image 1 of 3 RedOctane X-Plorer Front Case Replacement, Whammy Bar Sensor: step 10, image 2 of 3 RedOctane X-Plorer Front Case Replacement, Whammy Bar Sensor: step 10, image 3 of 3
      • Remove the two 7mm Phillips #0 screws.

      • Using your fingers, remove the black wire retainer.

      Ask FixBot

      Add Comment

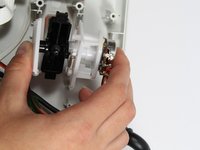
    2. RedOctane X-Plorer Front Case Replacement: step 11, image 1 of 2 RedOctane X-Plorer Front Case Replacement: step 11, image 2 of 2
      • Using one hand, remove the whammy bar and its attached components from the case.

      Ask FixBot

      Add Comment

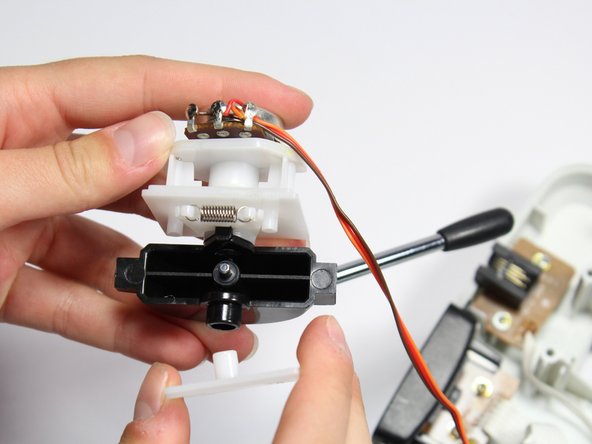
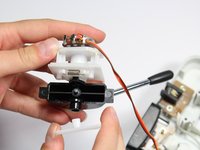
    3. RedOctane X-Plorer Front Case Replacement: step 12, image 1 of 1
      • Using two hands, remove the whammy bar sensor.

      Ask FixBot

      Add Comment

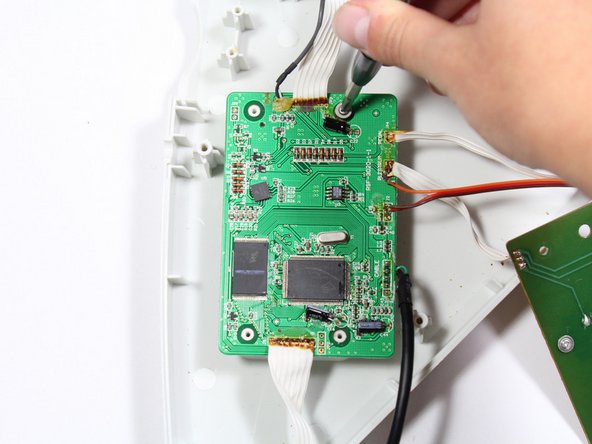
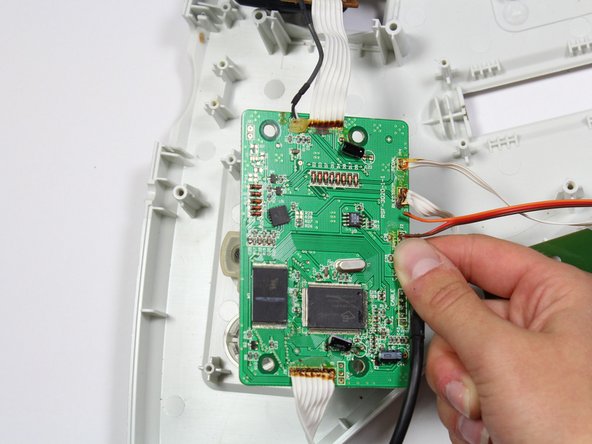
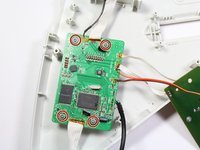
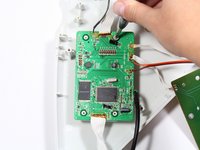
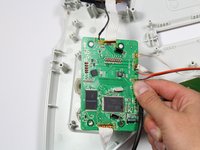
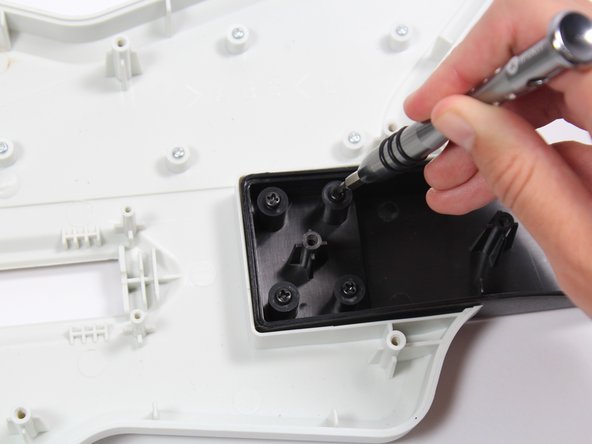
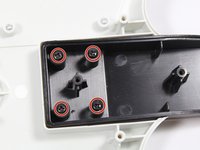
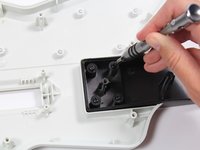
    1. RedOctane X-Plorer Front Case Replacement, Motherboard: step 13, image 1 of 3 RedOctane X-Plorer Front Case Replacement, Motherboard: step 13, image 2 of 3 RedOctane X-Plorer Front Case Replacement, Motherboard: step 13, image 3 of 3
      • Remove the four 10mm Phillips #1 screws around the perimeter of the motherboard with a screwdriver.

      • Lift the motherboard to remove it from the case.

      Ask FixBot

      Add Comment

    1. RedOctane X-Plorer Front Case Replacement, Front Case: step 14, image 1 of 2 RedOctane X-Plorer Front Case Replacement, Front Case: step 14, image 2 of 2
      • Remove the four 12mm Phillips #1 that connect the body to the neck using a screwdriver.

      Ask FixBot

      Add Comment

    2. RedOctane X-Plorer Front Case Replacement: step 15, image 1 of 1
      • Remove the neck panel from the front body panel.

      Ask FixBot

      Add Comment

Conclusion

To reassemble your device, follow these instructions in reverse order.

Cancel: I did not complete this guide.

Riley

Member since: 04/18/18

703 Reputation

7 Guides authored

Team

Cal Poly, Team S17-G1, Livingston Spring 2018 Member of Cal Poly, Team S17-G1, Livingston Spring 2018

CPSU-LIVINGSTON-S18S17G1

3 Members

108 Guides authored

0 Guide Comments

Add Comment

View Statistics:

Past 24 Hours: 1

Past 7 Days: 6

Past 30 Days: 29

All Time: 1,304