
RedMax Trimmer Carburetor Replacement

Kevin Ydrovo and 2 other contributors
Last updated on Sep 24, 2020
Views: 6.4K
View statistics:
- Past 24 Hours:
- 4
- Past 7 Days:
- 25
- Past 30 Days:
- 111
- All Time:
- 6,397
Comments: 0
No one has left comments on this guide. Will you be first?
Go to guide commentsCompleted: 4 5
4 people have marked this guide "completed." Will you be next?
5 people have marked this guide "completed." Including you — great job!
Favorites: 10 11
10 people have favorited (and subscribed to) this guide. Will you be next?
11 people have favorited (and subscribed to) this guide — including you!
Introduction
Go to step 1 ↓When your trimmer fails to start after a long winter, it can be because of a number of reasons. It could be that there is no gas, the gas is tainted with water, or the spark plug is dead. If all of those are in working order, then it may be possible that the carburetor needs the gaskets replaced. The carburetor controls the amount of air entering the unit. When you engage the throttle, it allows more air to enter, causing a pressure difference, that in turn pulls more fuel from the gas tank. When the gaskets go bad, due to age, particles of debris, or water, it allows air to escape. Therefore, not enough fuel is used and the engine fails to run properly. Changing the carburetor is a simple task that can save you from taking your unit to a small engine repair shop or from buying a new one.
What you need
Parts
Tools

-
-
-
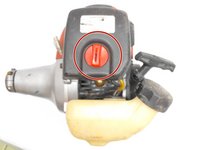
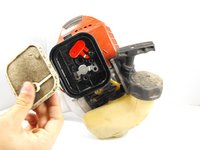
Locate the red knob that locks the air filter cover to the air filter housing.
-
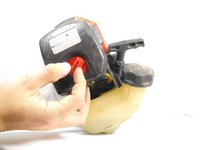
Rotate the knob clockwise.
-
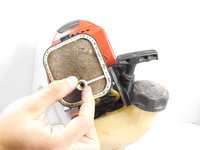
Remove the air filter cover, exposing the air filter.
 Ask FixBot
-
-
-
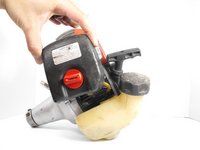
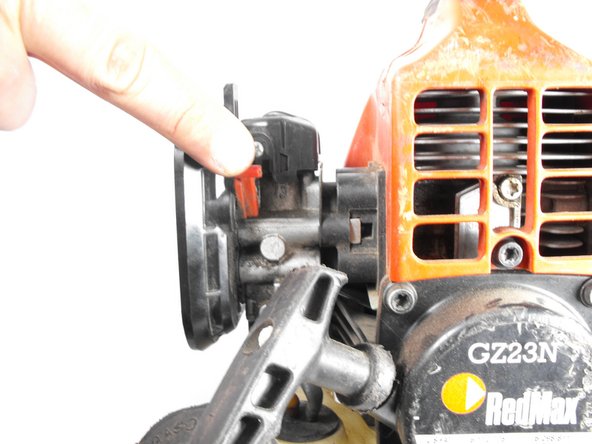
The red panel hides a second screw. In order to expose it, locate the red choke lever on the right side of the air filter housing.
-
Push the red choke lever down.
-
-
-
Disconnect the yellow and black fuel lines from the carburetor assembly by pinching the clamp and sliding it down the tube.
-
Gently pull the yellow and black lines away from the assembly.
-
-
-
Using the T27 screwdriver, unscrew the two 55mm screws that hold the air filter housing and carburetor to the trimmer.
-
Separate the carburetor from the trimmer and air filter housing.
-
-
-
-
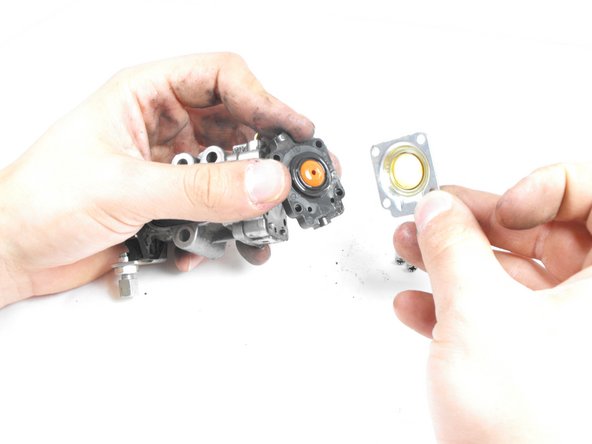
Unscrew the four 24 mm long screws that hold the carburetor together, using the #1 Phillips head screw driver.
-
Once the screws are removed, the rest of the carburetor should separate easily.
-
-
-
Carefully remove the gaskets and carburetor and replace them in the same order that they were removed.
-
-









To reassemble your device, follow these instructions in reverse order.
Cancel: I did not complete this guide.
4 other people completed this guide.

Team

University of Memphis, Team S4-G7, Baddour Spring 2017 Member of University of Memphis, Team S4-G7, Baddour Spring 2017
UM-BADDOUR-S17S4G7
3 Members
12 Guides authored
