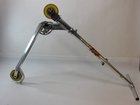
Razor A Wheel Replacement

Jordyn and 8 other contributors
Last updated on Nov 18, 2021
Views: 15K
View statistics:
- Past 24 Hours:
- 9
- Past 7 Days:
- 32
- Past 30 Days:
- 155
- All Time:
- 14,593
Comments: 0
No one has left comments on this guide. Will you be first?
Go to guide commentsCompleted: 3 4
3 people have marked this guide "completed." Will you be next?
4 people have marked this guide "completed." Including you — great job!
Favorites: 1 2
1 person has favorited (and subscribed to) this guide. Will you be next?
2 people have favorited (and subscribed to) this guide — including you!
Introduction
Go to step 1 ↓After using the scooter for a long period of time, one of the wheels may deform, develop flat spots, or crack in some areas, resulting in a rough ride for the user. This guide will show you how to replace a wheel on your scooter, returning it to its original glory.
What you need

-
-
-
Flip the scooter upside-down with the handlebars and brake on the ground.
 Ask FixBot
-
-
-
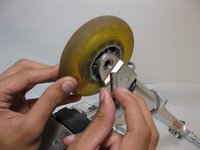
Grab two 3/16" Allen wrenches. Insert one in each screw on the sides of the wheel. Hold one screw in place while turning the other in a counter-clockwise direction, loosening the screw.
-
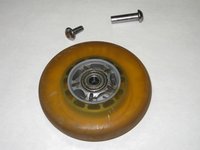
Once both screws are removed the wheel should be free and fall out.
-
-
-
-
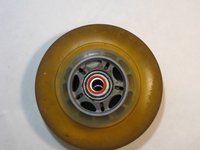
Remove any obstructions inside the bearing of the new wheel, and move the inner sleeve in the bearing with an Allen key so that the screws can slide into the bearing freely.
-
Put the replacement wheel into place in the scooter frame.
-
-




To reassemble your device, follow these instructions in reverse order.
Cancel: I did not complete this guide.
3 other people completed this guide.

Team

Cal Poly, Team 9-13, Amido Fall 2012 Member of Cal Poly, Team 9-13, Amido Fall 2012
CPSU-AMIDO-F12S9G13
4 Members
60 Guides authored
