
Razor A Handle Grips Replacement

Jordyn and 5 other contributors
Last updated on Aug 3, 2023
Views: 6K
View statistics:
- Past 24 Hours:
- 3
- Past 7 Days:
- 19
- Past 30 Days:
- 120
- All Time:
- 5,953
Comments: 1
1 guide comment.
Go to guide commentsCompleted: 1 2
1 person has marked this guide "completed." Will you be next?
2 people have marked this guide "completed." Including you — great job!
Favorites: 2 3
2 people have favorited (and subscribed to) this guide. Will you be next?
3 people have favorited (and subscribed to) this guide — including you!
Featured Guide
This guide has been found to be exceptionally cool by the iFixit staff.
Featured Student Guide
This guide has been the hard work of our awesome students and is found to be exceptionally cool by the iFixit staff.
Introduction
Go to step 1 ↓Do your hands hurt or slip when riding your scooter? Chances are your handle grips need to be replaced. This guide will show you how.
What you need

-
-
-
Locate the handle grips at the upper ends of the T-tube.
-
Wedge one end of a pair of scissors between the metal T-tube and a handle grip, with the cutting edge toward the handle grip. Cut the handle grip off.
-
Repeat for the other handle grip.
 Ask FixBot
-
-
-
-
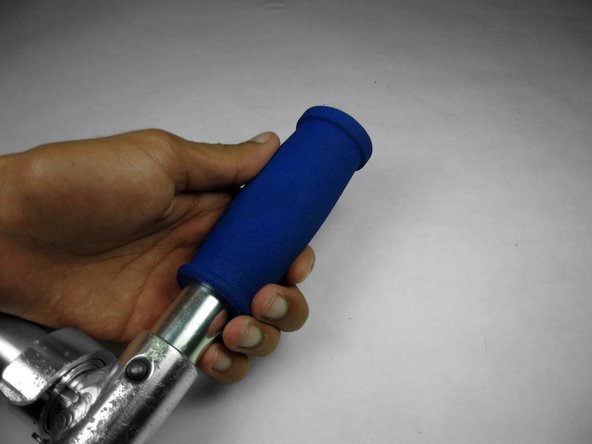
Holding the T-tube with one hand, slide a handle grip completely onto the T-tube.
-
Repeat for the other handle grip if installing both.
-
Let the handle grips dry for 24 hours before use.
-
-


Cancel: I did not complete this guide.
One other person completed this guide.

Team

Cal Poly, Team 9-13, Amido Fall 2012 Member of Cal Poly, Team 9-13, Amido Fall 2012
CPSU-AMIDO-F12S9G13
4 Members
60 Guides authored
