
Free Shipping on Domestic Orders $75+

Razer Wolverine Ultimate Face Buttons Replacement

What you need

  1. Razer Wolverine Ultimate Face Buttons Replacement, Back Panel: step 1, image 1 of 1
    • Place a Jimmy into the crevice between the front panel and one of the back grips, and gently pry the back grip off. Repeat for the other back grip.

    • You may damage the grip's rubber when doing this, but the damage is minimal and does not affect the effectiveness of this device.

  2. Razer Wolverine Ultimate Face Buttons Replacement: step 2, image 1 of 2 Razer Wolverine Ultimate Face Buttons Replacement: step 2, image 2 of 2
    • Remove two 2 mm screws on the back of each grip using a T5 Torx screwdriver.

  3. Razer Wolverine Ultimate Face Buttons Replacement: step 3, image 1 of 3 Razer Wolverine Ultimate Face Buttons Replacement: step 3, image 2 of 3 Razer Wolverine Ultimate Face Buttons Replacement: step 3, image 3 of 3
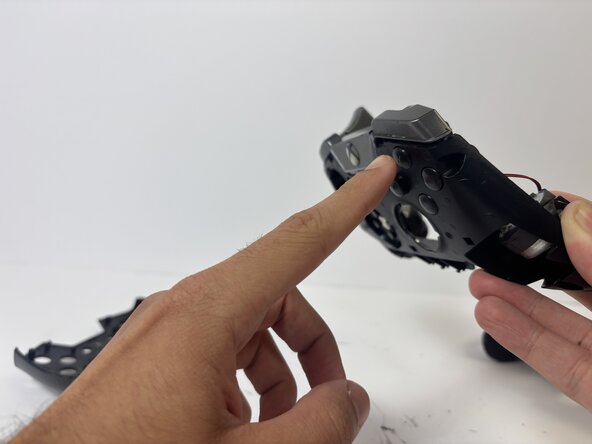
    • Place a Jimmy into the crevice between the front and back panels and pry the back panel away.

  4. Razer Wolverine Ultimate Face Buttons Replacement: step 4, image 1 of 1
    • Separate the top of the controller from the back, exposing the motherboard.

  5. Razer Wolverine Ultimate Face Buttons Replacement, Face Buttons: step 5, image 1 of 1
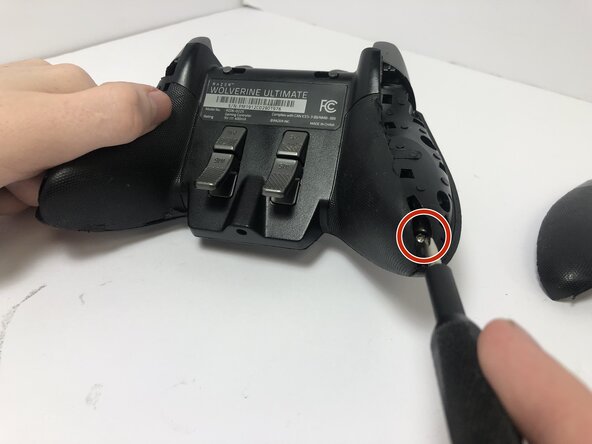
    • Remove all four 4 mm main screws holding the motherboard in its place using a Phillips #000 screwdriver.

  6. Razer Wolverine Ultimate Face Buttons Replacement: step 6, image 1 of 1
    • Detach the two white connectors from the motherboard.

  7. Razer Wolverine Ultimate Face Buttons Replacement: step 7, image 1 of 1
    • Lift the motherboard up slowly to avoid damaging any inner components.

    • In the middle is a white ribbon of wires connecting the inside of the controller to the motherboard. Be careful not to detach or damage it by pulling too hard.

  8. Razer Wolverine Ultimate Face Buttons Replacement: step 8, image 1 of 1
    • Detach the white ribbon cable from the motherboard.

    • Remove the motherboard from the controller.

  9. Razer Wolverine Ultimate Face Buttons Replacement: step 9, image 1 of 1
    • Push the face buttons out from the front side of the controller.

    • Be advised as the buttons are not firmly in place; they can fall out.

Conclusion

For reassembly, follow these steps in reverse order.

andrew martin ☝️

Member since: 09/09/25

193 Reputation

2 Guides authored

0 Guide Comments

Add Comment

View Statistics:

Past 24 Hours: 0

Past 7 Days: 0

Past 30 Days: 26

All Time: 158