
Razer Viper Ultimate Upper Shell Replacement

Nora Kanaan and 5 other contributors
Last updated on Apr 10, 2026
Views: 4.9K
View statistics:
- Past 24 Hours:
- 2
- Past 7 Days:
- 55
- Past 30 Days:
- 259
- All Time:
- 4,908
Comments: 1
1 guide comment.
Go to guide commentsCompleted: 0 1
No one has marked this guide "completed." Will you be the first?
1 person has marked this guide "completed." It's you — great job!
Favorites: 1 2
1 person has favorited (and subscribed to) this guide. Will you be next?
2 people have favorited (and subscribed to) this guide — including you!
Introduction
Go to step 1 ↓Whether you're an avid gamer or a casual user, this step-by-step tutorial will help you replace the shell of your mouse with a new one. Before you begin, here are some key points to keep in mind:
Why This Repair Might be Needed:
Over time, the original mouse shell may wear out, or get damaged, or you might want to give your Razer Viper Ultimate a fresh look. This guide provides a comprehensive walkthrough to help you replace the shell and revitalize your gaming companion.
Special Requirements:
To complete this repair, you'll need a few tools, including a flathead screwdriver, a T5 hex-bit screwdriver, and a small Philips head screwdriver. Make sure you have these tools handy before starting the process.
Hazards and Cautions:
Be cautious when handling electronic components like the Printed Circuit Board (PCB) and battery. Always disconnect the device from any power source before beginning the repair. Additionally, please take note of the warnings regarding warranty voiding mentioned in our guide and the manufacturer's policy.
Now let's get started on reviving your Razer Viper Ultimate Mouse!
What you need
Tools


-
-
-
Gently use a flathead screwdriver to lift and take off the mouse skates, exposing the screws.
 Ask FixBot
-
-
-
Use a T6 torx screwdriver to remove the four 2 mm screws from the bottom cover of the mouse.
-
-
-
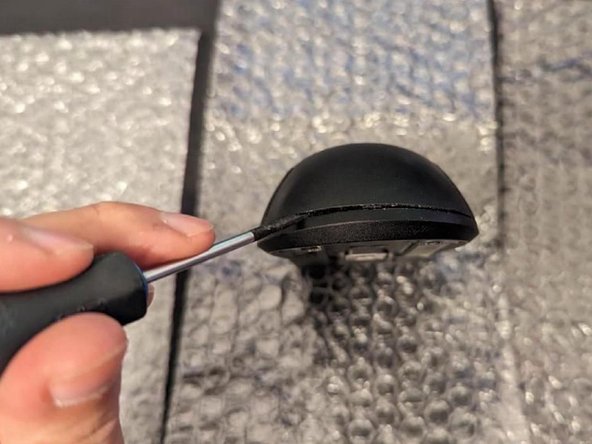
With the flathead screwdriver, carefully open the sides and back, unclipping the bottom shell from the mouse.
-
-
-
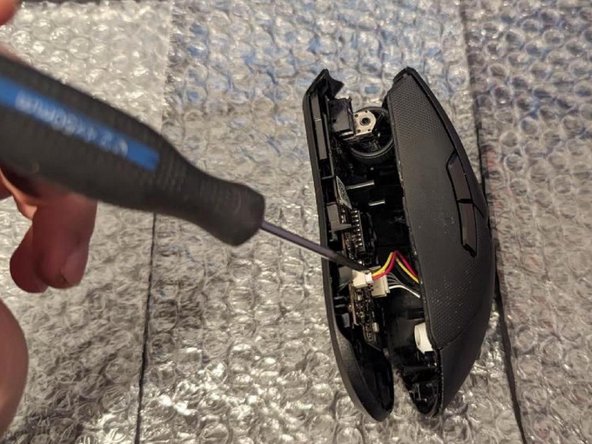
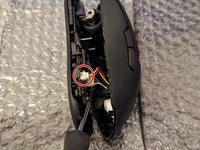
Disconnect the three-pin connector cable under the Printed Circuit Board (PCB). Take off the cable with yellow, red, and black wires to reach the four 2.5 mm screws holding the battery and switches.
-
-
-
Use a small Phillips-head screwdriver to remove the four 2.5 mm screws that secure the battery unit.
-
-
-
Move the PCB with the battery from the old shell to the new one. Align the 4 plastic guide pegs with the holes in the PCB.
-
-
-
Screw the 2.5 mm screws back into the switch pack and battery using the small Phillips-head screwdriver, following the layout of the new shell.
-
-
-
-
Attach the bottom half of the mouse to the shell, ensuring everything is in its original place.
-
-
-
Screw in the four 2 mm hex screws on the bottom cover of the mouse (refer to step 2).
-
Finally, put the skates back on.
-
-


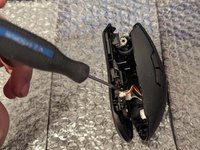

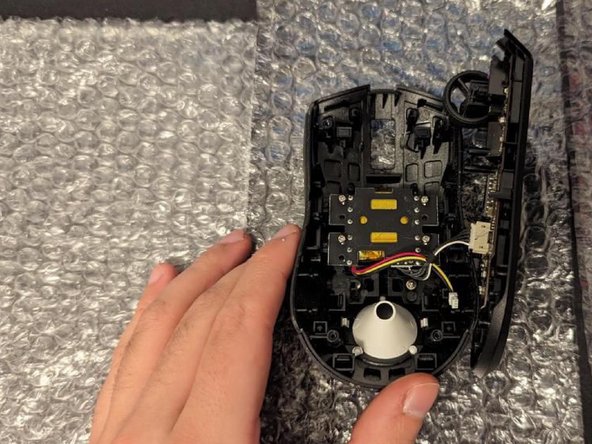
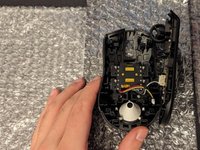

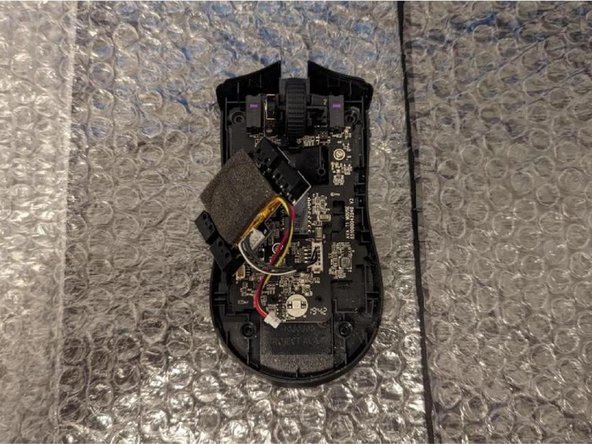
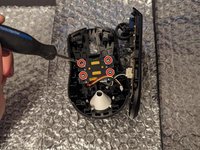
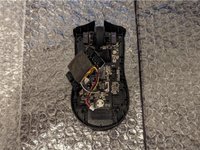


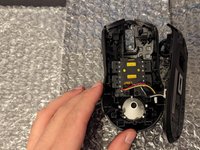
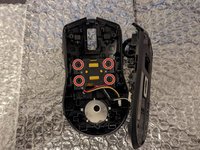


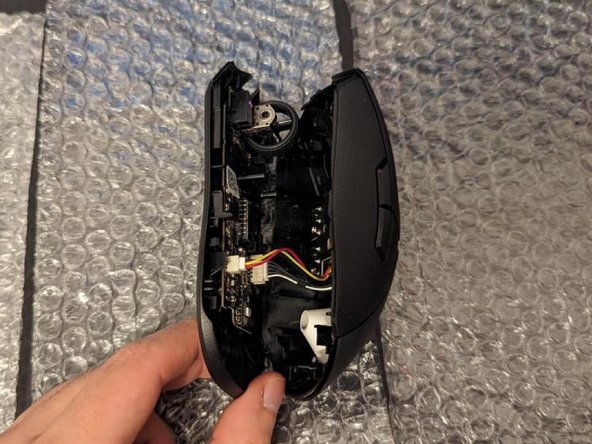
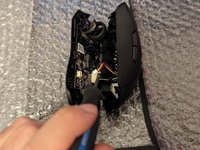
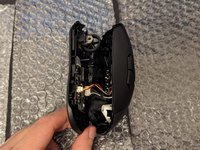


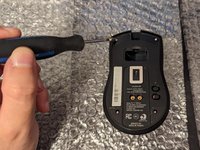
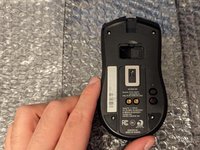
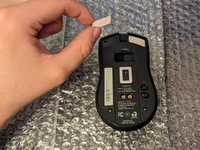
Your Razer Viper Ultimate Mouse is now successfully reassembled in its new shell! Ensure all components are securely in place before use.
Team

York University, Team 1-6, Morris Winter 2024 Member of York University, Team 1-6, Morris Winter 2024
YORK-MORRIS-W24S1G6
4 Members
12 Guides authored
1 Guide Comment
I think the model you have is different a T5 is to small for the screws in mine
