Free Shipping on Domestic Orders $75+

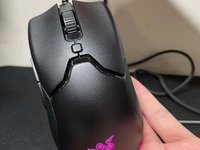
Razer Viper Mini Cable Replacement

Views: 5.9K

View statistics:

Past 24 Hours:
8
Past 7 Days:
39
Past 30 Days:
177
All Time:
5,947
Comments: 0

No one has left comments on this guide. Will you be first?

Go to guide comments
Completed: 4

4 people have marked this guide "completed." Will you be next?

Favorites: 0

No one has favorited (and subscribed to) this guide. Will you be the first?

Time Required: 10 - 20 minutes
Difficulty: Moderate
Razer Viper Mini Cable Replacement

Introduction

Go to step 1 ↓

If your Razer Viper Mini cable is damaged or not working properly, or you want to change the cable to a different one, use this guide to replace the mouse cable.

Regularly, a mouse that is connected to a computer or USB enabled device will work without issues. However, over time the mouse cable will go through wear and tear and will become damaged - resulting in a mouse constantly disconnecting or not connecting at all.

It’s important to mention that using a plastic spudger (like in Step 4) to open the device is essential as using metal devices can easily damage your mouse.

Before using this guide, make sure the mouse is unplugged from any device.

What you need

Parts

Tools

    1. Razer Viper Mini Cable Replacement, Cable: step 1, image 1 of 2 Razer Viper Mini Cable Replacement, Cable: step 1, image 2 of 2
      • Make sure to unplug the mouse before doing anything.

      • To access the screws, you will need to take off the information sticker on the bottom of the mouse.

      • Remember to take a photo of your serial number or write it down.

      Ask FixBot
      Add Comment

    2. Razer Viper Mini Cable Replacement: step 2, image 1 of 2 Razer Viper Mini Cable Replacement: step 2, image 2 of 2
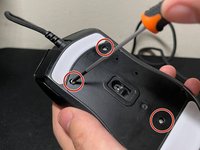
      • Use the Phillips #0 screwdriver to remove the three 2 mm screws from the bottom of the mouse.

      • When removing the screws, unscrew them each slightly and consecutively until you can pull them out with your hands.

      Ask FixBot
      Add Comment

    3. Razer Viper Mini Cable Replacement: step 3, image 1 of 2 Razer Viper Mini Cable Replacement: step 3, image 2 of 2
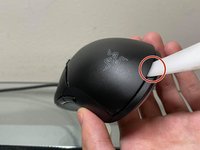
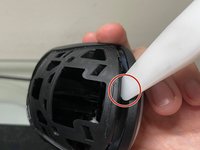
      • Use the plastic spudger to gently lift the backplate in order to access the internal components.

      • Insert the spudger into the bottom front of the mouse and slowly move it around the mouse which will release the backplate.

      • Do not try to jab the mouse with the plastic spudger with a large amount of force, this can damage the plating of your mouse.

      Ask FixBot

      Add Comment

    4. Razer Viper Mini Cable Replacement: step 4, image 1 of 2 Razer Viper Mini Cable Replacement: step 4, image 2 of 2
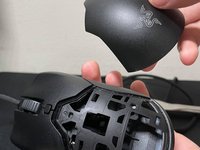
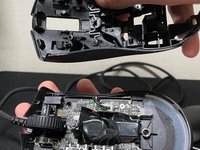
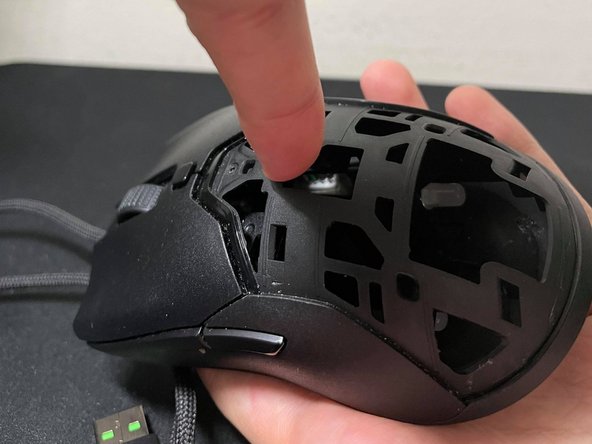
      • Use the plastic spudger once again to remove the shell of the mouse.

      • It is exactly like the previous step as you have to dig the plastic spudger gently into the bottom of the mouse and move it inwards to slowly release the shell.

      • You have now successfully removed the top shell of the mouse!

      Ask FixBot
      Add Comment

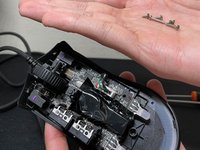
    5. Razer Viper Mini Cable Replacement: step 5, image 1 of 3 Razer Viper Mini Cable Replacement: step 5, image 2 of 3 Razer Viper Mini Cable Replacement: step 5, image 3 of 3
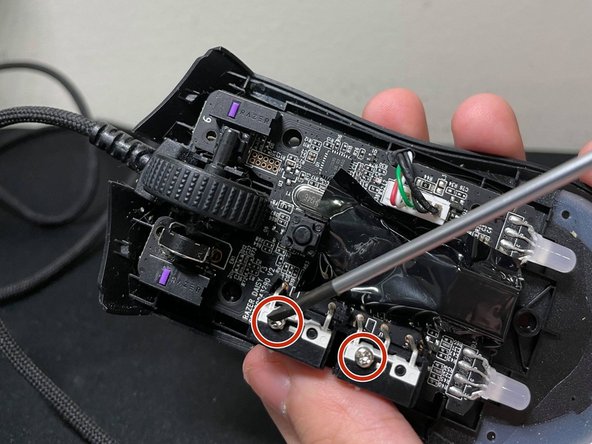
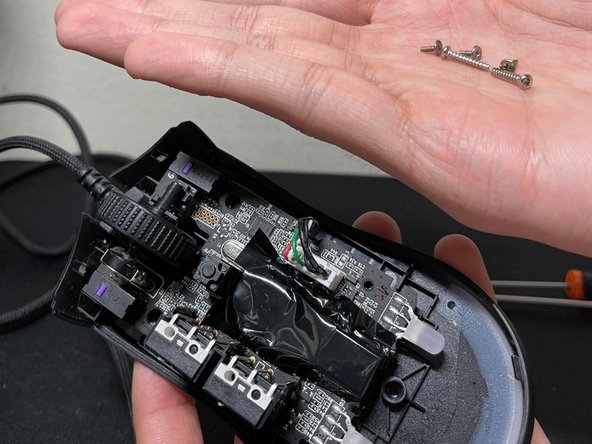
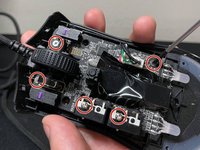
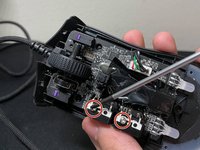
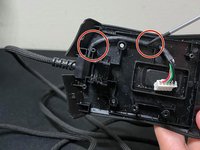
      • Use your Philips #0 screwdriver to remove five 2.5 mm screws from the board.

      • Unscrewing the top two screws will make it easier for you to get to the others after.

      Ask FixBot

      Add Comment

    6. Razer Viper Mini Cable Replacement: step 6, image 1 of 3 Razer Viper Mini Cable Replacement: step 6, image 2 of 3 Razer Viper Mini Cable Replacement: step 6, image 3 of 3
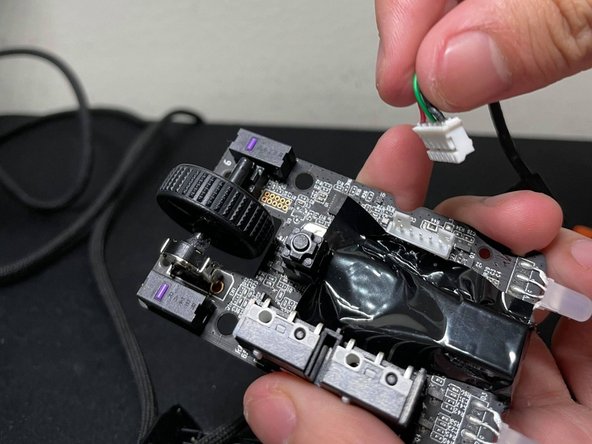
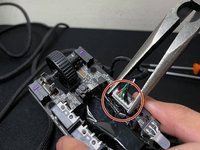
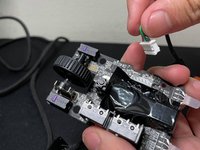
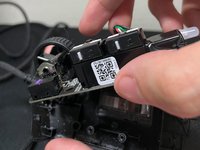
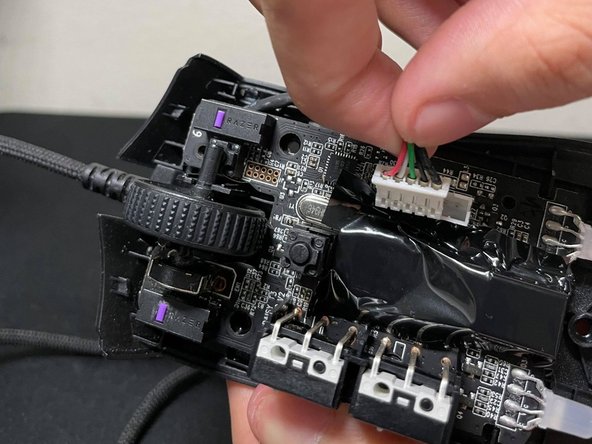
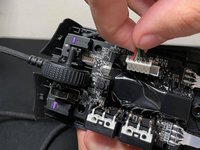
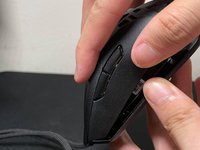
      • Use your small chain nose pilers to remove the molex power connection cable from the PCB.

      • Wiggle the port slightly while grasping the ends it in order to release it safely.

      • Do not use a large amount of force as you can easily damage your mouse's PCB.

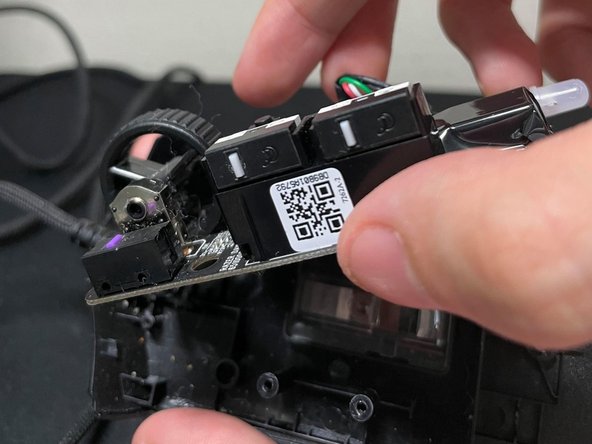
      • Remove the PCB from the bottom plate.

      Ask FixBot
      Add Comment

    7. Razer Viper Mini Cable Replacement: step 7, image 1 of 3 Razer Viper Mini Cable Replacement: step 7, image 2 of 3 Razer Viper Mini Cable Replacement: step 7, image 3 of 3
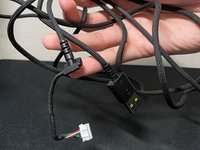
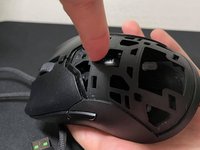
      • Remove the old cable.

      • Make sure your new mouse cable has a 5-pin molex connector that is compatible with the Razer Viper's PCB.

      • Route the cable through the previous route that the original cable was in, remembering to press down with your Phillips #0 screwdriver so the PCB can fit nicely on top.

      • Lastly, plug the molex power connector of the new cable back into the PCB of the Razer Viper Mini and make sure it is tightly fitted.

      Ask FixBot
      Add Comment

    8. Razer Viper Mini Cable Replacement: step 8, image 1 of 3 Razer Viper Mini Cable Replacement: step 8, image 2 of 3 Razer Viper Mini Cable Replacement: step 8, image 3 of 3
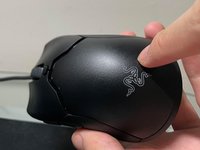
      • Use the Phillips #0 to replace the five 2.5 mm screws to secure the PCB. Then, place the mouse shell back on.

      • Start from the top of the mouse and make sure it is securely fitted by the sound of the clicks before you start pushing the bottom.

      • Once the top shell is back on securely, you can put the backplate back on. Make sure it clicks when you put it back on.

      Ask FixBot
      Add Comment

    9. Razer Viper Mini Cable Replacement: step 9, image 1 of 2 Razer Viper Mini Cable Replacement: step 9, image 2 of 2
      • Use the Phillips #0 screwdriver to place the three 2.5mm screws into the bottom plate.

      • Now, once all of the screws are in and the mouse is assembled once again, you are ready to plug it back into your desired USB port and start using the mouse again!

      Ask FixBot

      Add Comment

Conclusion

Remember to make sure all of the screws are tightly fitted and the molex cable is fitted tightly before you plug the mouse back into the USB source.

Cancel: I did not complete this guide.

4 other people completed this guide.

Jackie Tran

Member since: 09/18/21

241 Reputation

1 Guide authored

Team

0 Guide Comments

Add Comment
View Statistics:

Past 24 Hours: 8

Past 7 Days: 39

Past 30 Days: 177

All Time: 5,947