Introduction
The keycap stabilizers on the Razer Tartarus V2, model number RZ07-02270100-R3U1, can wear out after the keys are clicked many times or too aggressively. This causes the keys to get stuck as the stabilizers are what push them back up after a "click". This replacement guide is designed to help you replace your Keycap stabilizer and extend the overall lifespan of your device.
What you need
-
-
-
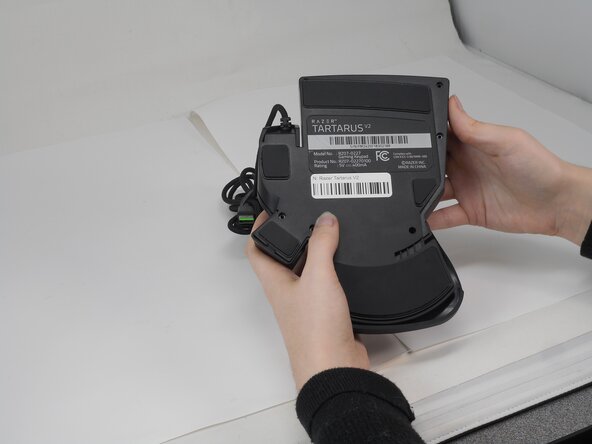
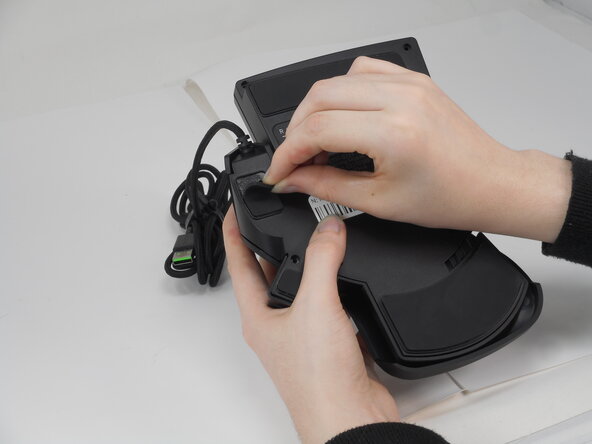
Gently peel off the rubber feet with a Jimmy.
-
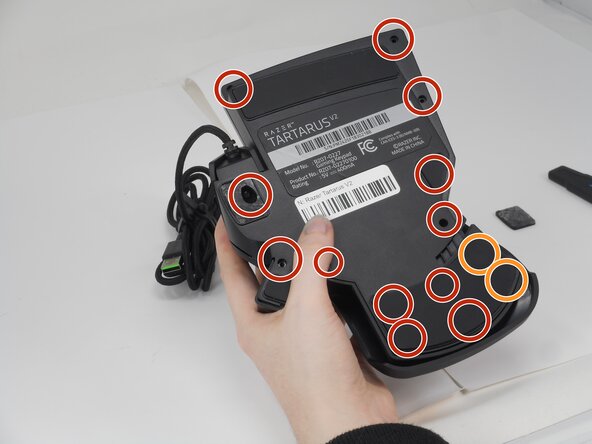
Use a Phillips #0 screwdriver to remove the following screws:
-
Twelve 6.4 mm-long screws
-
Two 3.7 mm-long screws
-
-
-
-
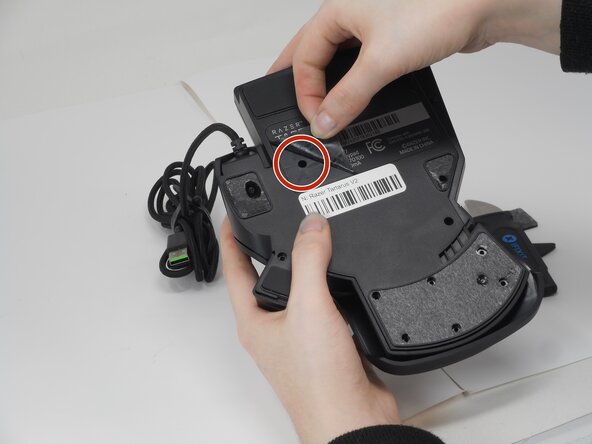
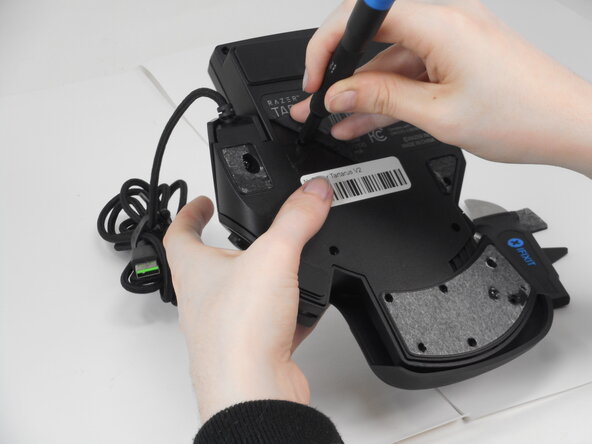
Peel up the bottom left corner of the largest sticker.
-
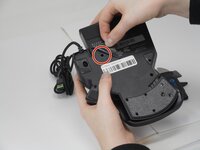
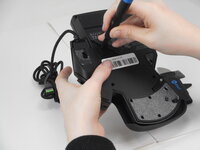
Remove the 6.4 mm-long Phillips #0 screw.
-
-
-
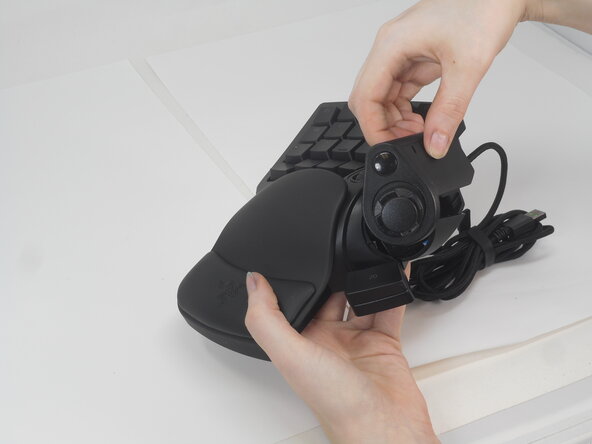
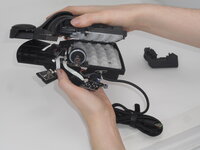
Carefully lift the joystick module up and out.
-
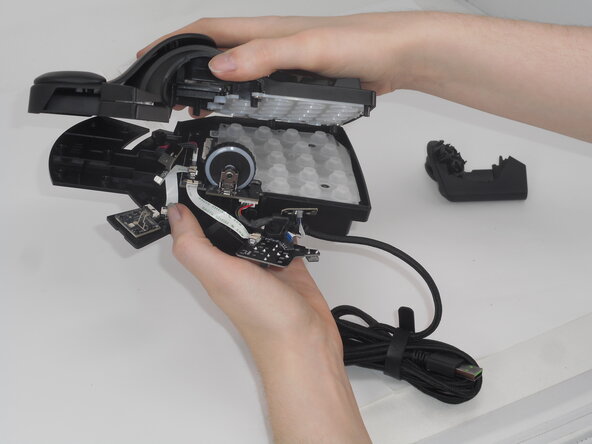
Separate the top and bottom casing of the keypad.
-
-
-
-
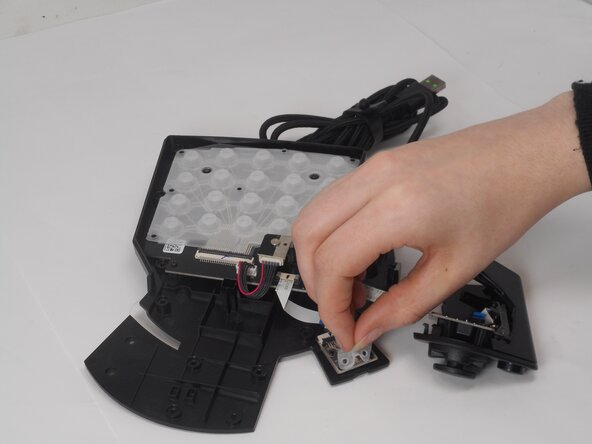
Locate the two rubber stabilizers:
-
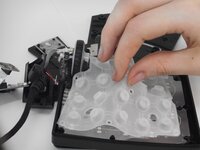
One large stabilizer is positioned under keys 1–19.
-
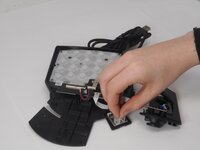
One small stabilizer is under key 20.
-
Carefully pull each stabilizer up by hand from its respective board (motherboard or daughterboard)
-
-



 Ask FixBot





To reassemble your device, follow these instructions in reverse order.

Team

University of Memphis, Team 2-1, Sneed Spring 2025 Member of University of Memphis, Team 2-1, Sneed Spring 2025
UM-SNEED-S25S2G1
3 Members
95 Guides authored
