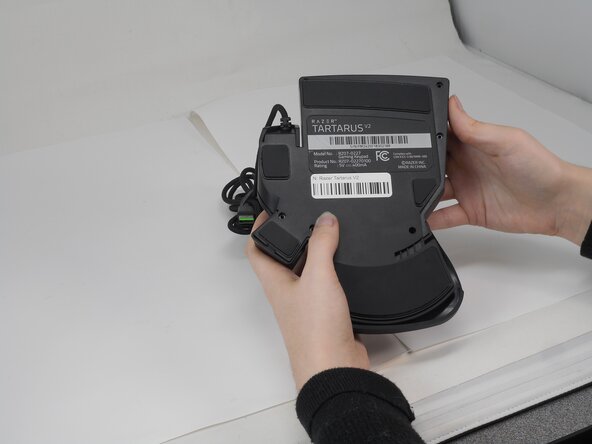
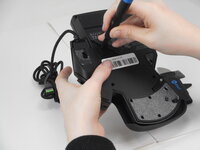
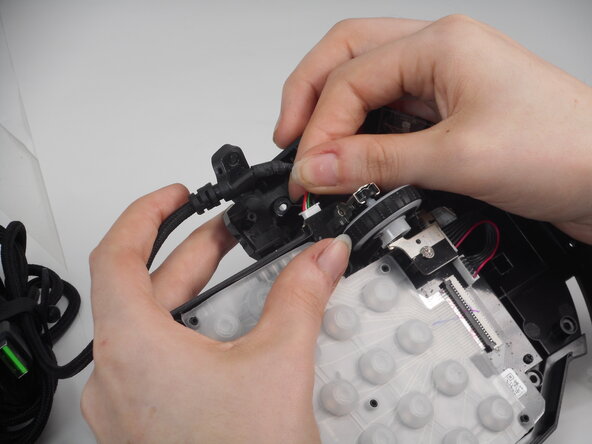
Free Shipping on Domestic Orders $75+

Razer Tartarus V2 Cord Replacement

What you need

  1. Razer Tartarus V2 Cord Replacement, Razer Tartarus V2 Case Disassembly: step 1, image 1 of 2 Razer Tartarus V2 Cord Replacement, Razer Tartarus V2 Case Disassembly: step 1, image 2 of 2
    • Turn the keypad upside down.

  2. Razer Tartarus V2 Cord Replacement: step 2, image 1 of 3 Razer Tartarus V2 Cord Replacement: step 2, image 2 of 3 Razer Tartarus V2 Cord Replacement: step 2, image 3 of 3
    • Gently peel off the rubber feet with a Jimmy.

    • Set the rubber grip pads aside so you can reapply them later.

    • Use a Phillips #0 screwdriver to remove the following screws:

    • Twelve 6.4 mm-long screws

    • Two 3.7 mm-long screws

  3. Razer Tartarus V2 Cord Replacement: step 3, image 1 of 3 Razer Tartarus V2 Cord Replacement: step 3, image 2 of 3 Razer Tartarus V2 Cord Replacement: step 3, image 3 of 3
    • Peel up the bottom left corner of the largest sticker.

    • Remove the 6.4 mm-long Phillips #0 screw.

  4. Razer Tartarus V2 Cord Replacement: step 4, image 1 of 3 Razer Tartarus V2 Cord Replacement: step 4, image 2 of 3 Razer Tartarus V2 Cord Replacement: step 4, image 3 of 3
    • Carefully lift the joystick module up and out.

    • Separate the top and bottom casing of the keypad.

    • Use an Opening tool to pry the case open along the edges if necessary.

  5. Razer Tartarus V2 Cord Replacement, Cord: step 5, image 1 of 1
    • Remove the 5.9 mm-long Phillips #0 screw that secures the cord.

  6. Razer Tartarus V2 Cord Replacement: step 6, image 1 of 2 Razer Tartarus V2 Cord Replacement: step 6, image 2 of 2
    • Use the pointed edge of a spudger to gently "walk" the white connector directly out of its socket.

    • Avoid pulling on the cables.

    • To reattach the cord, carefully align the connector end with the prongs inside the connection slot. Misalignment or using too much force can bend the prongs, potentially making the connection unusable. Once aligned, gently press the connector into the slot until it is fully seated.

Conclusion

To reassemble your device, follow these instructions in reverse order.

Derrick

Member since: 02/21/25

572 Reputation

5 Guides authored

0 Guide Comments

Add Comment

View Statistics:

Past 24 Hours: 0

Past 7 Days: 8

Past 30 Days: 41

All Time: 309