Free Shipping on Domestic Orders $75+

Razer Kraken Ultimate Power/Connection Cable Replacement

What you need

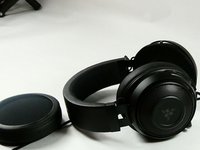
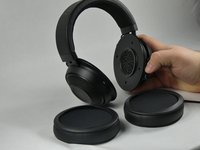
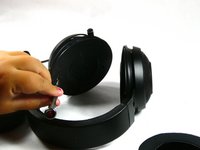
  1. Razer Kraken Ultimate Power/Connection Cable Replacement, Ear Pads: step 1, image 1 of 3 Razer Kraken Ultimate Power/Connection Cable Replacement, Ear Pads: step 1, image 2 of 3 Razer Kraken Ultimate Power/Connection Cable Replacement, Ear Pads: step 1, image 3 of 3
    • Grab the ear piece from one of the sides and lightly pull it outwards.

    • Ideally, do not pull the ear piece directly away from the speaker; it may damage the piece.

    Ask FixBot

    Add Comment

  2. Razer Kraken Ultimate Power/Connection Cable Replacement: step 2, image 1 of 2 Razer Kraken Ultimate Power/Connection Cable Replacement: step 2, image 2 of 2
    • Once you have taken off one side, you can then remove the whole piece by slowly prying the pad away from the headphones.

    Ask FixBot

    Add Comment

  3. Razer Kraken Ultimate Power/Connection Cable Replacement: step 3, image 1 of 2 Razer Kraken Ultimate Power/Connection Cable Replacement: step 3, image 2 of 2
    • Repeat steps on the other side.

    Ask FixBot

    Add Comment

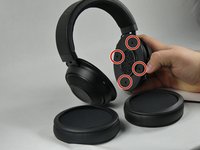
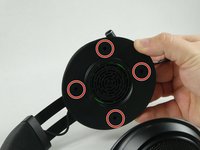
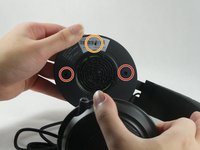
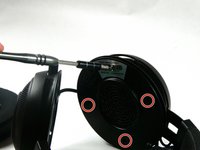
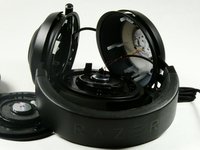
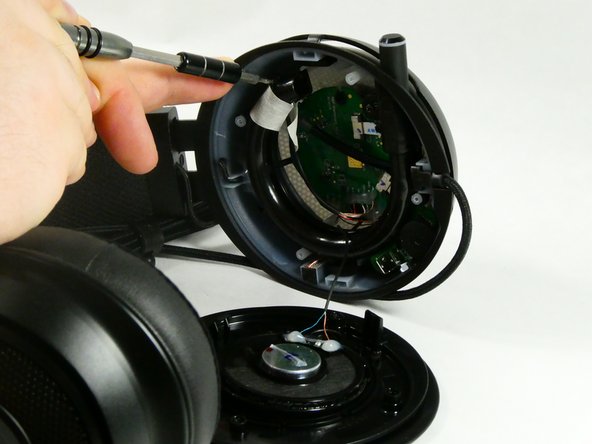
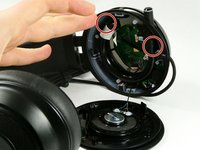
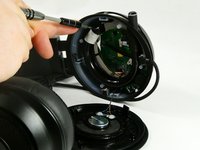
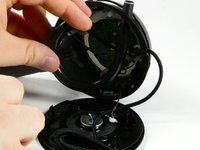
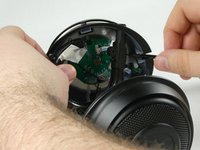
  4. Razer Kraken Ultimate Power/Connection Cable Replacement, Speaker: step 4, image 1 of 3 Razer Kraken Ultimate Power/Connection Cable Replacement, Speaker: step 4, image 2 of 3 Razer Kraken Ultimate Power/Connection Cable Replacement, Speaker: step 4, image 3 of 3
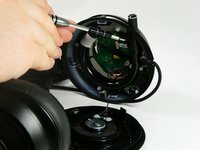
    • Remove the four 10 mm Phillips #00 screws securing the right speaker.

    • Be sure the device is unplugged before attempting to remove any of the screws.

    Ask FixBot

    Add Comment

  5. Razer Kraken Ultimate Power/Connection Cable Replacement: step 5, image 1 of 2 Razer Kraken Ultimate Power/Connection Cable Replacement: step 5, image 2 of 2
    • Remove the 10 mm Phillips #00 screws securing the left speaker.

    • Note that one of the screws is hidden behind the product information sticker. Use your screw driver to punch a hole in the sticker.

    Ask FixBot

    Add Comment

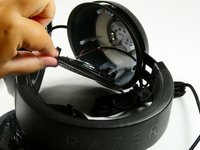
  6. Razer Kraken Ultimate Power/Connection Cable Replacement: step 6, image 1 of 2 Razer Kraken Ultimate Power/Connection Cable Replacement: step 6, image 2 of 2
    • To fully detach the speakers cut the wires as close as possible to the connection point, leaving plenty of room to solder the new speaker on.

    Ask FixBot

    Add Comment

  7. Razer Kraken Ultimate Power/Connection Cable Replacement, Microphone: step 7, image 1 of 3 Razer Kraken Ultimate Power/Connection Cable Replacement, Microphone: step 7, image 2 of 3 Razer Kraken Ultimate Power/Connection Cable Replacement, Microphone: step 7, image 3 of 3
    • Remove the two 10 mm Phillips #00 screws securing the microphone.

    Ask FixBot

    Add Comment

  8. Razer Kraken Ultimate Power/Connection Cable Replacement: step 8, image 1 of 1
    • Gently pry the bottom connection away from the casing with the iFixit opening tool.

    Ask FixBot

    Add Comment

  9. Razer Kraken Ultimate Power/Connection Cable Replacement: step 9, image 1 of 2 Razer Kraken Ultimate Power/Connection Cable Replacement: step 9, image 2 of 2
    • Pull the microphone down and out of the casing.

    Ask FixBot

    Add Comment

  10. Razer Kraken Ultimate Power/Connection Cable Replacement: step 10, image 1 of 1
    • Open up the casing the microphone retracks into.

    • Cut the cable as close to the microphone as possible, leaving behind enough to solder the new microphone to.

    • The casing the microphone if removed correctly in the previous step is easily opened by hand

    Ask FixBot

    Add Comment

  11. Razer Kraken Ultimate Power/Connection Cable Replacement, Motherboard: step 11, image 1 of 1
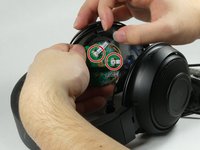
    • Remove the two 6 mm Phillips #00 screws that secure the motherboard.

    • One of the screws is located near where many cables connect; take care not to disconnect them.

    Ask FixBot

    Add Comment

  12. Razer Kraken Ultimate Power/Connection Cable Replacement: step 12, image 1 of 1
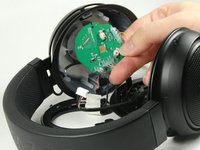
    • Gently lift the motherboard from the case, with care not to damage any of the connected cables.

    Ask FixBot

    Add Comment

  13. Razer Kraken Ultimate Power/Connection Cable Replacement: step 13, image 1 of 3 Razer Kraken Ultimate Power/Connection Cable Replacement: step 13, image 2 of 3 Razer Kraken Ultimate Power/Connection Cable Replacement: step 13, image 3 of 3
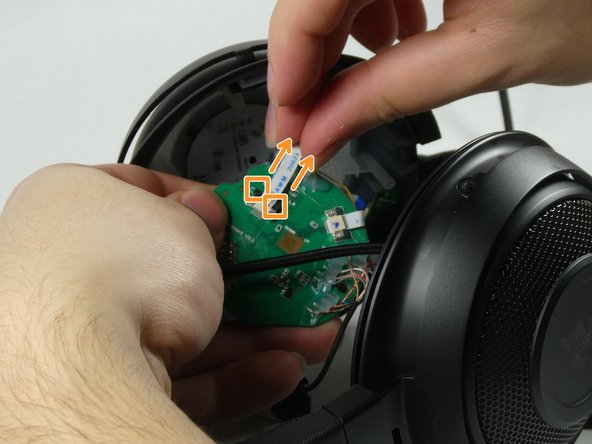
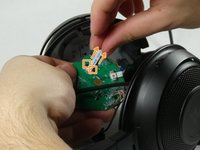
    • There are two ribbon cables that must be removed.

    • To remove these cables pull the gray connecting piece out about 0.5mm to unlock the cable.

    • Then simply pull the cable out.

    Ask FixBot

    Add Comment

  14. Razer Kraken Ultimate Power/Connection Cable Replacement: step 14, image 1 of 1
    • Repeat previous step with second cable.

    Ask FixBot

    Add Comment

  15. Razer Kraken Ultimate Power/Connection Cable Replacement: step 15, image 1 of 1
    • Once screws are removed and ribbon cables are disconnected, lift the motherboard out.

    • Some wire connections are secured to the motherboard with hot glue. To completely remove the motherboard all wires must be disconnected. Removing such connections goes beyond the scope of this guide.

    Ask FixBot

    Add Comment

  16. Razer Kraken Ultimate Power/Connection Cable Replacement, Power/Connection Cable: step 16, image 1 of 2 Razer Kraken Ultimate Power/Connection Cable Replacement, Power/Connection Cable: step 16, image 2 of 2
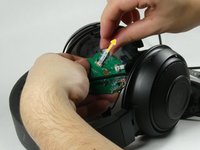
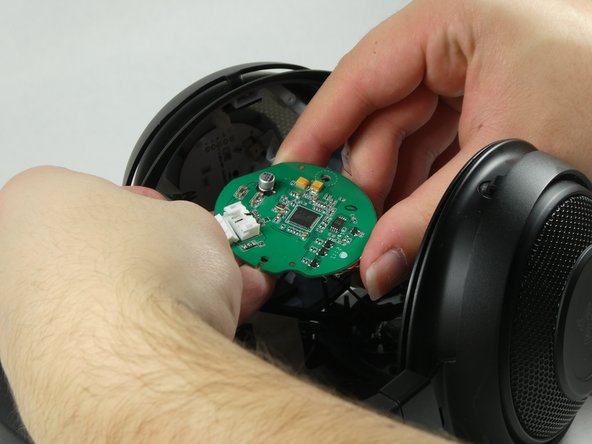
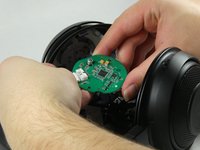
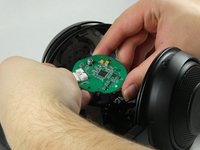
    • After unscrewing the motherboard, gently pull it away from the headset and turn it over.

    Ask FixBot

    Add Comment

  17. Razer Kraken Ultimate Power/Connection Cable Replacement: step 17, image 1 of 1
    Tool used on this step:
    Tweezers
    $4.99
    Buy
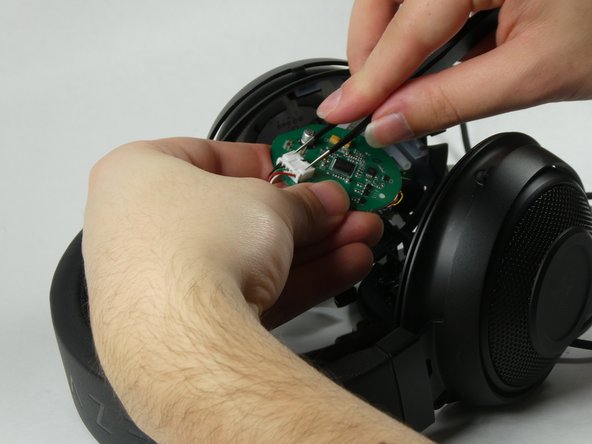
    • Grab your tweezers and focus your attention on the white connector. Pictured on the right of the motherboard. This is the cable.

    Ask FixBot

    Add Comment

  18. Razer Kraken Ultimate Power/Connection Cable Replacement: step 18, image 1 of 3 Razer Kraken Ultimate Power/Connection Cable Replacement: step 18, image 2 of 3 Razer Kraken Ultimate Power/Connection Cable Replacement: step 18, image 3 of 3
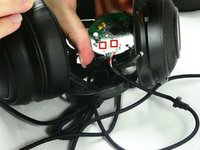
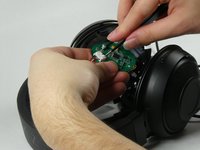
    • Press in on the two tabs on the sides of the box, while using your tweezers to push the cable out of its port, disconnecting it.

    • The two tabs are indentations on the sides of the top face of the box.

    Ask FixBot

    Add Comment

Conclusion

To reassemble your device, follow these instructions in reverse order.

Cancel: I did not complete this guide.

One other person completed this guide.

Lincoln Karle

Member since: 10/26/22

159 Reputation

1 Guide authored

Team

UMass Dartmouth, Team 1-4, Petersen Fall 2022 Member of UMass Dartmouth, Team 1-4, Petersen Fall 2022

UMASSD-PETERSEN-F22S1G4

5 Members

11 Guides authored

5 Guide Comments

where do i get the replacement cable?

BE YT - Reply Share
Yes, I also want to know where to get the cable from.

Uwe Keim - Reply Share
I know that Kraken line that have USB connection, have two types. Plug (as described on this guide) and 5-pin Welded wire.
Anyone knows what Kraken models have the Plug wire? and if the Kraken V2 7.1 have the same kind of wire of this guide?

Thank you!

Diego Mayoral Umbelino - Reply Share

I want to know what that little white box is called. My headphones broke at the join on the ear. So I’ve cut the worn wire & made the wire shorter, I bodge jobbed the connector and it works for a week but I need the proper connector…. my standard white connector is too big. (I think JST brand)

Any ideas?

J4rming - Reply Share

Add Comment

View Statistics:

Past 24 Hours: 4

Past 7 Days: 41

Past 30 Days: 163

All Time: 9,342