Free Shipping on Domestic Orders $75+

Razer Kishi Phone Connector Replacement

What you need

  1. Razer Kishi Phone Connector Replacement, Remove the screws: step 1, image 1 of 1
    • The opening process is the same on both sides. For simplicity, this guide shows only the right-side opening process. Unscrew whichever side you wish to open and work on.

    • For the right side, remove the five Y0 screws securing the right side of the controller.

    • Four 9.2 mm screws

    • One 7.2 mm screw

    • If you wish to open the left side, remove the five Y0 screws securing the left side of the controller.

    • Four 9.2 mm screws

    • One 7.2 mm screw

    Ask FixBot

    Add Comment

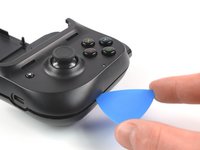
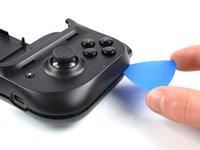
  2. Razer Kishi Phone Connector Replacement, Release the bottom edge clips: step 2, image 1 of 3 Razer Kishi Phone Connector Replacement, Release the bottom edge clips: step 2, image 2 of 3 Razer Kishi Phone Connector Replacement, Release the bottom edge clips: step 2, image 3 of 3
    • Both cases are held together by plastic clips.

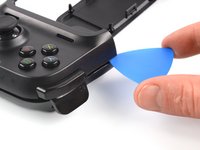
    • Insert an opening pick in the seam between the top and bottom case, at the bottom left corner of the controller.

    • With the pick still in the seam, slide it along the bottom edge to the bottom right corner to loosen the plastic clips.

    Ask FixBot

    Add Comment

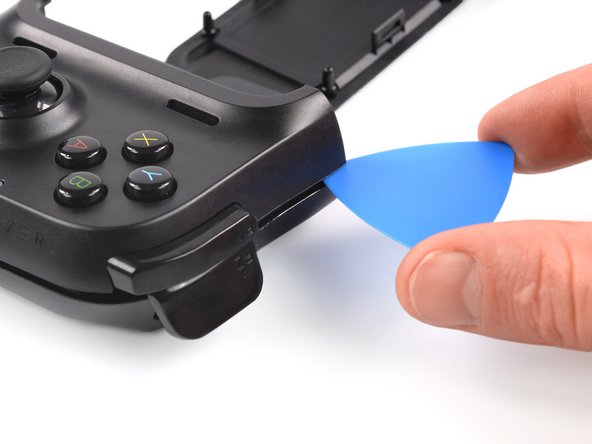
  3. Razer Kishi Phone Connector Replacement, Release the side edge clips: step 3, image 1 of 2 Razer Kishi Phone Connector Replacement, Release the side edge clips: step 3, image 2 of 2
    • Slide the opening pick along the right edge to loosen the plastic clips.

    Ask FixBot

    Add Comment

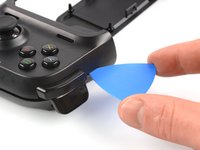
  4. Razer Kishi Phone Connector Replacement, Release the top edge clips: step 4, image 1 of 2 Razer Kishi Phone Connector Replacement, Release the top edge clips: step 4, image 2 of 2
    • Slide the opening pick along the top edge to loosen the remaining plastic clips.

    • Don't try to remove the top side yet, the case is still connected to the board.

    Ask FixBot

    Add Comment

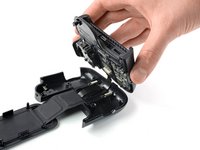
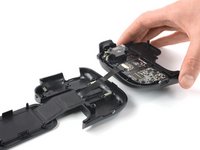
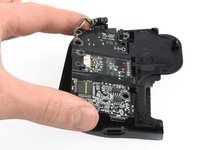
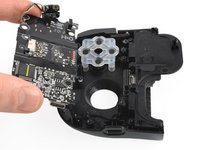
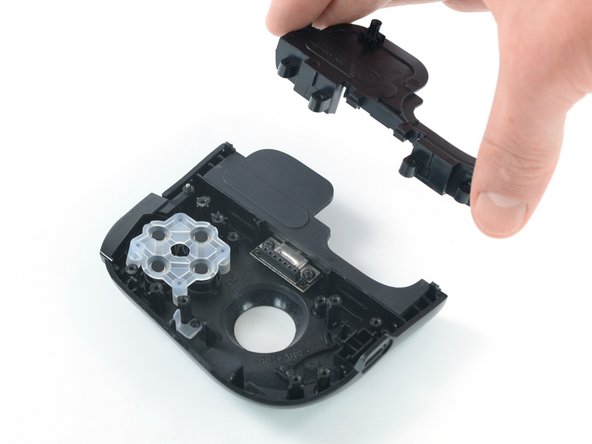
  5. Razer Kishi Phone Connector Replacement: step 5, image 1 of 3 Razer Kishi Phone Connector Replacement: step 5, image 2 of 3 Razer Kishi Phone Connector Replacement: step 5, image 3 of 3
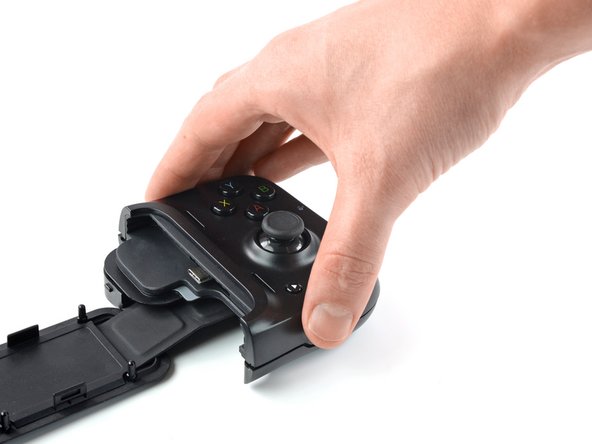
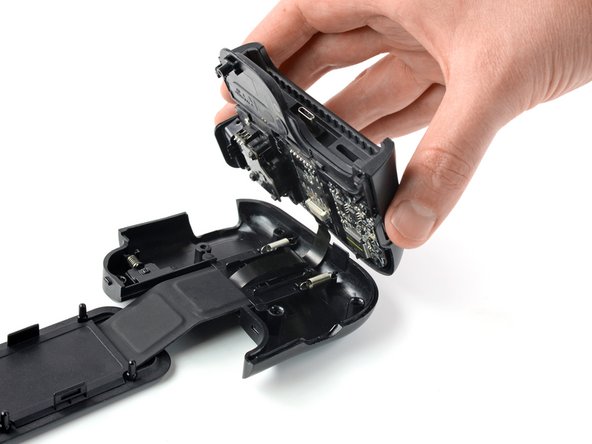
    • Carefully lift the top side and unfold it to the right, like a book.

    Ask FixBot

    Add Comment

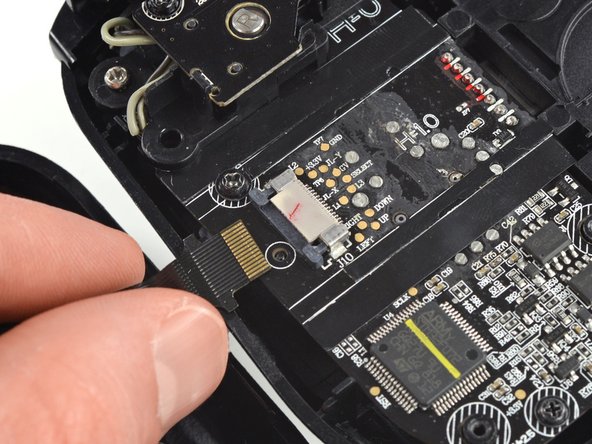
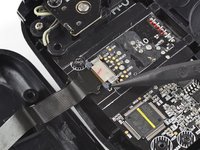
  6. Razer Kishi Phone Connector Replacement, Disconnect the interconnect cable: step 6, image 1 of 3 Razer Kishi Phone Connector Replacement, Disconnect the interconnect cable: step 6, image 2 of 3 Razer Kishi Phone Connector Replacement, Disconnect the interconnect cable: step 6, image 3 of 3
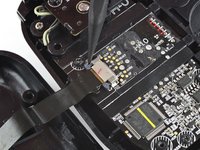
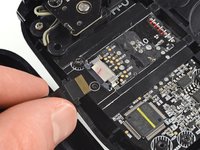
    • Using the pointed end of a spudger, push the grey tabs on the interconnect socket away from the socket, parallel to the interconnect cable, to release the cable.

    • Pull the cable out of the socket.

    Ask FixBot

    Add Comment

  7. Razer Kishi Phone Connector Replacement, Remove the screws: step 7, image 1 of 1
    • Use a Phillips #0 screwdriver to remove the two 4.4 mm-long screws securing the trigger board.

    Ask FixBot

    Add Comment

  8. Razer Kishi Phone Connector Replacement, Remove the breakout board: step 8, image 1 of 3 Razer Kishi Phone Connector Replacement, Remove the breakout board: step 8, image 2 of 3 Razer Kishi Phone Connector Replacement, Remove the breakout board: step 8, image 3 of 3
    • The breakout board is plugged in. When removing breakout board, it is important to pull it straight out to avoid bending the connectors.

    • Remove the breakout board by lifting it straight up, away from the controller.

    Ask FixBot

    Add Comment

  9. Razer Kishi Phone Connector Replacement, Remove the screws: step 9, image 1 of 1
    • Use a Phillips #0 screwdriver to remove the two 7.0 mm-long screws securing the trigger.

    Ask FixBot

    Add Comment

  10. Razer Kishi Phone Connector Replacement, Remove the trigger: step 10, image 1 of 2 Razer Kishi Phone Connector Replacement, Remove the trigger: step 10, image 2 of 2
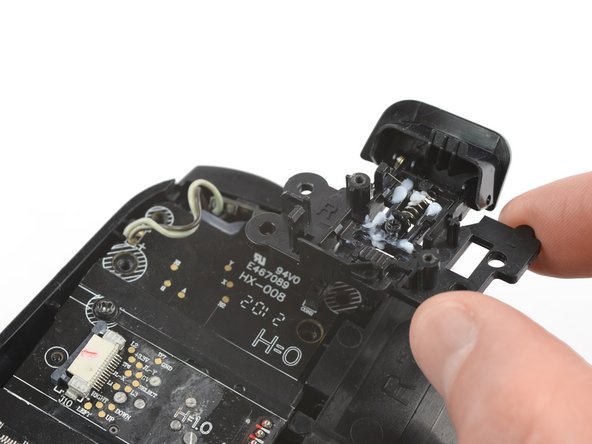
    • Remove the shoulder trigger.

    Ask FixBot

    Add Comment

  11. Razer Kishi Phone Connector Replacement, Lift the shoulder button board: step 11, image 1 of 2 Razer Kishi Phone Connector Replacement, Lift the shoulder button board: step 11, image 2 of 2
    Tool used on this step:
    Tweezers
    $4.99
    Buy
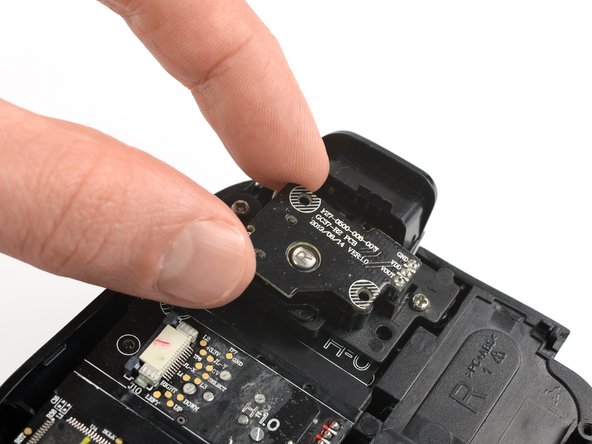
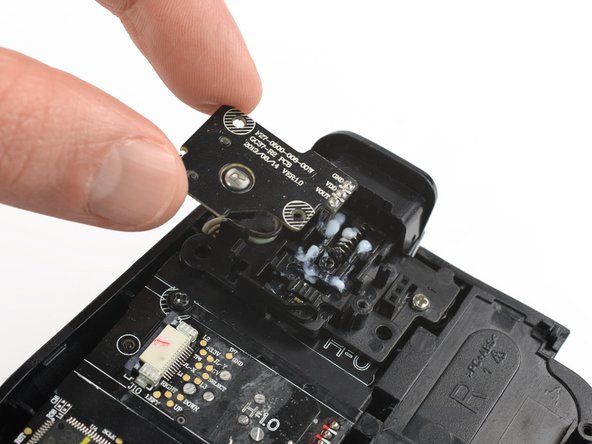
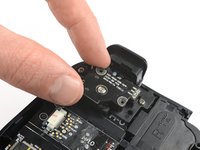
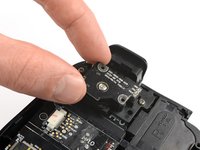
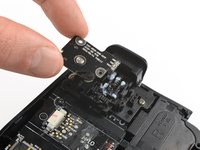
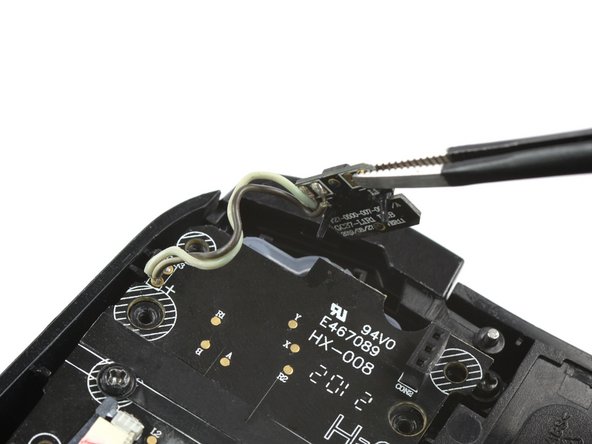
    • Use a pair of blunt nose tweezers to lift out the shoulder button board.

    Ask FixBot

    Add Comment

  12. Razer Kishi Phone Connector Replacement, Remove the screws: step 12, image 1 of 1
    • Use a Phillips #0 screwdriver to remove the two 5.9 mm-long screws.

    Ask FixBot

    Add Comment

  13. Razer Kishi Phone Connector Replacement, Remove the board: step 13, image 1 of 2 Razer Kishi Phone Connector Replacement, Remove the board: step 13, image 2 of 2
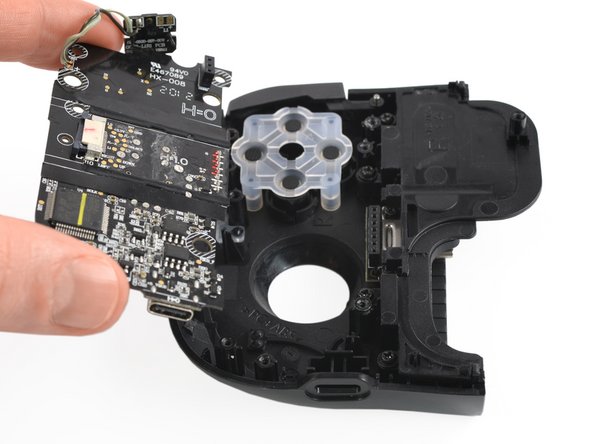
    • Pull the mainboard straight out of the frame to remove it.

    Ask FixBot

    Add Comment

  14. Razer Kishi Phone Connector Replacement, Unfasten screws: step 14, image 1 of 1
    • Use a Phillips #00 screwdriver to remove the four 5.7 mm screws securing the phone bracket.

    Ask FixBot

    Add Comment

  15. Razer Kishi Phone Connector Replacement, Remove the phone bracket: step 15, image 1 of 2 Razer Kishi Phone Connector Replacement, Remove the phone bracket: step 15, image 2 of 2
    • Remove the phone bracket.

    Ask FixBot

    Add Comment

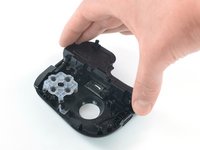
  16. Razer Kishi Phone Connector Replacement, Remove the rubber phone pad: step 16, image 1 of 2 Razer Kishi Phone Connector Replacement, Remove the rubber phone pad: step 16, image 2 of 2
    • Use your fingers to lift the rubber phone pad out sideways.

    Ask FixBot

    Add Comment

  17. Razer Kishi Phone Connector Replacement, Unfasten the screws: step 17, image 1 of 1
    • Use a Phillips #00 screwdriver to remove the two 4.6 mm screws securing the phone connector.

    Ask FixBot

    Add Comment

  18. Razer Kishi Phone Connector Replacement: step 18, image 1 of 3 Razer Kishi Phone Connector Replacement: step 18, image 2 of 3 Razer Kishi Phone Connector Replacement: step 18, image 3 of 3
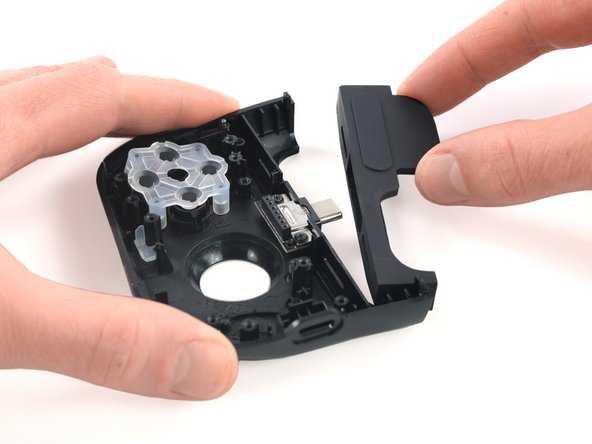
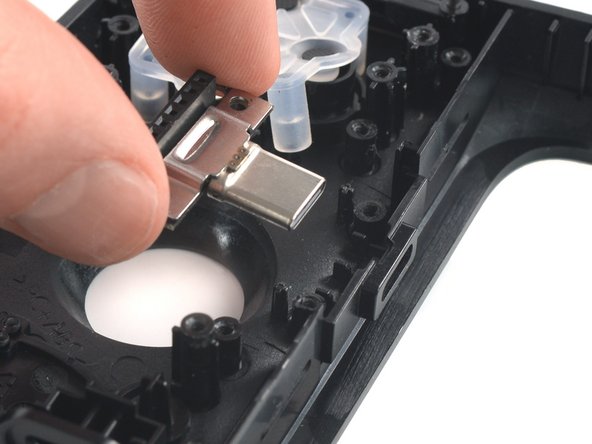
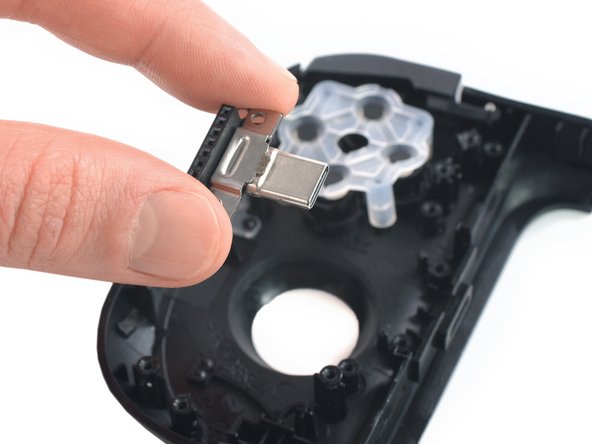
    • Thread the phone connector through its opening in the side of the controller.

    • Remove the phone connector.

    Ask FixBot

    Add Comment

Conclusion

To reassemble your device, follow these instructions in reverse order.

Take your e-waste to an R2 or e-Stewards certified recycler.

Repair didn’t go as planned? Try some basic troubleshooting, or ask our Answers community for help.

Cancel: I did not complete this guide.

3 other people completed this guide.

Adriana Zwink

Member since: 12/18/19

67,717 Reputation

167 Guides authored

Team

iFixit Member of iFixit

Staff

123 Members

30,155 Guides authored

3 Guide Comments

Where can I find this c type connector?

eric nelson - Reply Share
Hello have you managed to get the connector ?

Youssef Afquir - Reply Share
Is it exactly the same on the kishi v2 or is it different? If yes how? And where can i buy that usb c port thats made for the controller to output the inputs?

HypeShadow Duck - Reply Share

Add Comment

View Statistics:

Past 24 Hours: 0

Past 7 Days: 13

Past 30 Days: 90

All Time: 5,067