Free Shipping on Domestic Orders $75+

Razer Huntsman Tournament Edition Chassis Replacement

What you need

  1. Razer Huntsman Tournament Edition Chassis Replacement, Keycaps: step 1, image 1 of 1
    • Place the unplugged keyboard on a flat, clean surface appropriate for working on.

    Ask FixBot

    Add Comment

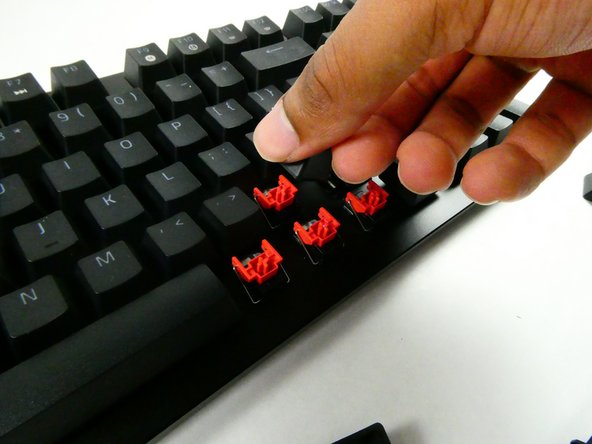
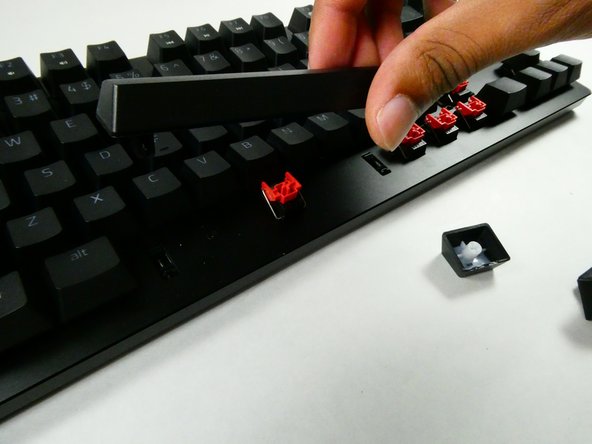
  2. Razer Huntsman Tournament Edition Chassis Replacement: step 2, image 1 of 2 Razer Huntsman Tournament Edition Chassis Replacement: step 2, image 2 of 2
    • Grip the keycap with your keycap puller.

    • You can remove keycaps with your fingers if you don’t have a puller, but the adjacent keycaps must be removed first for sufficient grip.

    Ask FixBot

    Add Comment

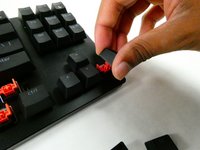
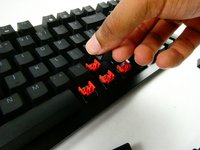
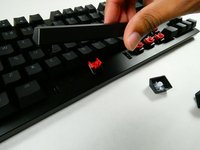
  3. Razer Huntsman Tournament Edition Chassis Replacement: step 3, image 1 of 3 Razer Huntsman Tournament Edition Chassis Replacement: step 3, image 2 of 3 Razer Huntsman Tournament Edition Chassis Replacement: step 3, image 3 of 3
    • Pull with an upwards force to remove the keycap.

    • Take a moment to clean the area that was previously obscured if it’s dirty.

    • Use gentle force so as not to damage the stabilizers.

    Ask FixBot

    Add Comment

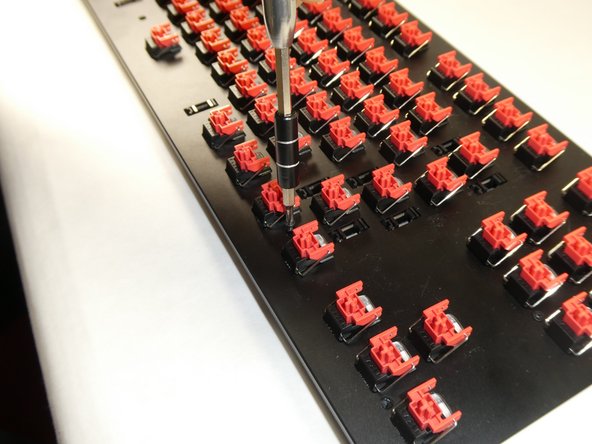
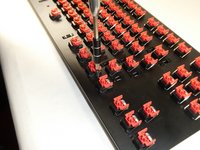
  4. Razer Huntsman Tournament Edition Chassis Replacement, Chassis: step 4, image 1 of 1
    • Remove all of the keycaps with a keycap puller.

    Ask FixBot

    Add Comment

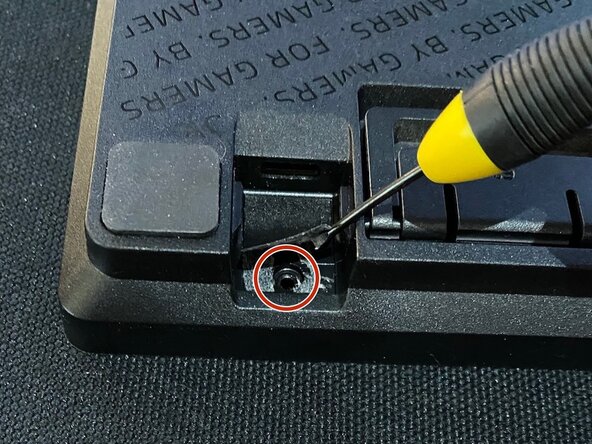
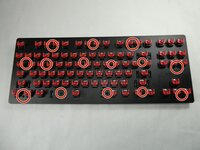
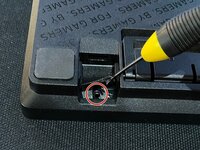
  5. Razer Huntsman Tournament Edition Chassis Replacement: step 5, image 1 of 3 Razer Huntsman Tournament Edition Chassis Replacement: step 5, image 2 of 3 Razer Huntsman Tournament Edition Chassis Replacement: step 5, image 3 of 3
    • Unscrew the thirteen 6.5 mm screws, using the Phillips #0 screwdriver, that are located in the front panel.

    • Screw placement and quantity may vary per unit.

    • If you have removed all screws and the front panel cannot be removed, there may be an additional screw near the USB port, below the sticker. (See third photo)

    Ask FixBot

    Add Comment

  6. Razer Huntsman Tournament Edition Chassis Replacement: step 6, image 1 of 1
    • Use an opening tool to pry open the chassis.

    • Be careful not to use excessive force during this step so the plastic doesn't warp or break.

    Ask FixBot

    Add Comment

  7. Razer Huntsman Tournament Edition Chassis Replacement: step 7, image 1 of 1
    • Gently lift the front panel off.

    • The front panel should be connected to the USB board. Do not tug the panel off as this may damage other parts.

    Ask FixBot

    Add Comment

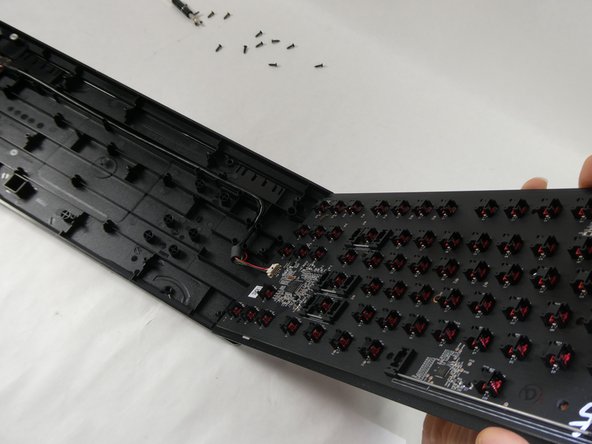
  8. Razer Huntsman Tournament Edition Chassis Replacement: step 8, image 1 of 1
    • Disconnect the internal cable.

    Ask FixBot

    Add Comment

Conclusion

To reassemble your device, follow these instructions in reverse order.

Cancel: I did not complete this guide.

Ben Altman

Member since: 10/25/22

229 Reputation

2 Guides authored

Team

0 Guide Comments

Add Comment

View Statistics:

Past 24 Hours: 3

Past 7 Days: 14

Past 30 Days: 47

All Time: 1,032