Introduction
Use this guide to repair or replace a damaged switch or faulty PCB on your Razer Huntsman Mini keyboard (model number RZ03-0339).
The key switches and printed circuit board (PCB) are critical pieces because they detect and register every keystroke, then send signals to your computer. The Huntsman Mini features optical switches, which rely on light-based sensors rather than traditional metal contacts. If you’re experiencing unresponsive keys, double inputs, flickering RGB lighting, or connection issues, the problem may lie with a damaged switch or a malfunctioning PCB.
Before starting this repair, visit the troubleshooting page to explore easier fixes. Issues like stuck debris, firmware bugs, or driver conflicts can sometimes be resolved without replacing hardware. However, if cleaning and software fixes don’t help, a hardware replacement may be necessary.
Unplug your keyboard before starting any disassembly. If you notice a burning smell, scorch marks, or melted plastic inside the keyboard, proceed with caution because that might mean more serious electrical damage.
What you need
-
-
-
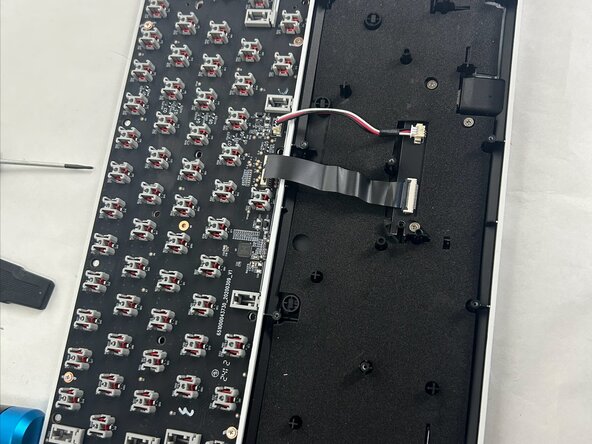
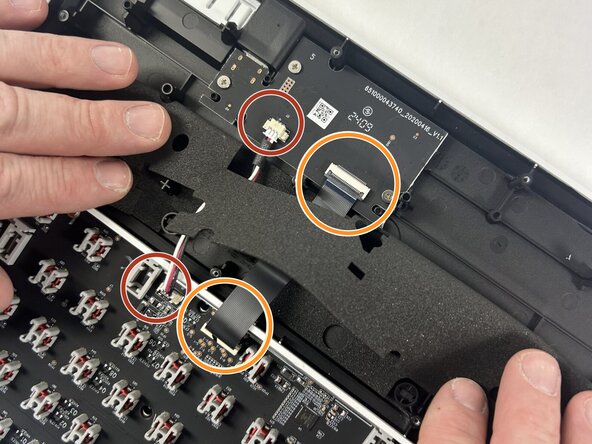
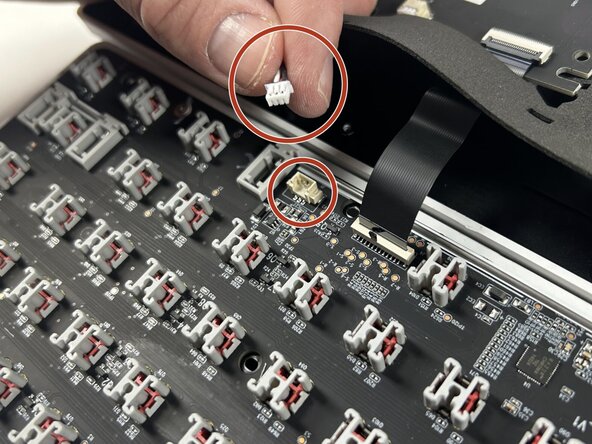
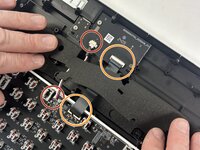
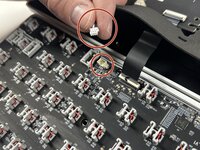
Grip and pull the white connectors directly out of their sockets.
-
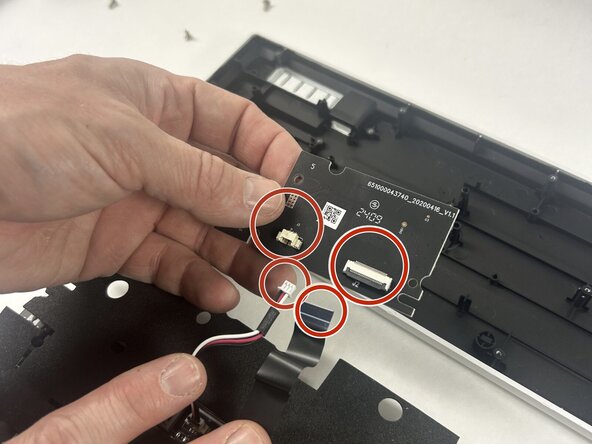
Flip up the black ZIF locking flaps. Disconnect the ribbon cable.
-

 Ask FixBot


To reassemble your device, follow the above steps in reverse order.
Take your e-waste to an R2 or e-Stewards certified recycler.
Repair didn’t go as planned? Try some basic troubleshooting or ask our Answers community for help.
Cancel: I did not complete this guide.
One other person completed this guide.

Team

UMass Dartmouth, Team 4-6, Konn Spring 2025 Member of UMass Dartmouth, Team 4-6, Konn Spring 2025
UMASSD-KONN-S25S4G6
4 Members
4 Guides authored
