Free Shipping on Domestic Orders $75+

Razer Deathadder V3 Pro Skates (Feet) Replacement

What you need

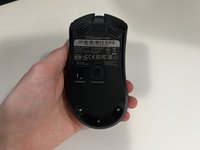
  1. Razer Deathadder V3 Pro Skates (Feet) Replacement, Turn off the mouse: step 1, image 1 of 2 Razer Deathadder V3 Pro Skates (Feet) Replacement, Turn off the mouse: step 1, image 2 of 2
    • Turn off the mouse by holding the power button for 3 seconds.

    • The light on top will blink red, indicating its been turned off.

    Ask FixBot

    Add Comment

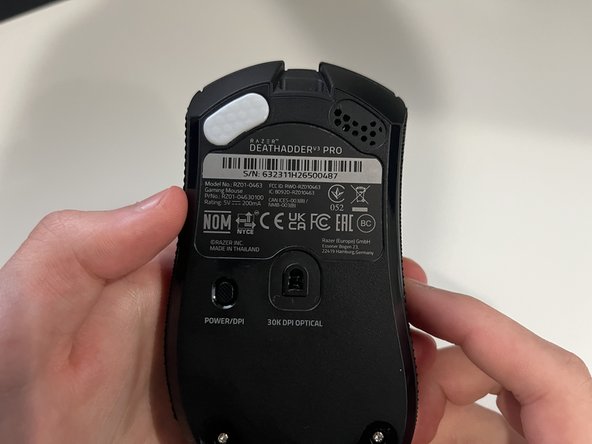
  2. Razer Deathadder V3 Pro Skates (Feet) Replacement, Locate the skates: step 2, image 1 of 1
    • The Deathadder V3 Pro has 4 individual skates on it.

    Ask FixBot

    Add Comment

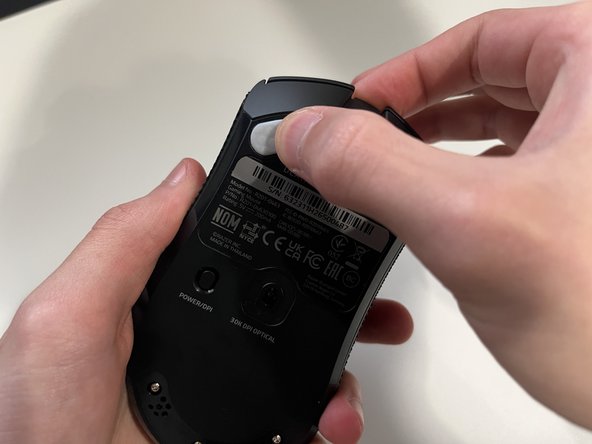
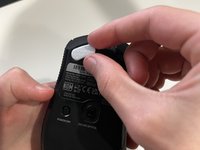
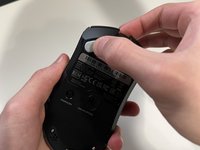
  3. Razer Deathadder V3 Pro Skates (Feet) Replacement, Remove skates: step 3, image 1 of 3 Razer Deathadder V3 Pro Skates (Feet) Replacement, Remove skates: step 3, image 2 of 3 Razer Deathadder V3 Pro Skates (Feet) Replacement, Remove skates: step 3, image 3 of 3
    Tool used on this step:
    Tweezers
    $4.99
    Buy
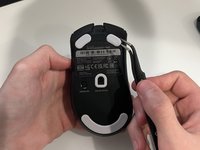
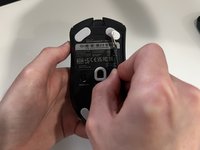
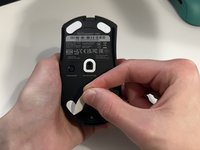
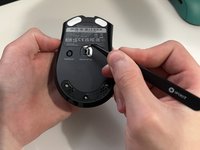
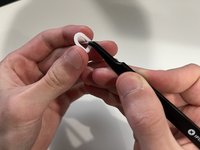
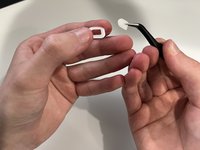
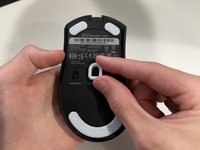
    • Slide your fingernail or a pair of tweezers under the skates and pull up.

    • I found using my finger to finish peeling the skates off was easier, but your mileage may vary.

    • Be careful around the sensor as you could potentially damage it and cause unwanted tracking issues.

    Ask FixBot

    Add Comment

  4. Razer Deathadder V3 Pro Skates (Feet) Replacement, Remove paper: step 4, image 1 of 3 Razer Deathadder V3 Pro Skates (Feet) Replacement, Remove paper: step 4, image 2 of 3 Razer Deathadder V3 Pro Skates (Feet) Replacement, Remove paper: step 4, image 3 of 3
    • If there is a leftover paper like material, remove it just like you did the skates.

    Ask FixBot

    Add Comment

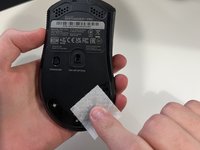
  5. Razer Deathadder V3 Pro Skates (Feet) Replacement, Clean off residue: step 5, image 1 of 3 Razer Deathadder V3 Pro Skates (Feet) Replacement, Clean off residue: step 5, image 2 of 3 Razer Deathadder V3 Pro Skates (Feet) Replacement, Clean off residue: step 5, image 3 of 3
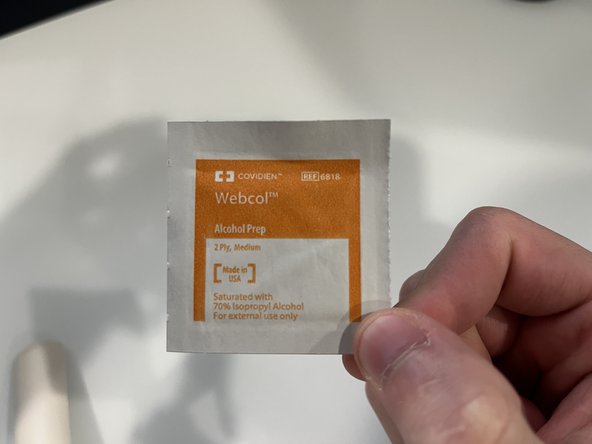
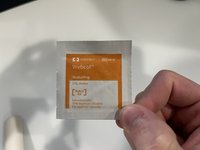
    • Use the included alcohol prep pad, or your own, to remove any leftover residue.

    • You might have to use your finger to remove some stubborn residue.

    • Let the alcohol dry for a little before continuing.

    Ask FixBot

    Add Comment

  6. Razer Deathadder V3 Pro Skates (Feet) Replacement, Place skates: step 6, image 1 of 3 Razer Deathadder V3 Pro Skates (Feet) Replacement, Place skates: step 6, image 2 of 3 Razer Deathadder V3 Pro Skates (Feet) Replacement, Place skates: step 6, image 3 of 3
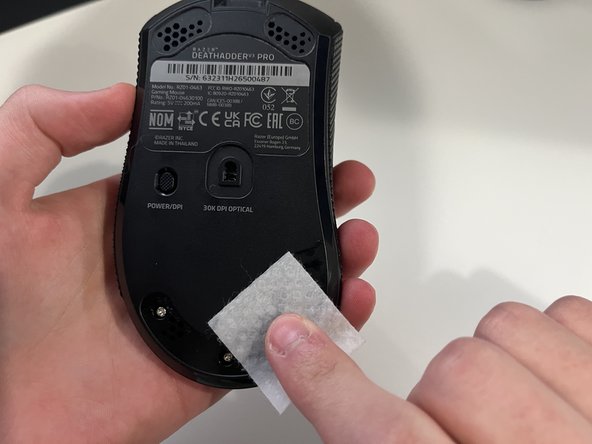
    • Place your new skates in the correct spot.

    • Apply some pressure with your thumb to make sure that the skates stick properly.

    • Do this for all of them except the sensor ring, that one is discussed in the next step.

    Ask FixBot

    Add Comment

  7. Razer Deathadder V3 Pro Skates (Feet) Replacement, Remove excess sensor ring: step 7, image 1 of 3 Razer Deathadder V3 Pro Skates (Feet) Replacement, Remove excess sensor ring: step 7, image 2 of 3 Razer Deathadder V3 Pro Skates (Feet) Replacement, Remove excess sensor ring: step 7, image 3 of 3
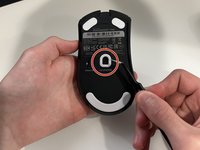
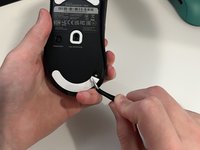
    • Use your tweezers or fingers to pop out the extra piece for the sensor ring.

    • When placing the sensor ring skate, be careful not to damage the actual sensor.

    Ask FixBot

    Add Comment

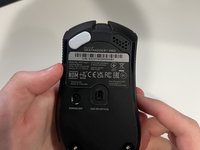
  8. Razer Deathadder V3 Pro Skates (Feet) Replacement, Enjoy!: step 8, image 1 of 1
    • Enjoy your new mouse skates!

    Ask FixBot

    Add Comment

Finish Line

Cancel: I did not complete this guide.

Swrlz

Member since: 02/12/23

157 Reputation

1 Guide authored

1 Guide Comment

Thank you for the amazing step-by-step guide!

Puck - Reply Share

Add Comment

View Statistics:

Past 24 Hours: 2

Past 7 Days: 20

Past 30 Days: 109

All Time: 3,021