Free Shipping on Domestic Orders $75+

Razer Blade Stealth 2017 Touchpad Replacement

What you need

    1. Razer Blade Stealth 2017 Touchpad Replacement, Battery: step 1, image 1 of 2 Razer Blade Stealth 2017 Touchpad Replacement, Battery: step 1, image 2 of 2
      • Before you begin, be sure to turn off your laptop and discharge the battery down to 25%.

      • Use a Torx T5 screwdriver to remove the eight, 3mm screws on the bottom cover of the laptop.

      • Whenever you remove screws from the device, remember to save and label them.

      Ask FixBot

      Add Comment

    2. Razer Blade Stealth 2017 Touchpad Replacement: step 2, image 1 of 1
      • Remove the bottom cover of the laptop by sliding it away from the hinge.

      • Do not force the cover up!

      Ask FixBot

      Add Comment

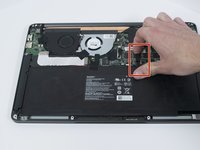
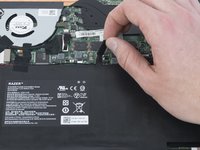
    3. Razer Blade Stealth 2017 Touchpad Replacement: step 3, image 1 of 2 Razer Blade Stealth 2017 Touchpad Replacement: step 3, image 2 of 2
      • Use your fingernail to pry up and disconnect the battery from the motherboard.

      Ask FixBot

      Add Comment

    4. Razer Blade Stealth 2017 Touchpad Replacement: step 4, image 1 of 1
      • Use a Phillips #00 screwdriver to remove the six, 5mm screws securing the battery.

      Ask FixBot

      Add Comment

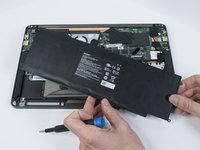
    5. Razer Blade Stealth 2017 Touchpad Replacement: step 5, image 1 of 2 Razer Blade Stealth 2017 Touchpad Replacement: step 5, image 2 of 2
      • Remove any tape attached to the battery.

      • Use the plastic spudger to pry out the battery.

      Ask FixBot

      Add Comment

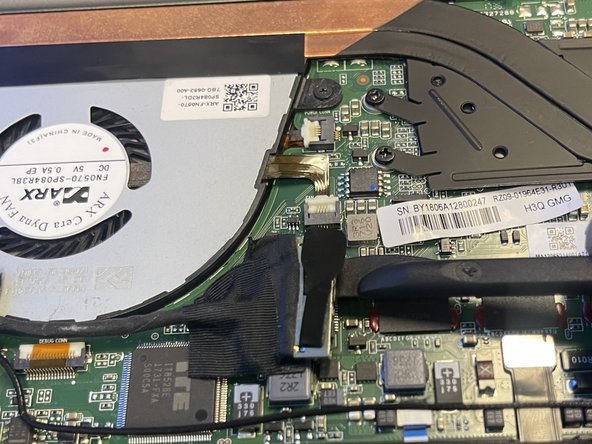
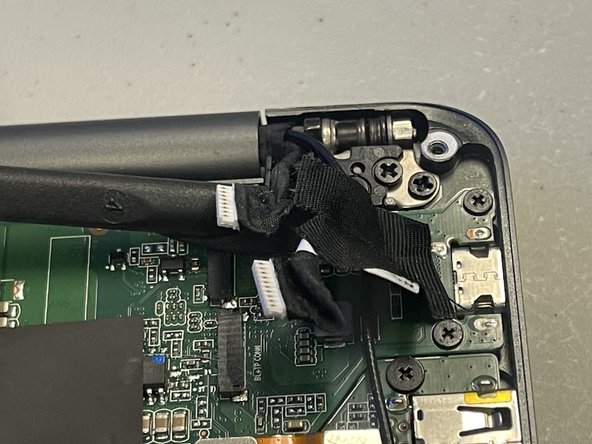
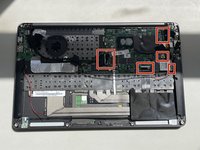
    1. Razer Blade Stealth 2017 Touchpad Replacement, Motherboard: step 6, image 1 of 3 Razer Blade Stealth 2017 Touchpad Replacement, Motherboard: step 6, image 2 of 3 Razer Blade Stealth 2017 Touchpad Replacement, Motherboard: step 6, image 3 of 3
      • Use a plastic spudger to gently undo the connections to the motherboard.

      Ask FixBot

      Add Comment

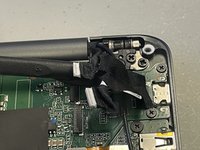
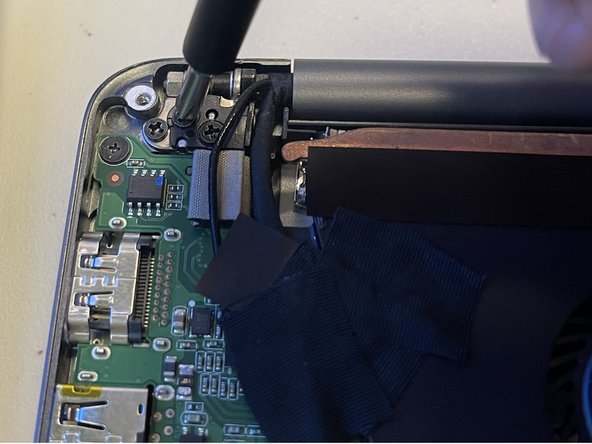
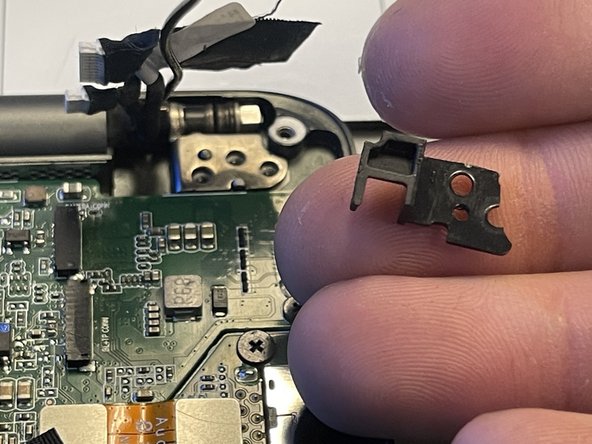
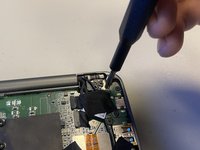
    2. Razer Blade Stealth 2017 Touchpad Replacement: step 7, image 1 of 3 Razer Blade Stealth 2017 Touchpad Replacement: step 7, image 2 of 3 Razer Blade Stealth 2017 Touchpad Replacement: step 7, image 3 of 3
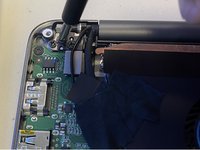
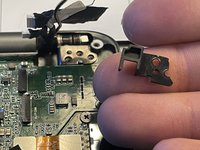
      • Use a Phillips #00 screwdriver to remove the six 4 mm screws holding the display hinges on both side.

      • Remove the small plastic brackets holding the display hinges.

      Ask FixBot

      Add Comment

    3. Razer Blade Stealth 2017 Touchpad Replacement: step 8, image 1 of 1
      • Remove the 2.6 mm screw holding the Wi-Fi card down with a Phillips #00 screwdriver.

      • Remove the motherboard from the laptop.

      Ask FixBot

      Add Comment

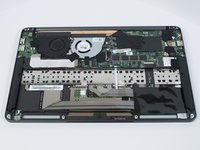
    1. Razer Blade Stealth 2017 Touchpad Replacement, Touchpad: step 9, image 1 of 2 Razer Blade Stealth 2017 Touchpad Replacement, Touchpad: step 9, image 2 of 2
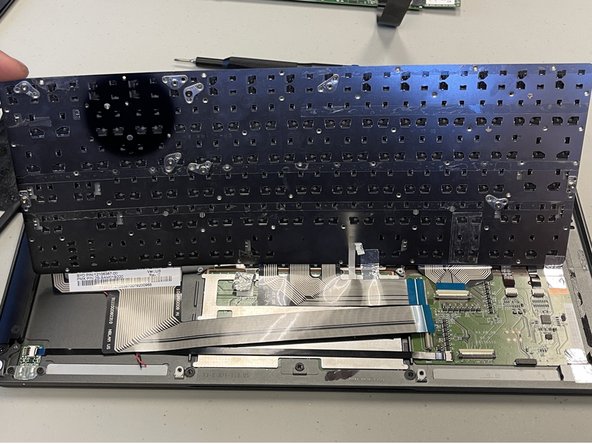
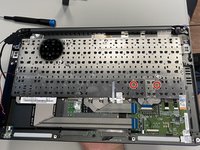
      • Use a Phillips #000 to remove all 55 1.6 mm screws from the metal plate.

      • Remove the metal plate from computer using your hands.

      Ask FixBot

      Add Comment

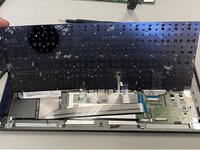
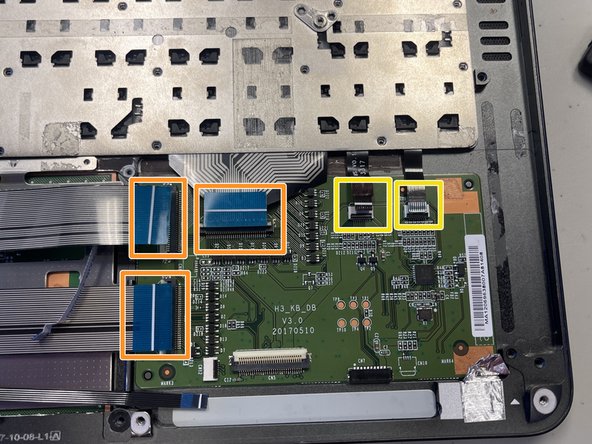
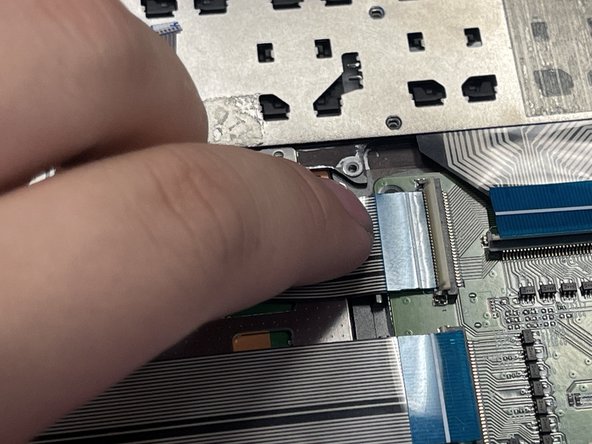
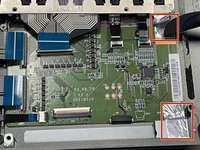
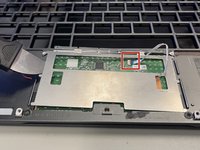
    2. Razer Blade Stealth 2017 Touchpad Replacement: step 10, image 1 of 3 Razer Blade Stealth 2017 Touchpad Replacement: step 10, image 2 of 3 Razer Blade Stealth 2017 Touchpad Replacement: step 10, image 3 of 3
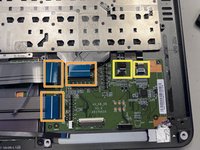
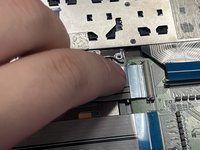
      • Use a spudger to remove foil tape.

      • Pull the connectors off using fingers

      • Remove the connectors by lifting up the hinges by using fingertips.

      • Pull the connectors off.

      Ask FixBot

      Add Comment

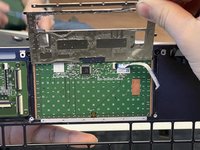
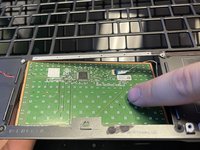
    3. Razer Blade Stealth 2017 Touchpad Replacement: step 11, image 1 of 3 Razer Blade Stealth 2017 Touchpad Replacement: step 11, image 2 of 3 Razer Blade Stealth 2017 Touchpad Replacement: step 11, image 3 of 3
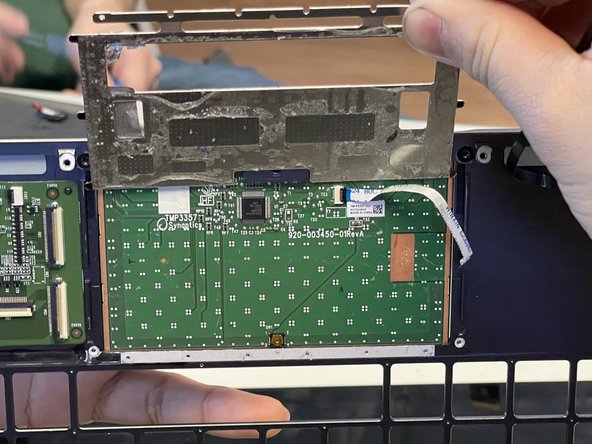
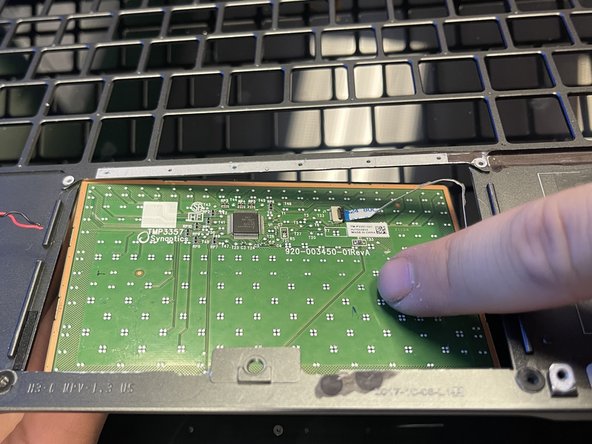
      • Pull the connector off from the mousepad connected to the daughterboard.

      • Use a Jimmy to remove adhesive from the metal bracket on the mousepad.

      • To remove adhesive, warm the area up that has adhesive.

      • Pull up on the metal bracket after removing adhesive.

      • Push down on the mousepad to remove from the computer.

      Ask FixBot

      Add Comment

Conclusion

To reassemble your device, follow these instructions in reverse order.

Cancel: I did not complete this guide.

Jovanny Reyes

Member since: 02/08/24

97 Reputation

1 Guide authored

0 Guide Comments

Add Comment

View Statistics:

Past 24 Hours: 2

Past 7 Days: 20

Past 30 Days: 77

All Time: 682