Free Shipping on Domestic Orders $75+

Razer Blade Stealth 2017 Motherboard Replacement

What you need

  1. Razer Blade Stealth 2017 Motherboard Replacement, Battery: step 1, image 1 of 2 Razer Blade Stealth 2017 Motherboard Replacement, Battery: step 1, image 2 of 2
    • Before you begin, be sure to turn off your laptop and discharge the battery down to 25%.

    • Use a Torx T5 screwdriver to remove the eight, 3mm screws on the bottom cover of the laptop.

    • Whenever you remove screws from the device, remember to save and label them.

    Ask FixBot
  2. Razer Blade Stealth 2017 Motherboard Replacement: step 2, image 1 of 1
    • Remove the bottom cover of the laptop by sliding it away from the hinge.

    • Do not force the cover up!

    Ask FixBot
  3. Razer Blade Stealth 2017 Motherboard Replacement: step 3, image 1 of 2 Razer Blade Stealth 2017 Motherboard Replacement: step 3, image 2 of 2
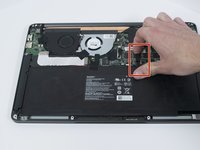
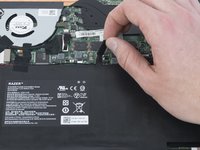
    • Use your fingernail to pry up and disconnect the battery from the motherboard.

    Ask FixBot
  4. Razer Blade Stealth 2017 Motherboard Replacement: step 4, image 1 of 1
    • Use a Phillips #00 screwdriver to remove the six, 5mm screws securing the battery.

    Ask FixBot
  5. Razer Blade Stealth 2017 Motherboard Replacement: step 5, image 1 of 2 Razer Blade Stealth 2017 Motherboard Replacement: step 5, image 2 of 2
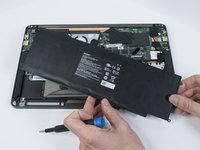
    • Remove any tape attached to the battery.

    • Use the plastic spudger to pry out the battery.

    Ask FixBot
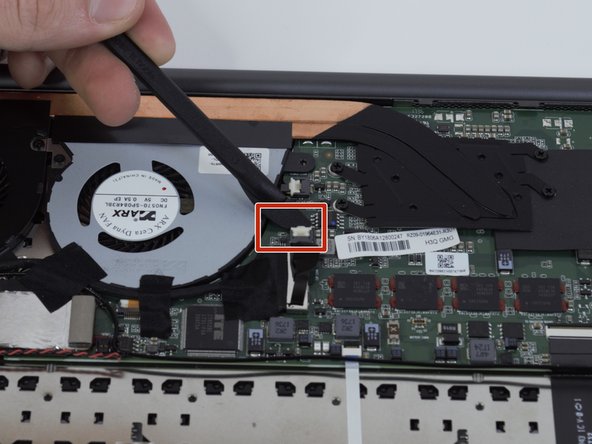
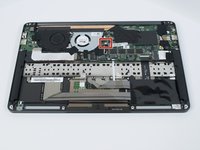
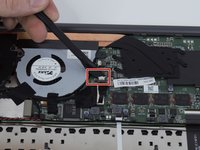
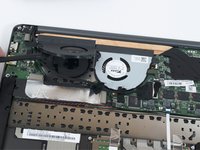
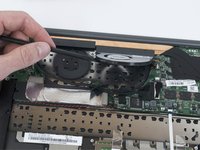
  6. Razer Blade Stealth 2017 Motherboard Replacement, Fan: step 6, image 1 of 2 Razer Blade Stealth 2017 Motherboard Replacement, Fan: step 6, image 2 of 2
    • Use a plastic spudger to lift the white clasp on the fan connector.

    Ask FixBot
  7. Razer Blade Stealth 2017 Motherboard Replacement: step 7, image 1 of 1
    Tool used on this step:
    Tweezers
    $4.99
    Buy
    • Use tweezers to pull the fan cable out of the opened connector terminal.

    Ask FixBot
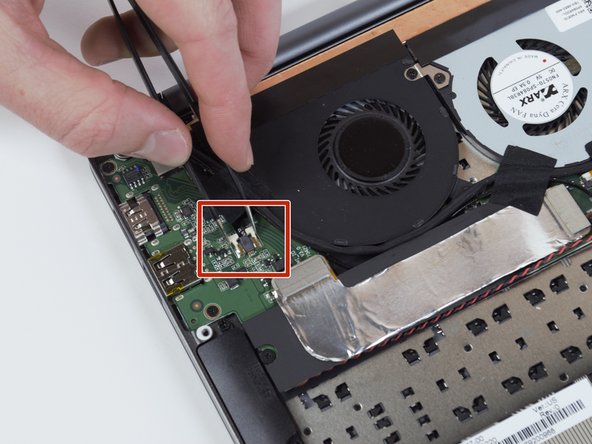
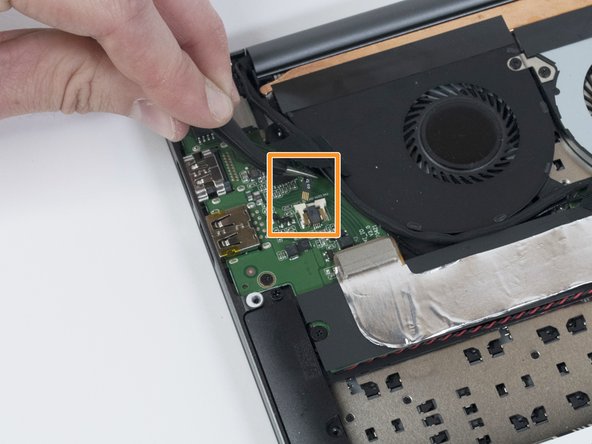
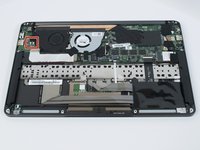
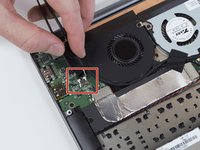
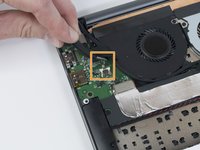
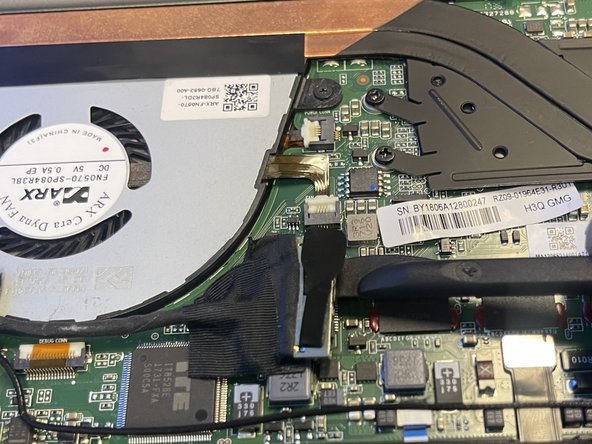
  8. Razer Blade Stealth 2017 Motherboard Replacement: step 8, image 1 of 3 Razer Blade Stealth 2017 Motherboard Replacement: step 8, image 2 of 3 Razer Blade Stealth 2017 Motherboard Replacement: step 8, image 3 of 3
    • Use tweezers to squeeze the fan's white header.

    • Disconnect the fan connector by sliding it out toward the rear of the chassis.

    Ask FixBot
  9. Razer Blade Stealth 2017 Motherboard Replacement: step 9, image 1 of 3 Razer Blade Stealth 2017 Motherboard Replacement: step 9, image 2 of 3 Razer Blade Stealth 2017 Motherboard Replacement: step 9, image 3 of 3
    • Remove any tape attached to the fans.

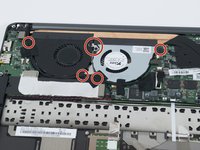
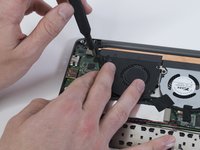
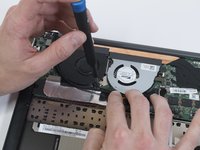
    • Use a Phillips #00 screwdriver to remove the six, 3mm screws and the metal bracket around both fans.

    Ask FixBot
  10. Razer Blade Stealth 2017 Motherboard Replacement: step 10, image 1 of 2 Razer Blade Stealth 2017 Motherboard Replacement: step 10, image 2 of 2
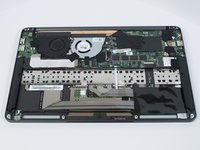
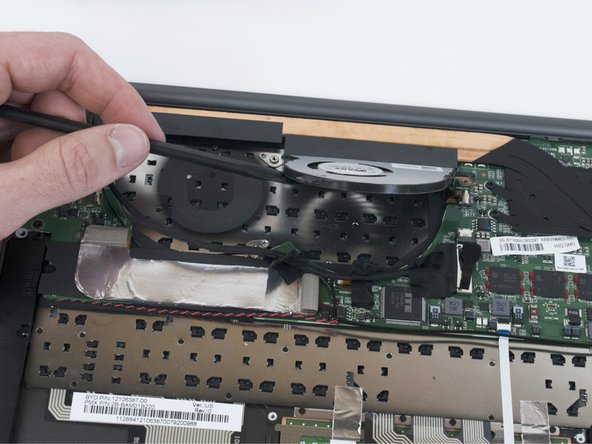
    • Use a plastic spudger to slide the fans out of the case.

    Ask FixBot
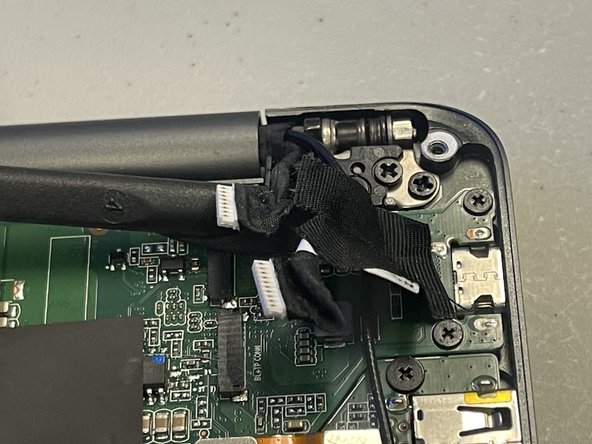
  11. Razer Blade Stealth 2017 Motherboard Replacement, Motherboard: step 11, image 1 of 3 Razer Blade Stealth 2017 Motherboard Replacement, Motherboard: step 11, image 2 of 3 Razer Blade Stealth 2017 Motherboard Replacement, Motherboard: step 11, image 3 of 3
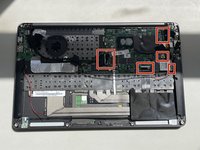
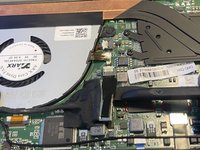
    • Use a plastic spudger to gently undo the connections to the motherboard.

    Ask FixBot
  12. Razer Blade Stealth 2017 Motherboard Replacement: step 12, image 1 of 3 Razer Blade Stealth 2017 Motherboard Replacement: step 12, image 2 of 3 Razer Blade Stealth 2017 Motherboard Replacement: step 12, image 3 of 3
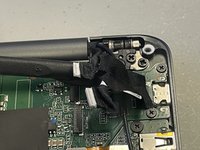
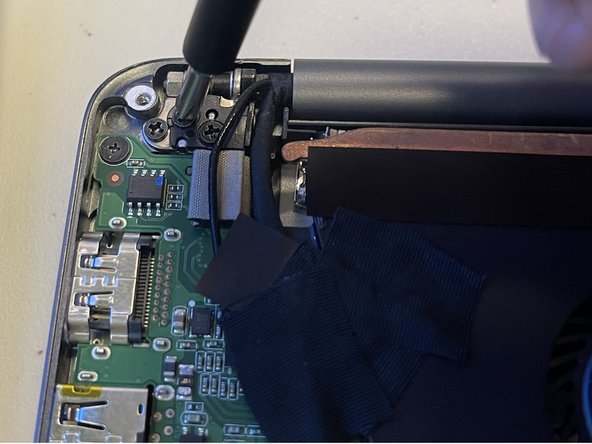
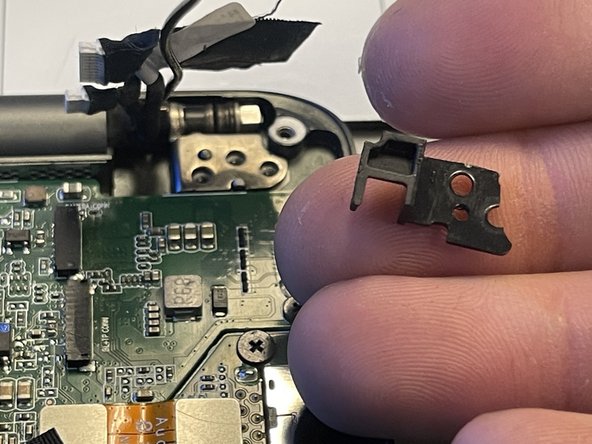
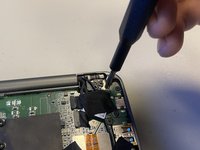
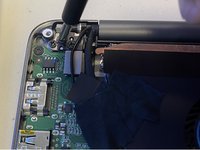
    • Use a Phillips #00 screwdriver to remove the six 4 mm screws holding the display hinges on both side.

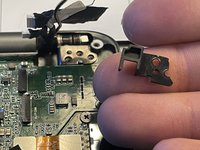
    • Remove the small plastic brackets holding the display hinges.

    Ask FixBot
  13. Razer Blade Stealth 2017 Motherboard Replacement: step 13, image 1 of 1
    • Remove the 2.6 mm screw holding the Wi-Fi card down with a Phillips #00 screwdriver.

    • Remove the motherboard from the laptop.

    Ask FixBot
Conclusion

To reassemble your device, follow these instructions in reverse order. Ensure that your laptop boots into BIOS for any necessary configuration after installing a new motherboard.

One other person completed this guide.

0 Guide Comments

Add Comment

View Statistics:

Past 24 Hours: 1

Past 7 Days: 8

Past 30 Days: 32

All Time: 530