Introduction
Use this guide to remove or replace the right fan in your Razer Blade 15" (2020) laptop.
Note: This guide refers to the "right" fan as the one on your right-hand side when the screen is open and facing you.
What you need
-
-
Unplug all cables and fully shut down your laptop.
-
Close the lid and flip your laptop over so the back cover faces up.
 Ask FixBot
-
-
-
Use a T5 Torx driver to remove the ten 3.7 mm-long screws securing the back cover.
-
-
-
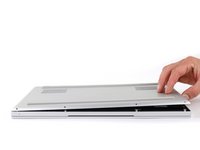
Use a finger to pry up the right side of the back cover, starting at the Ethernet port cutout.
-
-
-
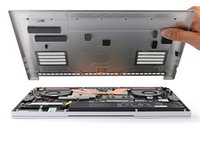
Remove the back cover slowly, as to avoid tearing the thermal pads underneath.
-
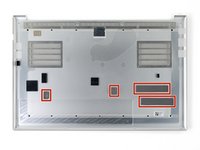
Lay the back cover down on its rubber feet to avoid damaging the thermal pads on its underside.
-
-
-
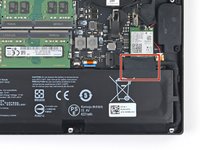
Apply a heated iOpener to the battery cable tape for one minute.
-
-
-
Tool used on this step:Tweezers$4.99
-
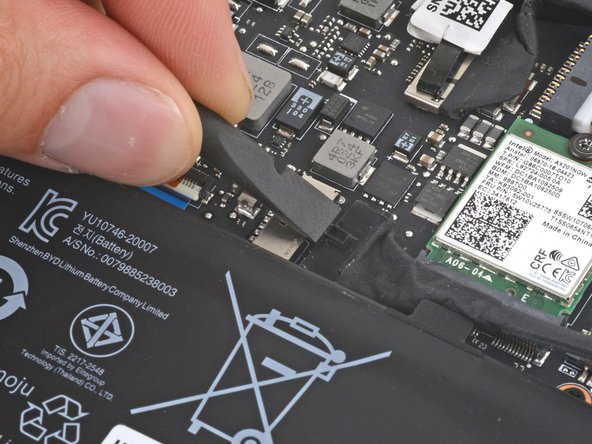
Use blunt nose tweezers or your fingers to peel and remove the battery cable tape.
-
-
-
Use the flat end of a spudger to push the square tab on the battery connector and slide it out of its socket.
-
-
-
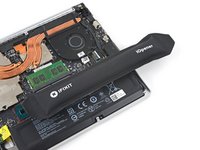
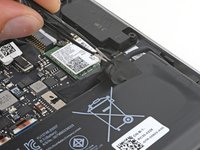
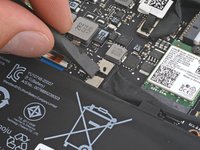
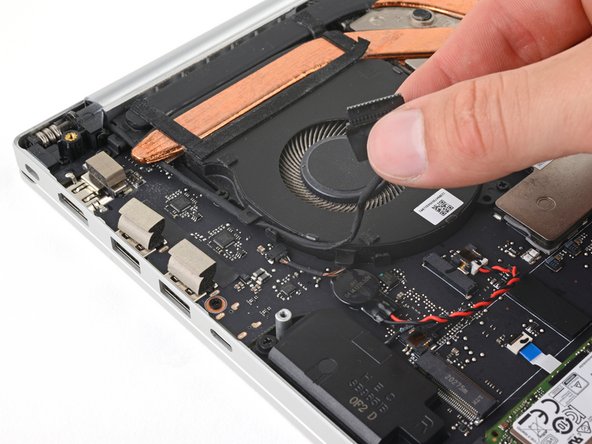
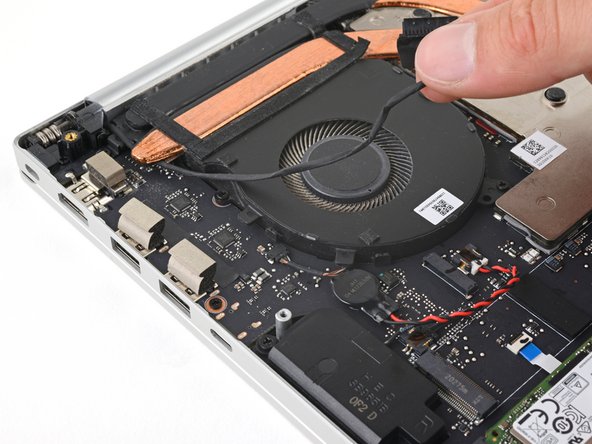
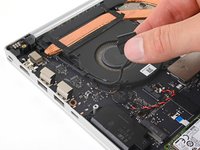
Grab the pull tab on the neck of the left-side screen connector and pull it straight out of its socket.
-
-
-
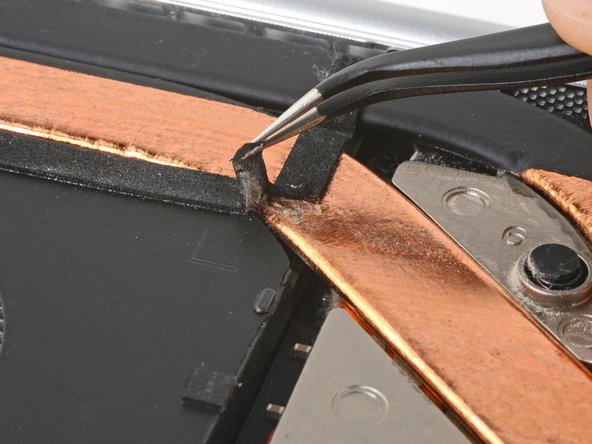
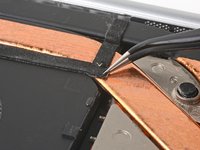
Pull the left-side screen cable out from the clips along the left edge of the fan.
-
-
Tool used on this step:Tweezers$4.99
-
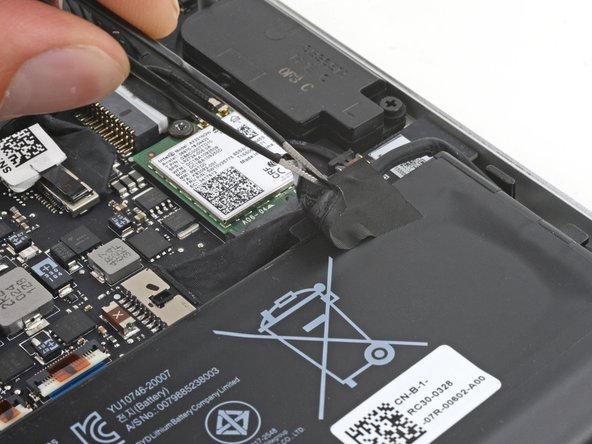
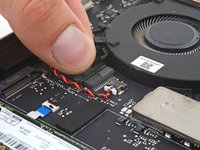
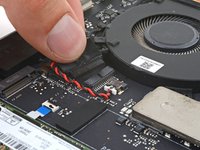
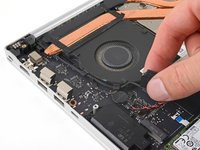
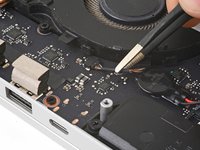
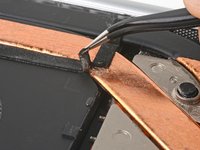
Use tweezers or your fingers to grab the rubber sleeve around the right fan cable and pull the connector straight out of its socket.
-
-
-
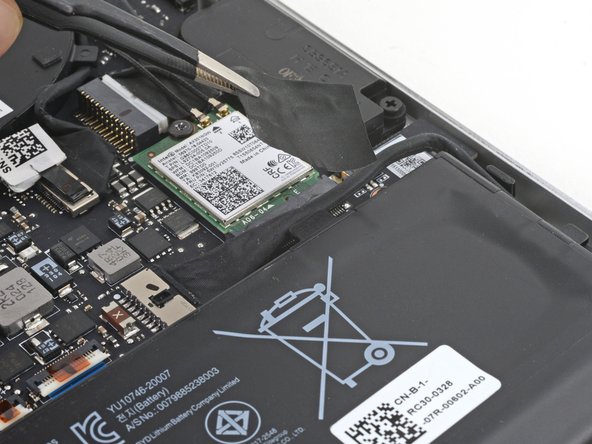
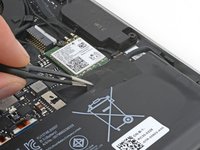
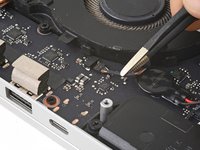
Use tweezers to peel the right side of the fan tape from the heatsink.
-
-
-
Use a Phillips screwdriver to remove the two 6.7 mm screws securing the right fan.
-
-
-
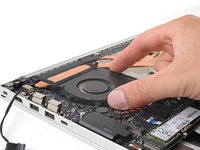
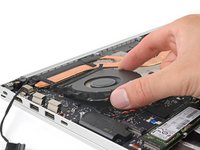
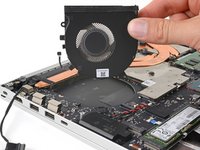
Lift the lower edge of the right fan and slide it away from the heatsink.
-
Remove the fan.
-


To reassemble your device, follow these instructions in reverse order.
Take your e-waste to an R2 or e-Stewards certified recycler.
Repair didn’t go as planned? Try some basic troubleshooting, or ask our Answers community for help.
Cancel: I did not complete this guide.
One other person completed this guide.

Team

1 Guide Comment
The exact article I was looking for. Thanks for easy instructions that works!