
RYOBI P422 Safety Trigger Spring Replacement

Thomas Napert and 3 other contributors
Last updated on Jun 23, 2015
Views: 2.2K
View statistics:
- Past 24 Hours:
- 3
- Past 7 Days:
- 23
- Past 30 Days:
- 102
- All Time:
- 2,180
Comments: 0
No one has left comments on this guide. Will you be first?
Go to guide commentsCompleted: 0 1
No one has marked this guide "completed." Will you be the first?
1 person has marked this guide "completed." It's you — great job!
Favorites: 1 2
1 person has favorited (and subscribed to) this guide. Will you be next?
2 people have favorited (and subscribed to) this guide — including you!
Introduction
Go to step 1 ↓If your springs become damaged or weak from extended use, it's wise to replace them to ensure proper function. These springs may be under compression/ tension, so be wary when removing/ replacing these parts.
What you need
Tools

-
-
-
To remove the battery press down on the two buttons located on each side of the battery and pull away from the body of the grinder.
-
To remove the handle hold grinder with one hand and use the other hand to unscrew the handle with a counter-clockwise motion
 Ask FixBot
-
-
-
-
-
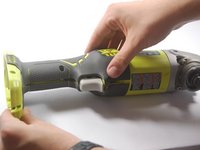
Lay grinder flat on its side so the screws are facing up
-
-
-
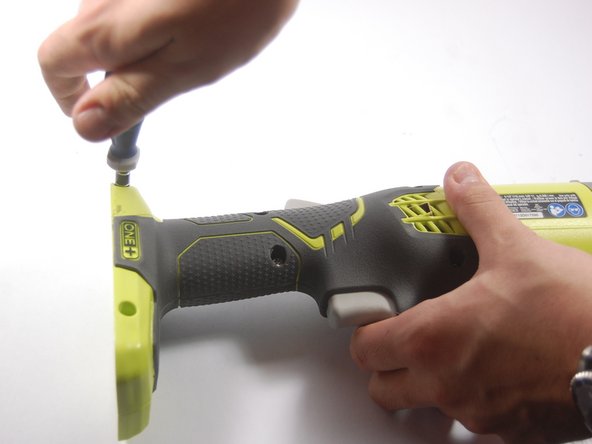
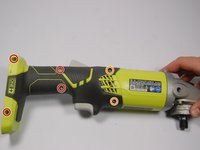
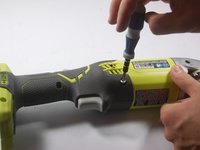
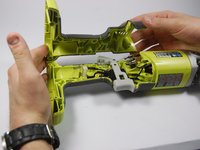
Remove the four 1.8 cm screws from the lower and midsection of the body with a T20-20 Torque screwdriver.
-
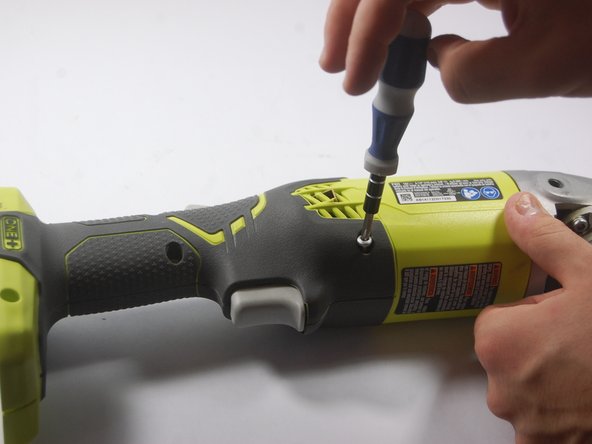
Remove the 3.7 cm screws from the upper section of the body, with the same screwdriver
-
-
-
-
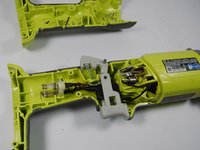
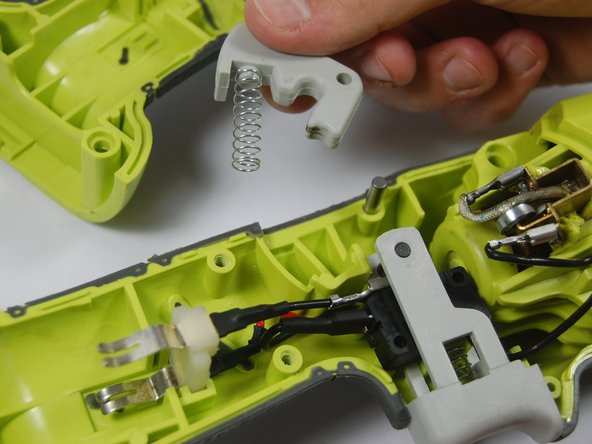
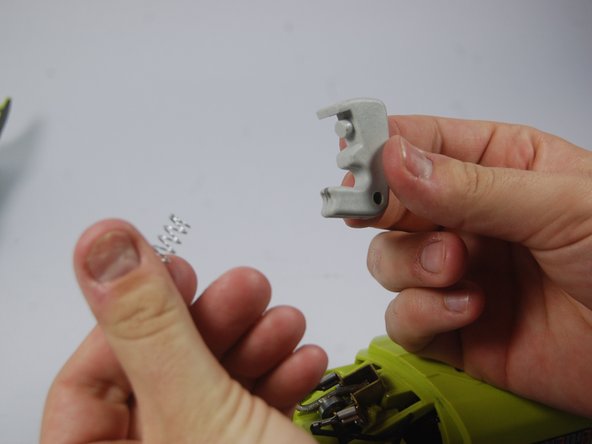
Remove the safety trigger along with the spring.
-
To remove the spring, pull it gently off the bottom of the trigger.
-
-





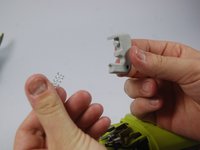
To reassemble your device, follow these instructions in reverse order.

Team

UMass Dartmouth, Team 3-6, Duarte Spring 2015 Member of UMass Dartmouth, Team 3-6, Duarte Spring 2015
UMASSD-DUARTE-S15S3G6
3 Members
60 Guides authored
