
RYOBI AG454 Motor Replacement

Erica Faulkner and 3 other contributors
Last updated on Dec 12, 2019
Views: 1.2K
View statistics:
- Past 24 Hours:
- 4
- Past 7 Days:
- 15
- Past 30 Days:
- 69
- All Time:
- 1,231
Comments: 0
No one has left comments on this guide. Will you be first?
Go to guide commentsCompleted: 0 1
No one has marked this guide "completed." Will you be the first?
1 person has marked this guide "completed." It's you — great job!
Favorites: 0 1
No one has favorited (and subscribed to) this guide. Will you be the first?
1 person has favorited (and subscribed to) this guide — and that's you!
Introduction
Go to step 1 ↓If your RYOBI AG454 is not working or turning on, your motor could be damaged. If the device is sputtering or smoke this could be a sign of motor damage. This guide explains how to detect issues in the motor. It will go through the process of how to understand that the issue is coming from the motor. It will then go through the process of taking apart the grinder so they can reach the motor. After this process, it will give the user helpful steps on how to see if the issue is fixable or not.
What you need
Tools

-
-
-
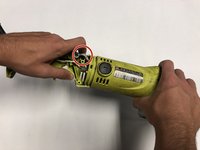
Remove the five 14mm screws from the rotating handle using the Phillips #1 screwdriver.
-
-
-
Unscrew the two 14mm screws from the clear bracket using the Phillips #1 screwdriver.
-
Remove the bracket.
-
-
-
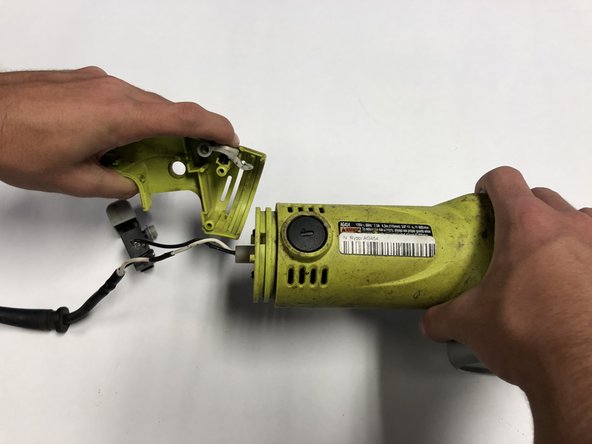
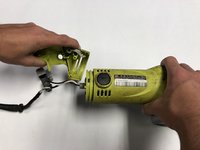
Push handle rotation latch and seperate the rest of the handle from main body.
-
-
-
-
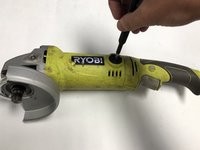
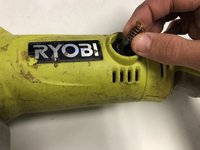
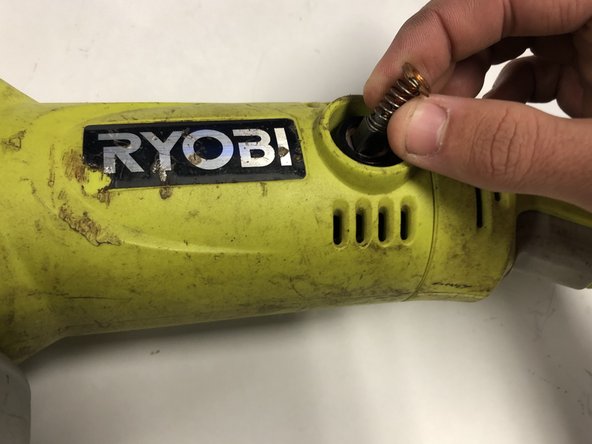
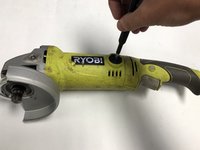
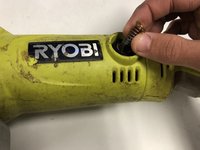
Remove the brush caps from each side of the body using the 4 mm flat head screwdriver.
-
-
-
-
-
Remove the four 20mm screws that secures the gear box using a Phillips #1 screwdriver.
-
-
-
-
Remove the four 20mm screws securing gear box case using a Phillips #1 screwdriver.
-
-
-
-
To remove the handle, remove the five screws using a Phillips #1 screwdriver.
-
-
-
Cut the white wire that's located below the trigger in rear rotator handle with wire strippers.
-
-
-
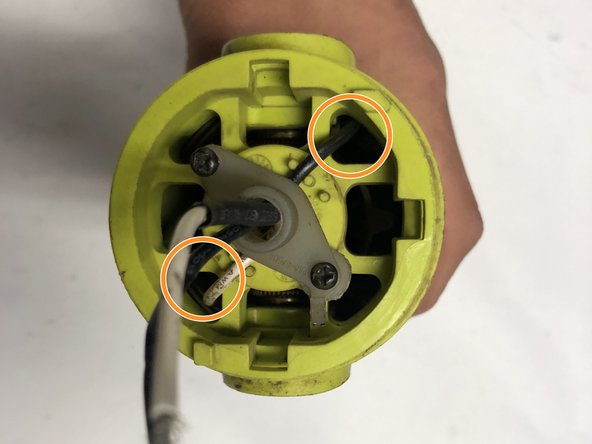
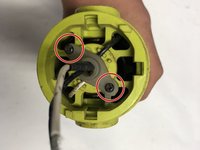
Using a Phillips #1 screwdriver, remove the two screws from the bracket on the bottom of the body.
-
Remove the bracket from the device.
-
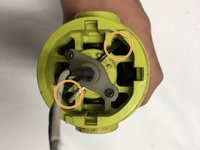
When reassembling be sure to pull the wires back through these two holes.
-
-
-
From the bottom of the body, slide the two coils off the brushes with a Jimmy.
-
-
-
Carefully pull motor along with wires straight out from the body and remove it from the device.
-

 Ask FixBot










To reassemble your device, follow these instructions in reverse order.

Team

Embry-Riddle Aeronautical University, Team S12-G4, Lamothe Fall 2019 Member of Embry-Riddle Aeronautical University, Team S12-G4, Lamothe Fall 2019
ERAU-LAMOTHE-F19S12G4
4 Members
60 Guides authored
