Free Shipping on Domestic Orders $75+

ROG Strix G16 (G614J) M.2 SSD Replacement

What you need

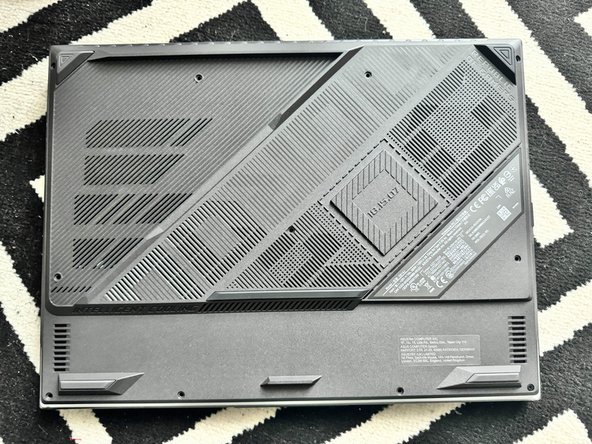
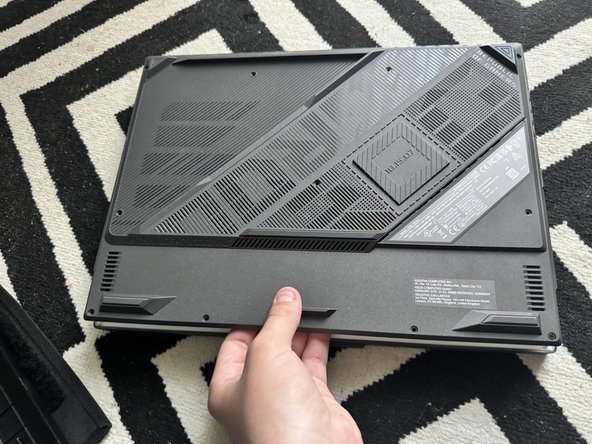
  1. ROG Strix G16 (G614J) M.2 SSD Replacement, Remote the Backplate Screws: step 1, image 1 of 2 ROG Strix G16 (G614J) M.2 SSD Replacement, Remote the Backplate Screws: step 1, image 2 of 2
    • Remove the following screws

    • PH0 Screws

    • This one remains captive to the backplate and will not come off.

    • These ones are also PH0 but are longer then the other ones.

    Ask FixBot

    Add Comment

  2. ROG Strix G16 (G614J) M.2 SSD Replacement, Opening: step 2, image 1 of 2 ROG Strix G16 (G614J) M.2 SSD Replacement, Opening: step 2, image 2 of 2
    • Slide an Opening Pick around the edge until you make an opening

    • Carfully lift the backplate with your hand

    Ask FixBot

    Add Comment

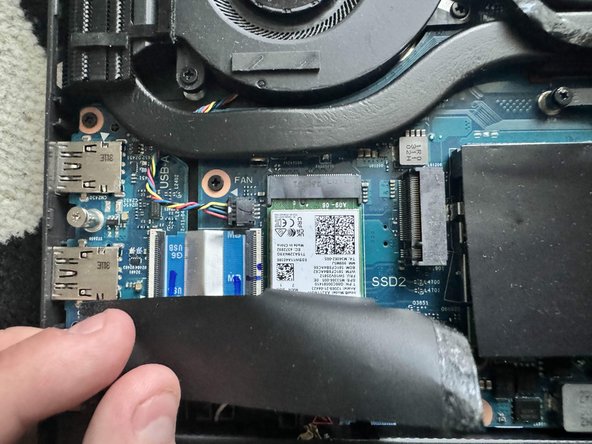
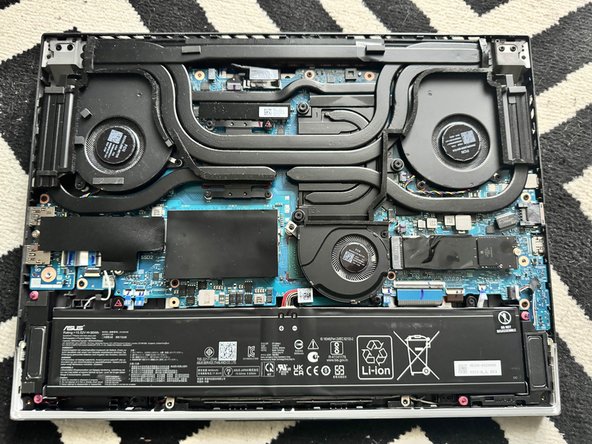
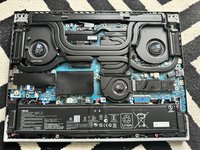
  3. ROG Strix G16 (G614J) M.2 SSD Replacement, Locating Slots: step 3, image 1 of 1
    • There are 2 slots labeled "SSD1" and "SSD2"

    • The SSD1 slot has a preinstalled SSD by the OEM and has your operating system on it

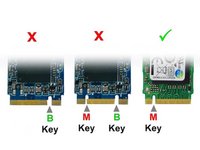
    • The SSD2 slot is free and you can install a M-Key M.2

    Ask FixBot

    Add Comment

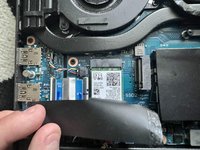
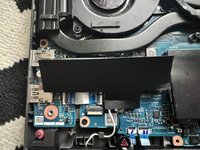
  4. ROG Strix G16 (G614J) M.2 SSD Replacement, Removing tape: step 4, image 1 of 2 ROG Strix G16 (G614J) M.2 SSD Replacement, Removing tape: step 4, image 2 of 2
    • Lift/Remove the tape to reveal the slot

    • You may decide if you would like to keep the tape, we will be reapplying it in step 9

    Ask FixBot

    Add Comment

  5. ROG Strix G16 (G614J) M.2 SSD Replacement, M.2 Screw: step 5, image 1 of 1
    • Remove the PH00 Screw.

    Ask FixBot

    Add Comment

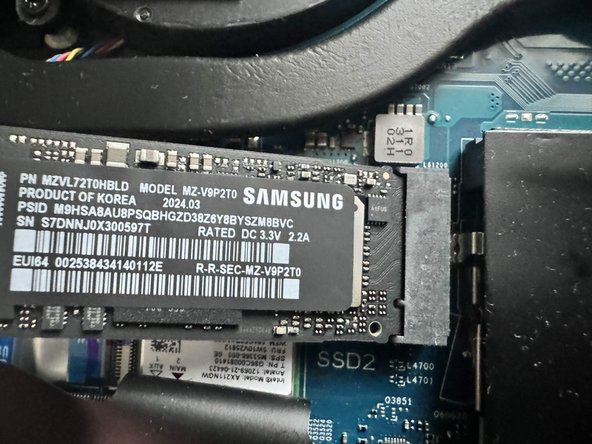
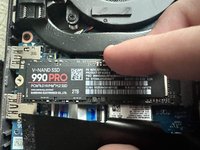
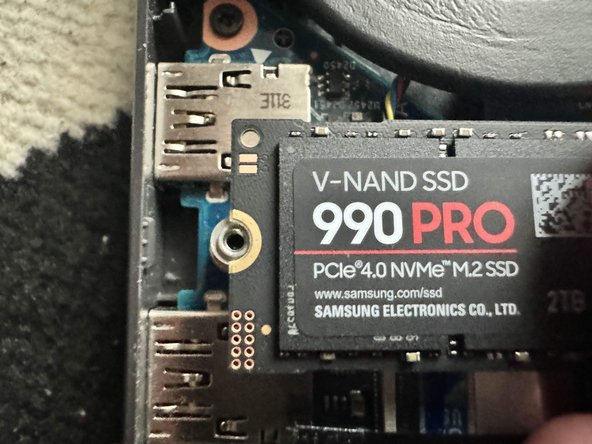
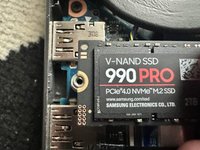
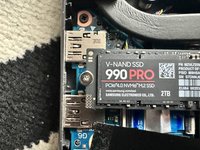
  6. ROG Strix G16 (G614J) M.2 SSD Replacement, Inserting the M.2: step 6, image 1 of 3 ROG Strix G16 (G614J) M.2 SSD Replacement, Inserting the M.2: step 6, image 2 of 3 ROG Strix G16 (G614J) M.2 SSD Replacement, Inserting the M.2: step 6, image 3 of 3
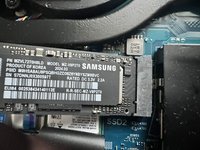
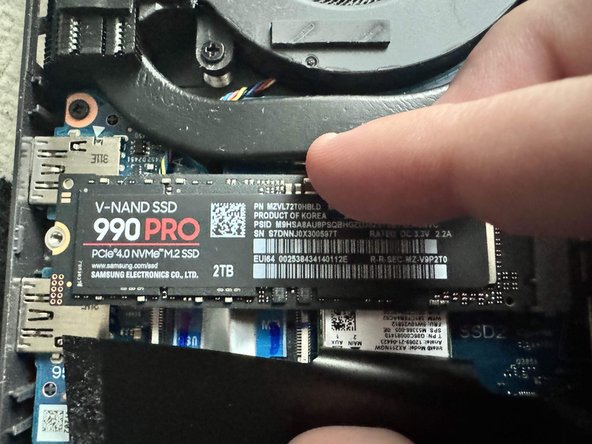
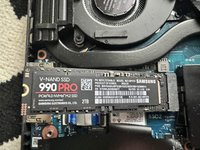
    • Carfully slide in the M.2 into the slot

    • Make sure to align the pins properly to avoid damaging them

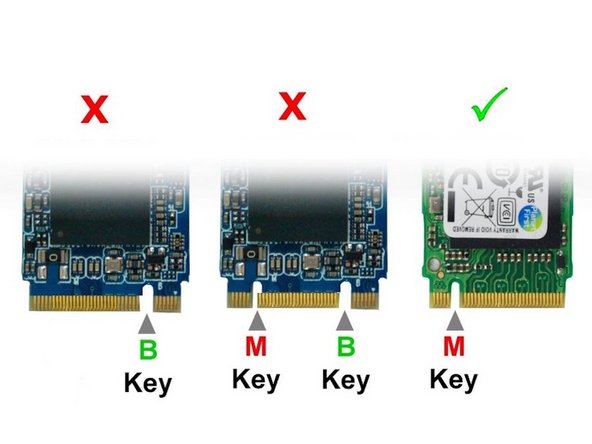
    • Make sure you are installing a M-Key (5pin) M.2, A B-Key or a B&M-Key is not supported

    Ask FixBot

    Add Comment

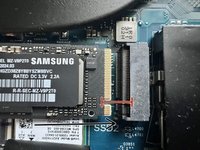
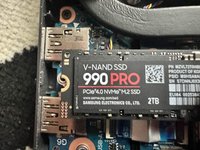
  7. ROG Strix G16 (G614J) M.2 SSD Replacement, Screwing In 1/2: step 7, image 1 of 2 ROG Strix G16 (G614J) M.2 SSD Replacement, Screwing In 1/2: step 7, image 2 of 2
    • Press down on the M.2

    Ask FixBot

    Add Comment

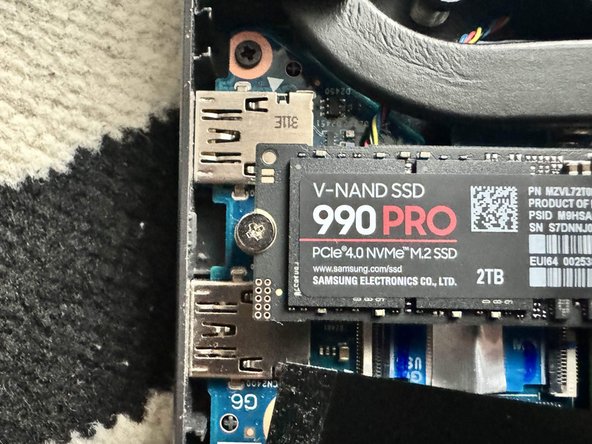
  8. ROG Strix G16 (G614J) M.2 SSD Replacement, Screwing In 2/2: step 8, image 1 of 3 ROG Strix G16 (G614J) M.2 SSD Replacement, Screwing In 2/2: step 8, image 2 of 3 ROG Strix G16 (G614J) M.2 SSD Replacement, Screwing In 2/2: step 8, image 3 of 3
    • Align the M.2 with the screwdriver hole

    • Screw in the M.2

    Ask FixBot

    Add Comment

  9. ROG Strix G16 (G614J) M.2 SSD Replacement, Reapplying the Tape: step 9, image 1 of 2 ROG Strix G16 (G614J) M.2 SSD Replacement, Reapplying the Tape: step 9, image 2 of 2
    • Reapply the tape

    • If you have removed the tape and you dont want to reapply it you may skip this step

    Ask FixBot

    Add Comment

  10. ROG Strix G16 (G614J) M.2 SSD Replacement, Reinstalling the backplate: step 10, image 1 of 1
    • Align the backplate and firmly press down on the edges

    Ask FixBot

    Add Comment

  11. ROG Strix G16 (G614J) M.2 SSD Replacement, Screwing in: step 11, image 1 of 1
    • Screw in all the PH0 Screws

    • Short Screws

    • Long Screws

    • Captive Screw

    Ask FixBot

    Add Comment

Conclusion

Enjoy!

Cancel: I did not complete this guide.

9 other people completed this guide.

Artem Ivat

Member since: 02/05/20

3,900 Reputation

13 Guides authored

Team

Kid fixers Member of Kid fixers

Community

219 Members

336 Guides authored

0 Guide Comments

Add Comment

View Statistics:

Past 24 Hours: 14

Past 7 Days: 76

Past 30 Days: 293

All Time: 6,818