Introduction
If the drill does not turn on after pressing the trigger or it does not stop turning even after you release the trigger, the switch assembly might be damaged. This guide will provide guidance to the process of replacing a broken switch assembly in a RIDGID R860052.
What you need
-
-
-
Use a T10 Torx screwdriver to unscrew the ten screws on the information label side of the drill.
 Ask FixBot
-
-
-
-
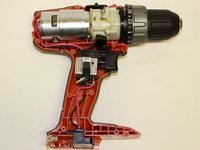
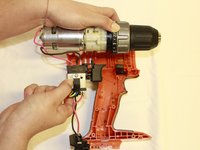
Remove the switch assembly, chuck, and motor from all drill covers.
-
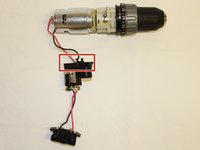
Check if all wires are connected to the switch assembly and motor as illustrated in the image.
-
-
-
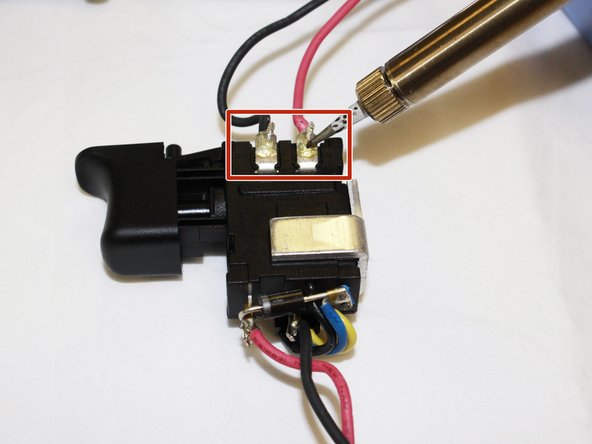
To replace the switch assembly, desolder the black and red wires and replace with a new switch assembly.
-
-



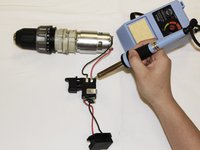
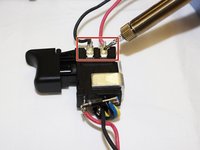
To reassemble your device, follow these instructions in reverse order.
Cancel: I did not complete this guide.
One other person completed this guide.

Team

UC Davis, Team S18-G4, Lore Winter 2019 Member of UC Davis, Team S18-G4, Lore Winter 2019
UCD-LORE-W19S18G4
3 Members
36 Guides authored
