Introduction
Use for a diagnosed wiring problem.
What you need
-
-
Remove the backplate.
-
Using a Torx T20 screwdriver, remove the four screws attaching the back plate.
 Ask FixBot
-
-
-
Remove the drill handle.
-
Using the Phillips #2 screwdriver, remove the five screws attaching the drill handle to the body.
-
-
-
-
Remove the gear casing from the body.
-
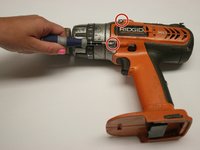
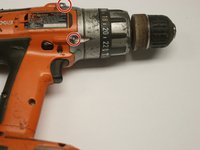
Using the Philips #2 screwdriver, remove the four screws attaching the gear casing to the body.
-
-
-
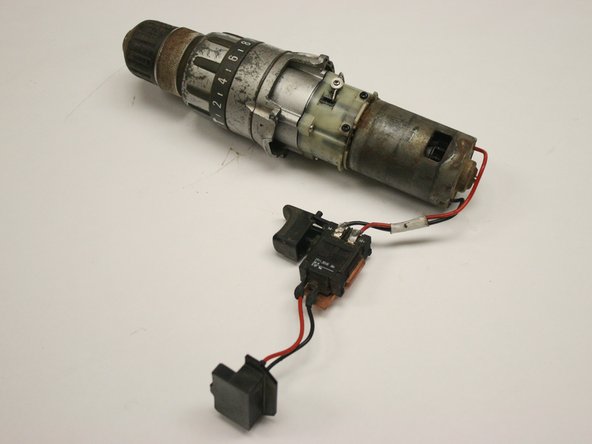
Use a multimeter set above 18V DC to check electrical connections where wires meet drill, switch, or battery terminal.
-
-
-
Look for corrosion or burnt wires.
-
If there are any bad connections or if there is visible damage, replace damaged wire and solder.
-



To reassemble your device, follow these instructions in reverse order.
Cancel: I did not complete this guide.
One other person completed this guide.

Team

Cal Poly, Team 15-48, Garner Spring 2010 Member of Cal Poly, Team 15-48, Garner Spring 2010
CPSU-GARNER-S10S15G48
6 Members
10 Guides authored
