
RIDGID R32104 Trigger Replacement

Lucas Pimentel and one other contributor
Last updated on Jun 6, 2019
Views: 849
View statistics:
- Past 24 Hours:
- 1
- Past 7 Days:
- 11
- Past 30 Days:
- 62
- All Time:
- 849
Comments: 0
No one has left comments on this guide. Will you be first?
Go to guide commentsCompleted: 2 3
2 people have marked this guide "completed." Will you be next?
3 people have marked this guide "completed." Including you — great job!
Favorites: 0 1
No one has favorited (and subscribed to) this guide. Will you be the first?
1 person has favorited (and subscribed to) this guide — and that's you!
Introduction
Go to step 1 ↓If the trigger in your Worm Drive Saw won’t respond when pressed or appears to be broken, use this guide to remove and replace your trigger switch and trigger. All you need are the standard Phillips 2 Screwdriver and Torque 20 Screwdriver, in order to remove the two types of screws involved with this replacement.
What you need
Tools


-
-
-
Place the Worm Drive Saw down and adjust the base plate, so that way the main housing assembly and handle set is easily accessible.
 Ask FixBot
-
-
-
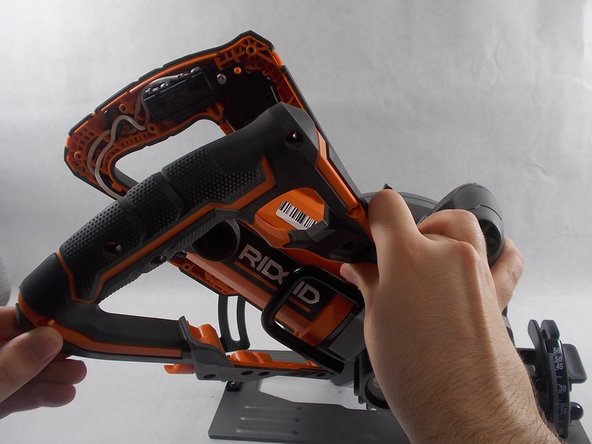
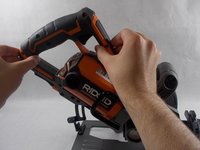
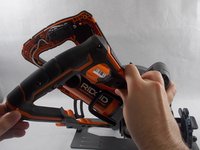
Using the Torque 20 screwdriver, remove the twelve 3/10 cm screws holding the handle set together.
-
-
-
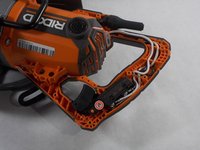
Place the Worm Drive Saw on its side to help remove the trigger.
-
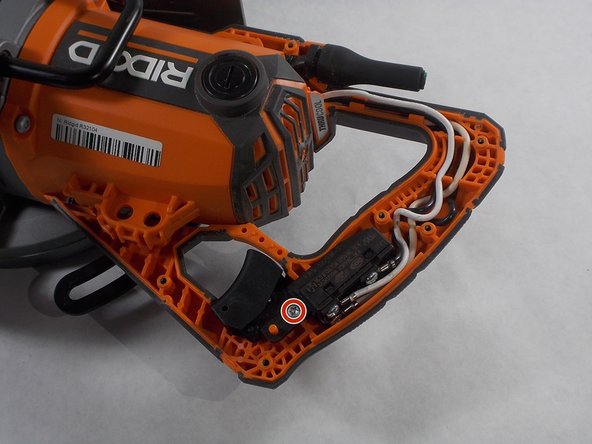
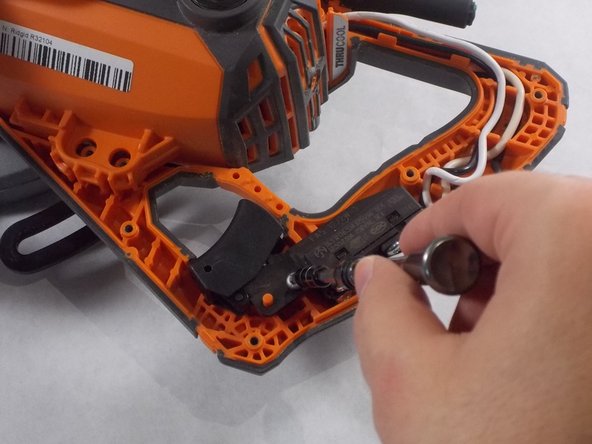
Use the Torque 20 screwdriver to remove the single 3/10 cm screw that attaches the trigger switch to the handle set.
-
-
-
-
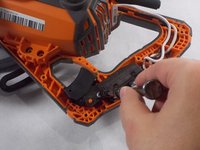
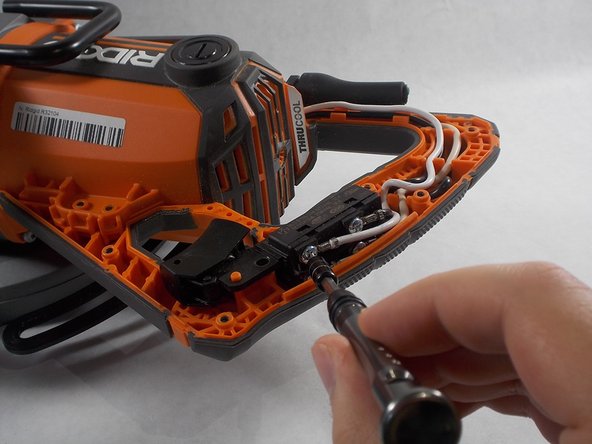
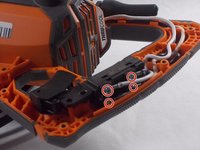
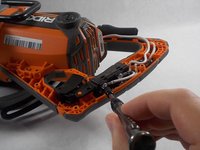
Use the Phillips 2 screwdriver to remove the four 3/10 cm screws holding the trigger and four wires, from the main housing assembly, in place.
-
-





To reassemble your device, follow these instructions in reverse order.
Cancel: I did not complete this guide.
2 other people completed this guide.

Team

UMass Dartmouth, Team S5-G1, Julie Spring 2019 Member of UMass Dartmouth, Team S5-G1, Julie Spring 2019
UMASSD-JULIE-S19S5G1
4 Members
96 Guides authored
