Introduction
A faulty motor rotor can cause sparking and other serious issues with the saw. This is a guide to replace the motor rotor. Although it is an intensive project, it is doable and all you need are a Torx T20 screwdriver, a Torx T50 screwdriver, and a flathead screwdriver.
What you need
-
-
Place down the Worm Drive Saw on a sturdy surface.
-
The motor brush cap is located on the side of the main housing assembly, it can be identified as a large black plastic cap with a slit running down its surface.
 Ask FixBot
-
-
-
Using a flathead screwdriver, remove the motor brush cap from the main housing assembly.
-
-
-
With the cap removed, the motor brush should now be accessible.
-
Carefully remove the motor brush by sliding it out of the main housing assembly.
-
-
-
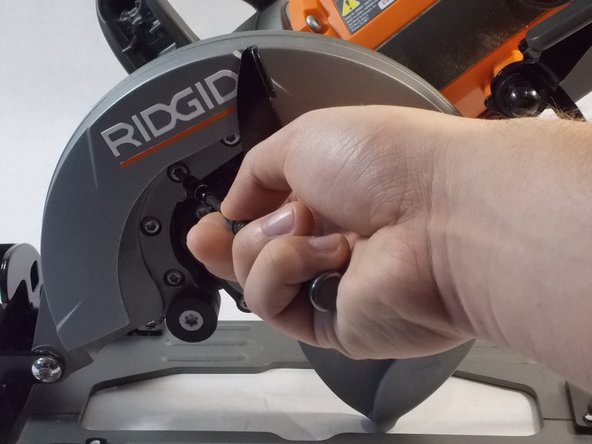
Maneuver the RIDGID saw, in order to easily remove the upper blade guard assembly.
-
Using the T20 Torx Screwdriver, remove the four 4/10 cm screws that attach to the gear box.
-
-
-
-
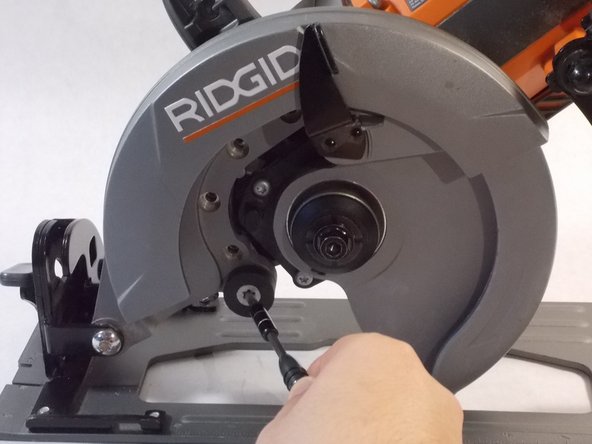
Using the T50 Torx Screwdriver, remove the one 5/10 screw that attach to the gear box.
-
-
-
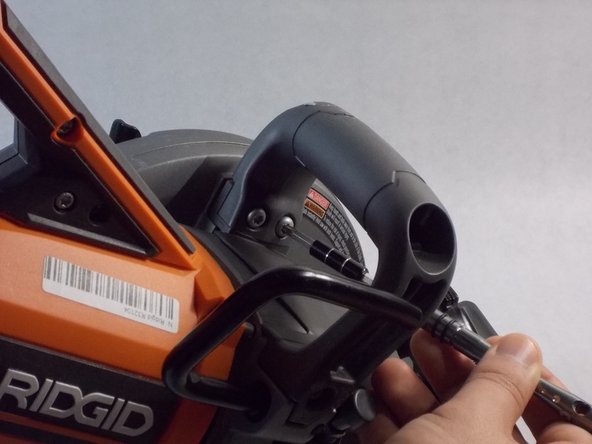
Using the T20 Torx Screwdriver, remove the two 4/10 cm screws that attach to the handle of the device.
-
-
-
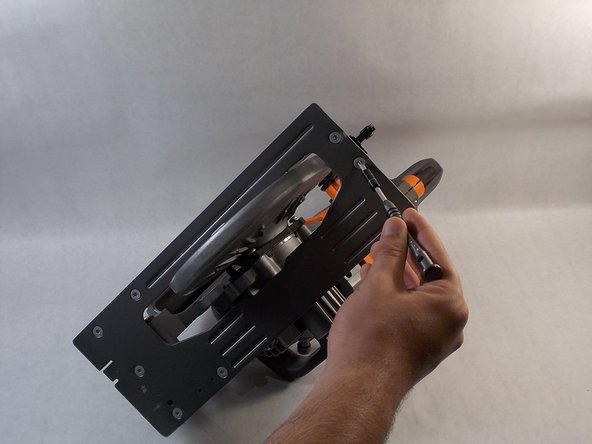
Maneuver the saw to get to the base plate.
-
Using the T20 Torx Screwdriver, remove the two 4/10 cm screws that attach the upper blade guard’s base plate to the main housing assembly.
-
-
-
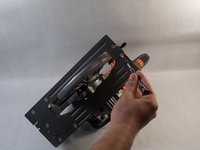
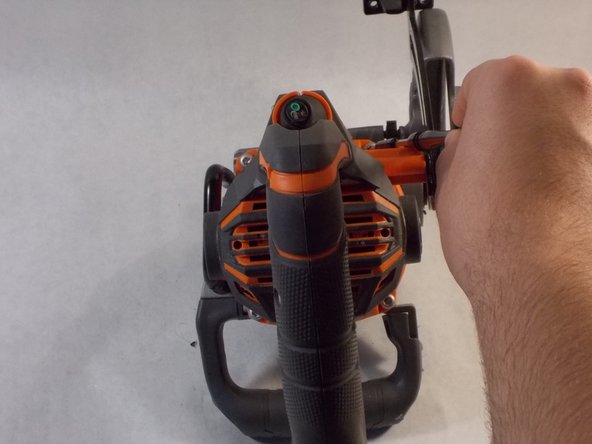
Using the T20 Torx Screwdriver, remove the four 10 cm screws that attaches the main housing assembly to the gear box.
-
-
-
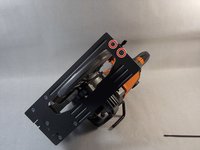
Wiggle out the gear box to easily gain access to the motor rotor.
-
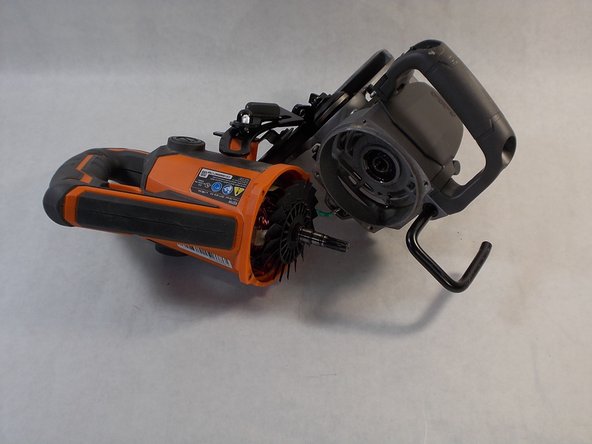
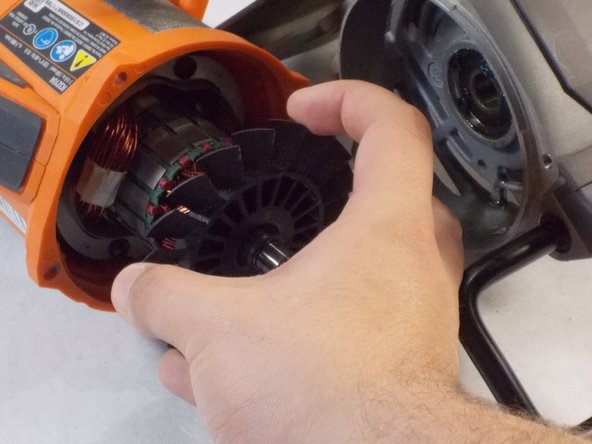
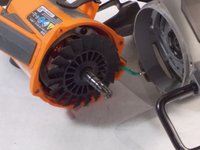
Once taken out, the motor rotor is easily accessible.
-
-
-
The motor rotor is lodged in between the armature and can be identified as a rod containing a fan blade.
-
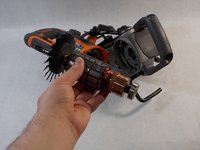
Carefully remove the motor rotor from the device.
-
















To reassemble your device, follow these instructions in reverse order.
Cancel: I did not complete this guide.
One other person completed this guide.

Team

UMass Dartmouth, Team S5-G1, Julie Spring 2019 Member of UMass Dartmouth, Team S5-G1, Julie Spring 2019
UMASSD-JULIE-S19S5G1
4 Members
8 Guides authored
