Free Shipping on Domestic Orders $75+

RCA Voyager II RCT6773W22 Disassembly

What you need

    1. RCA Voyager II RCT6773W22 Disassembly, RCA Voyager II RCT6773W22 Disassembly: step 1, image 1 of 1
      • Have Workstation Prepped

      Ask FixBot
      Add Comment

    2. RCA Voyager II RCT6773W22 Disassembly: step 2, image 1 of 1
      • remove the two screws on the top of the device with a PH000 screwdriver

      Ask FixBot

      Add Comment

    3. RCA Voyager II RCT6773W22 Disassembly: step 3, image 1 of 1
      • Starting from the top, place pick or plastic tool between the power button and screen edge and push apart slightly.

      Ask FixBot

      Add Comment

    4. RCA Voyager II RCT6773W22 Disassembly: step 4, image 1 of 1
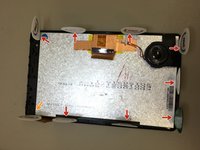
      • Run pick across the top to the right and then down the right side and around the rest of the tablet.

      • There is a good amount of space between the bezel and the board. Be gentle, but the risk of breaking components is low.

      Ask FixBot

      Add Comment

    5. RCA Voyager II RCT6773W22 Disassembly: step 5, image 1 of 2 RCA Voyager II RCT6773W22 Disassembly: step 5, image 2 of 2
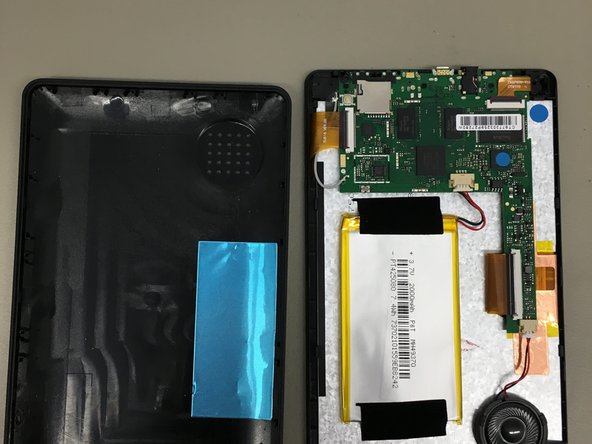
      • lift section out of the black casing from the bottom, lift and remove by pulling away from tablet.

      Ask FixBot
      Add Comment

    6. RCA Voyager II RCT6773W22 Disassembly: step 6, image 1 of 1
      • Battery connection (on older models, may be soldered to board)

      • Front Camera

      • Digitizer

      • LCD

      • Speaker

      Ask FixBot
      Add Comment

    7. RCA Voyager II RCT6773W22 Disassembly: step 7, image 1 of 1
      • Remove battery Connection First

      • Do not use any metal tools while the battery is plugged in. It may cause a short.

      Ask FixBot
      Add Comment

    8. RCA Voyager II RCT6773W22 Disassembly: step 8, image 1 of 1
      • unplug the speaker

      Ask FixBot

      Add Comment

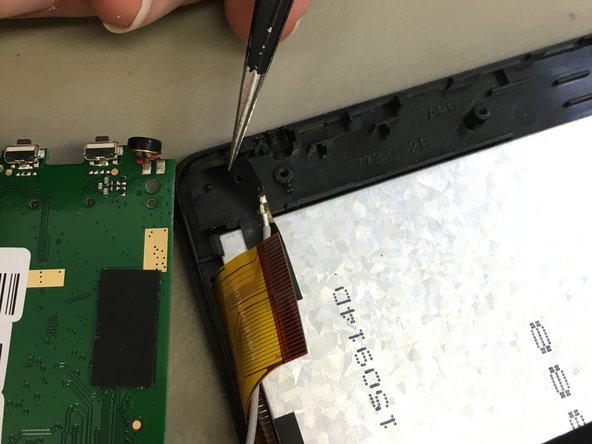
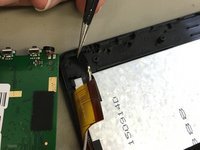
    9. RCA Voyager II RCT6773W22 Disassembly: step 9, image 1 of 3 RCA Voyager II RCT6773W22 Disassembly: step 9, image 2 of 3 RCA Voyager II RCT6773W22 Disassembly: step 9, image 3 of 3
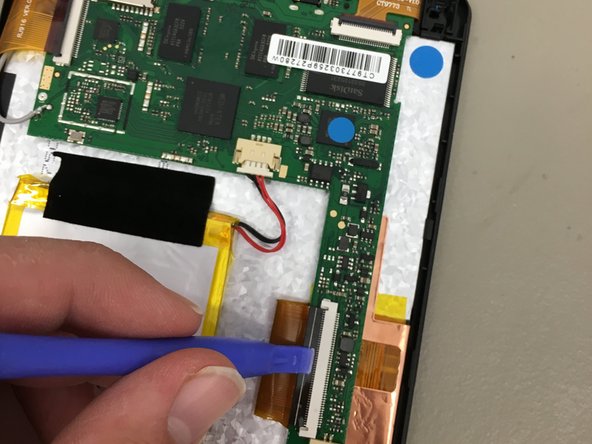
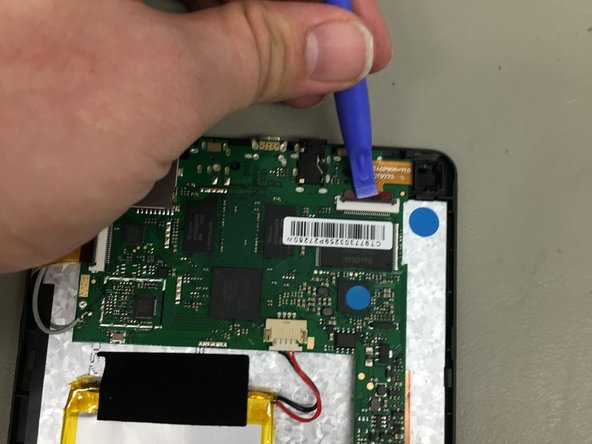
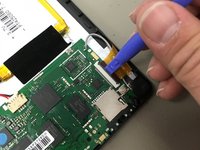
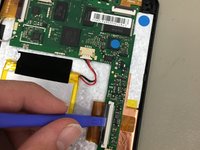
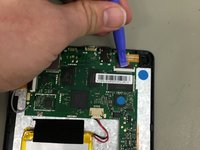
      • Lift the black cover over all three flex cables (Camera, LCD, Digitizer) with a plastic tool.

      • The covers are incredibly fragile, and easy to break

      • gently disconnect all three cables with your fingers by pulling slightly

      Ask FixBot

      Add Comment

    10. RCA Voyager II RCT6773W22 Disassembly: step 10, image 1 of 1
      • remove the three screws securing the board with your PH000 Screwdriver

      Ask FixBot

      Add Comment

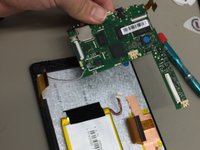
    11. RCA Voyager II RCT6773W22 Disassembly: step 11, image 1 of 2 RCA Voyager II RCT6773W22 Disassembly: step 11, image 2 of 2
      • lift the board out gently

      • Do not tug the board out too hard, the antenna cable on the left is soldered in!

      • Fold board over the left side of the tablet and gently remove tape securing antenna to the case. Use a small amount of heat if necessary.

      Ask FixBot

      Add Comment

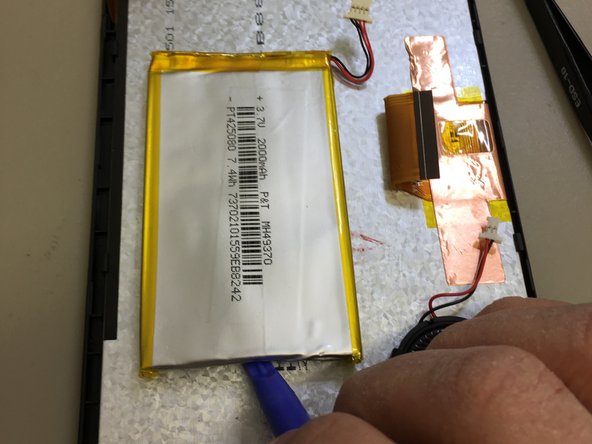
    12. RCA Voyager II RCT6773W22 Disassembly: step 12, image 1 of 2 RCA Voyager II RCT6773W22 Disassembly: step 12, image 2 of 2
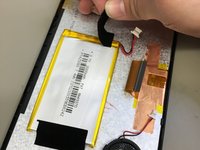
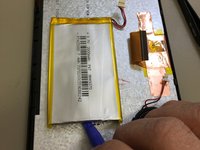
      • remove tape from top and bottom of the battery.

      • with a plastic piece, lift battery from adhesive securing it in place.

      • do not use a metal or sharp tool to remove the battery, tearing or puncturing it may cause it to explode or heat rapidly, and may damage your device.

      • The battery is secured directly to the back of the LCD. Exercise caution while removing the battery not to damage the LCD.

      • The battery is soft and somewhat malleable - it can bend slightly without damage.

      Ask FixBot

      Add Comment

    13. RCA Voyager II RCT6773W22 Disassembly: step 13, image 1 of 2 RCA Voyager II RCT6773W22 Disassembly: step 13, image 2 of 2
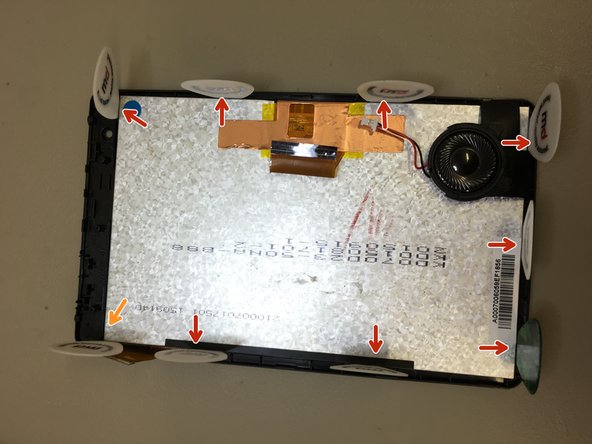
      • Place picks between the lcd and the plastic clips holding it in place.

      • The pick placement to the top left side (near the power button) is smaller and on a corner. I recommend inserting this pick last.

      Ask FixBot

      Add Comment

    14. RCA Voyager II RCT6773W22 Disassembly: step 14, image 1 of 1
      • Gently push top right pick down to lift LCD from the clip. Run across the top and right side to further lift LCD.

      • Use picks as needed to separate LCD in other areas.

      Ask FixBot

      Add Comment

    15. RCA Voyager II RCT6773W22 Disassembly: step 15, image 1 of 1
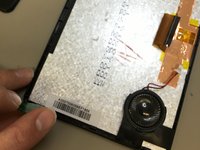
      • Once separated and loose, remove picks so you do not damage the LCD while removing it.

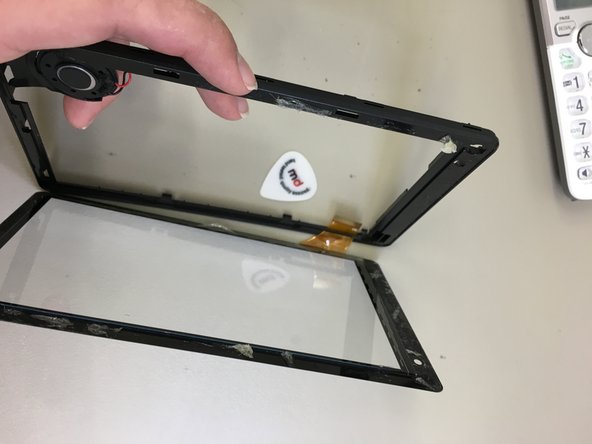
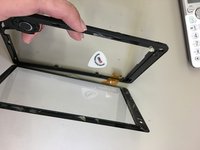
      • To remove, lift top of LCD and pull out of case away from the speaker, which is fixed to the digitizer frame.

      Ask FixBot

      Add Comment

    16. RCA Voyager II RCT6773W22 Disassembly: step 16, image 1 of 2 RCA Voyager II RCT6773W22 Disassembly: step 16, image 2 of 2
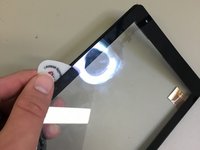
      • to remove Digitizer/Glass from the frame and speaker, slide a pick under a corner between the glass and frame to loosen adhesive

      • If you're having issues loosening the adhesive, use a heat gun around the edges, then try again.

      Ask FixBot

      Add Comment

    17. RCA Voyager II RCT6773W22 Disassembly: step 17, image 1 of 1
      • You have completely dismantled the RCA Voyager II

      Ask FixBot

      Add Comment

Conclusion

To reassemble your device, follow these instructions in reverse order.

Cancel: I did not complete this guide.

35 other people completed this guide.

Chris

Member since: 01/11/16

2,025 Reputation

1 Guide authored

31 Guide Comments

what is that flat part that has the little copper bar in the middle. What do you call that?

TheUnchanted Sword - Reply Share

The LCD has a piece of copper tape on it, is that what you mean?

Sam Goldheart - Reply Share

Nice Guide. Very Simple and Easy to follow!

Aerial L - Reply Share

Bonne site merci pour tous je suis très heureux content que entrer dans ce site

diego jamal - Reply Share

Anyone know which company made this very fragile digitizer for RCA Voyager?

Spock Chen - Reply Share

Add Comment

View Statistics:

Past 24 Hours: 2

Past 7 Days: 21

Past 30 Days: 80

All Time: 23,037