Free Shipping on Domestic Orders $75+

RCA RCT6272W23 Display Replacement

What you need

    1. RCA RCT6272W23 Display Replacement, Case: step 1, image 1 of 2 RCA RCT6272W23 Display Replacement, Case: step 1, image 2 of 2
      • Use a Phillips #00 screwdriver to remove both 4.1 mm screws at the top of the device which hold it together.

      Ask FixBot

      Add Comment

    2. RCA RCT6272W23 Display Replacement: step 2, image 1 of 2 RCA RCT6272W23 Display Replacement: step 2, image 2 of 2
      • Press the plastic opening tool into the space between the front and back portions of the case.

      • Run it along the perimeter of the device to unhook the plastic tabs.

      • Gently pull both sides apart.

      • The speaker is connected to the back cover, so be careful when separating.

      Ask FixBot

      Add Comment

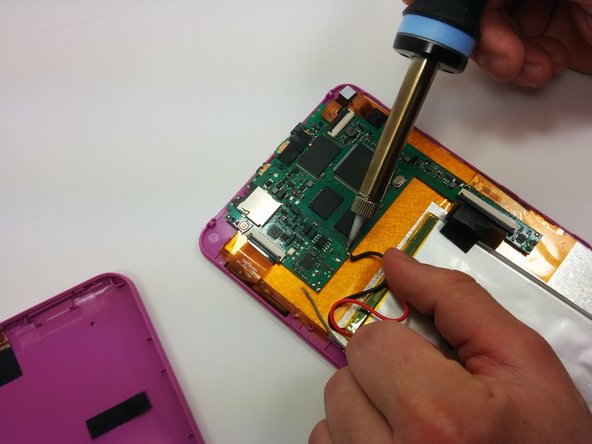
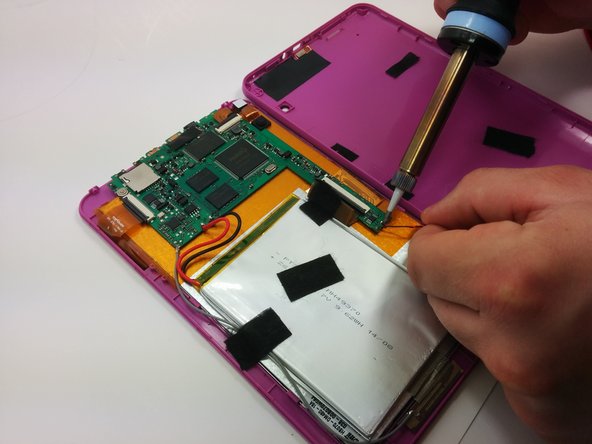
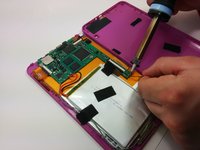
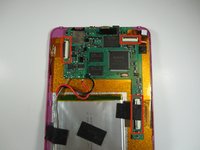
    1. RCA RCT6272W23 Display Replacement, Motherboard: step 3, image 1 of 3 RCA RCT6272W23 Display Replacement, Motherboard: step 3, image 2 of 3 RCA RCT6272W23 Display Replacement, Motherboard: step 3, image 3 of 3
      • Use a soldering iron to remove the soldered connections on the motherboard

      • For your safety and to ensure a correct repair, be sure to exercise caution when using the soldering iron.

      • For more information about soldering, check out this guide.

      Ask FixBot

      Add Comment

    2. RCA RCT6272W23 Display Replacement: step 4, image 1 of 1
      • Use a philips #00 screwdriver to unscrew the three 4.064mm screws which attach the motherboard to the front of the device.

      Ask FixBot

      Add Comment

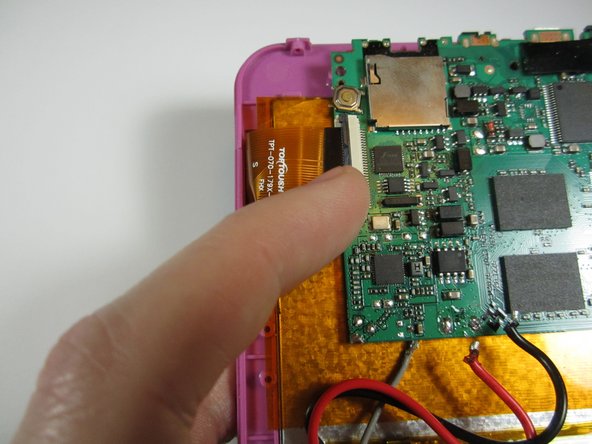
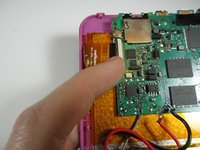
    3. RCA RCT6272W23 Display Replacement: step 5, image 1 of 2 RCA RCT6272W23 Display Replacement: step 5, image 2 of 2
      • Use your fingers to pop the three black tabs up to release the flat plastic data transfer cables.

      Ask FixBot

      Add Comment

    4. RCA RCT6272W23 Display Replacement: step 6, image 1 of 1
      • Pull up the motherboard from the rest of the body.

      Ask FixBot

      Add Comment

    1. RCA RCT6272W23 Display Replacement, Display: step 7, image 1 of 1
      • Using a plastic opening tool, pry the battery off of the rest of the body.

      • The battery is attached to the display with double sided tape. It may be best to have a new strip of double sided tape to reattach the battery.

      Ask FixBot

      Add Comment

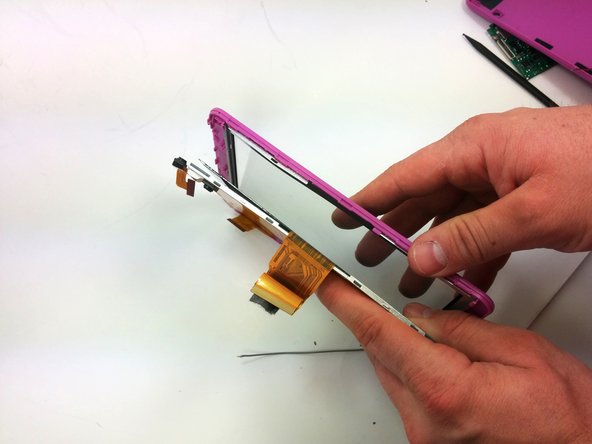
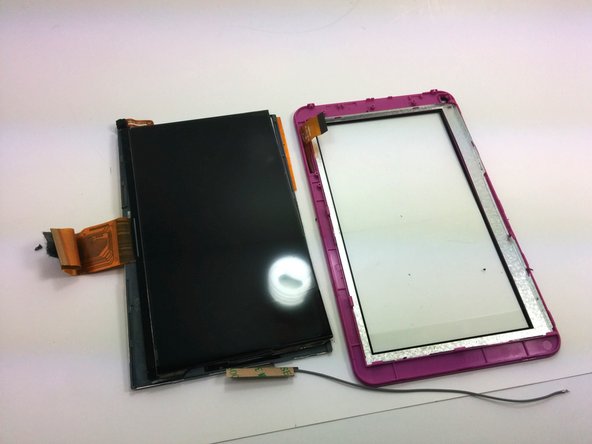
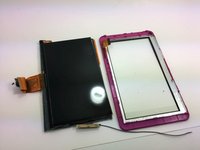
    2. RCA RCT6272W23 Display Replacement: step 8, image 1 of 3 RCA RCT6272W23 Display Replacement: step 8, image 2 of 3 RCA RCT6272W23 Display Replacement: step 8, image 3 of 3
      • Using a spudger, separate the display surface from the front cover.

      • Be careful not to break the tabs that hold the display screen in place.

      • A second spudger may be necessary to help hold the position of the display screen.

      Ask FixBot

      Add Comment

Conclusion

To reassemble your device, follow these instructions in reverse order.

Cancel: I did not complete this guide.

4 other people completed this guide.

Ross Pennala

Member since: 03/19/15

214 Reputation

1 Guide authored

Team

0 Guide Comments

Add Comment

View Statistics:

Past 24 Hours: 0

Past 7 Days: 9

Past 30 Days: 29

All Time: 2,657