
RCA Pro10 Edition Display Screen Replacement

Tyler Schuster and 4 other contributors
Last updated on May 7, 2024
Views: 6.7K
View statistics:
- Past 24 Hours:
- 2
- Past 7 Days:
- 17
- Past 30 Days:
- 103
- All Time:
- 6,744
Comments: 4
4 guide comments.
Go to guide commentsCompleted: 9 10
9 people have marked this guide "completed." Will you be next?
10 people have marked this guide "completed." Including you — great job!
Favorites: 7 8
7 people have favorited (and subscribed to) this guide. Will you be next?
8 people have favorited (and subscribed to) this guide — including you!
Incorrect Tools
Help make this guide better by using the correct tools in images and/or text.
Needs Better Images
Better photos will improve this guide. Help out by taking, editing, or uploading new ones!
Better Introduction
Improve this guide by completing or revising its introduction.
What you need
Tools


-
-
-
Using a separating tool, look for a seam in the plastic casing that looks most accessible.
-
Use the prying tool to separate the front and back casing, working your way around the perimeter.
-
Utilize a card tool or a pick to assist in keeping the case separated.
 Ask FixBot
-
-
-
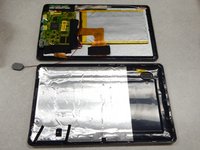
Flip over the back of the device while keeping it close to the front, the speaker is attached to it.
-
Remove the yellow tape securing the speaker to the back casing.
-
-
-
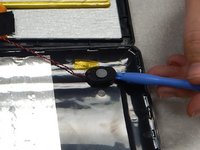
Use the separating tool to pry the speaker from its surface.
-
Cut or desolder the wires to replace or repair the speaker.
-
-
-
-
-
Using a P00 Phillips screwdriver, remove the three screws securing the black plastic camera housing and remove it.
-
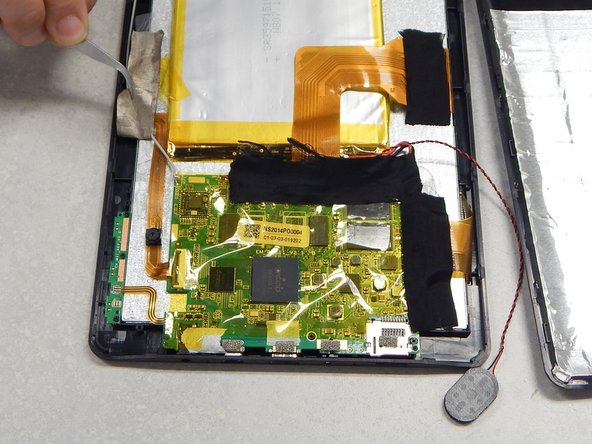
Peel back the beige tape while holding down the camera ribbon cable to prevent tears
-
-
-
Lift the locking tab that is securing the camera ribbon cable.
-
Slide the ribbon cable out from the connector and remove from casing.
-
-
-
-
-
Use a P00 Phillips screwdriver to remove the three screws securing the button board.
-
Desolder the contacts on the button board to remove or replace it.
-
-
-
-
-
Peel off the black tape on the battery and main-board.
-
Peel off the black tape securing the screen ribbon cable to the back of the screen.
-
-
-
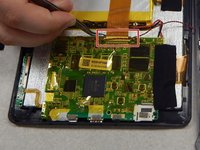
Slide out the ribbon cable lock that is securing the screen ribbon cable.
-
Move the ribbon cable out of the way using tape if necessary.
-
-
Tool used on this step:Plastic Cards$2.99
-
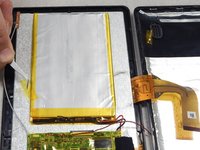
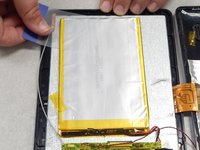
Remove the yellow tape securing the battery to the screen.
-
Use a plastic card or pick to separate the battery from the screen.
-
Cut or desolder the wires on the battery to remove or replace it.
-
-
-
-
-
Peel the WiFi antenna off of the monitor and move out of the way.
-
-
-
-
Remove the black tape on the screen and the main-board.
-
Lift the ribbon cable lock securing the digitizer ribbon cable.
-
Slide out the digitizer ribbon cable and move away from the device, use tape to secure if necessary.
-
-
-
Use a P00 Phillips screwdriver to remove the three screws securing the main-board to the back casing.
-
-
Tool used on this step:Tweezers$4.99
-
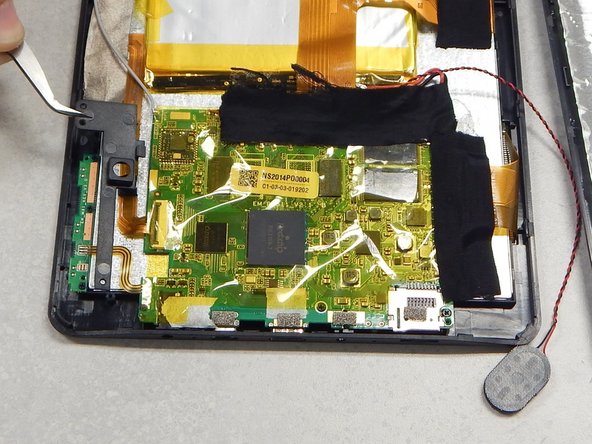
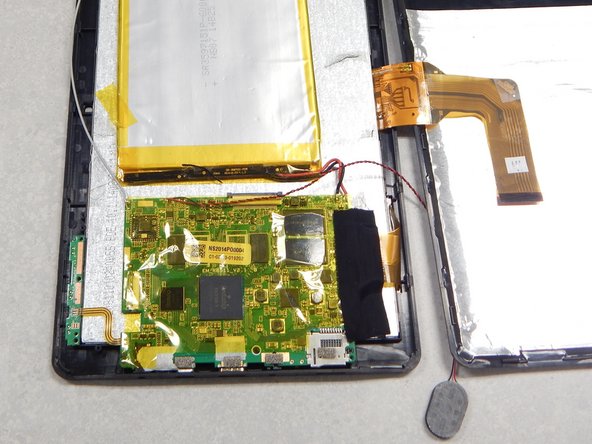
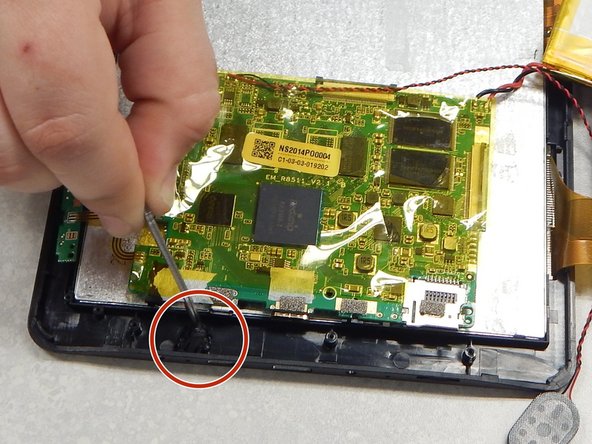
Lift the main-board up and away from the ports to reveal the microphone.
-
Use tweezers to remove the microphone from the black silicone.
-
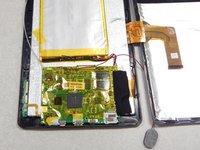
Move the main-board off the screen.
-
-
-
Use a separator tool to lift the screen from the port side of the casing and remove it.
-
-



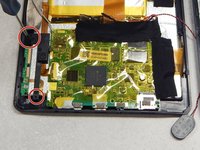
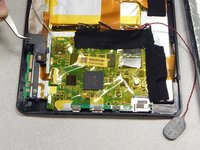
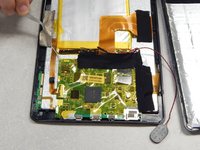

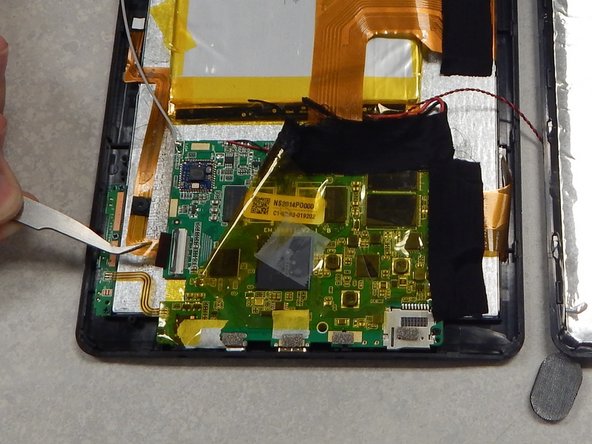
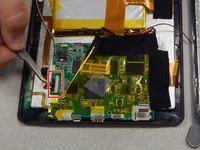
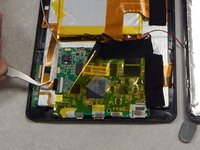


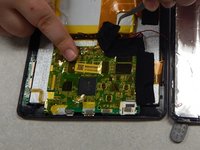
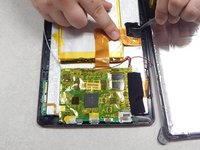





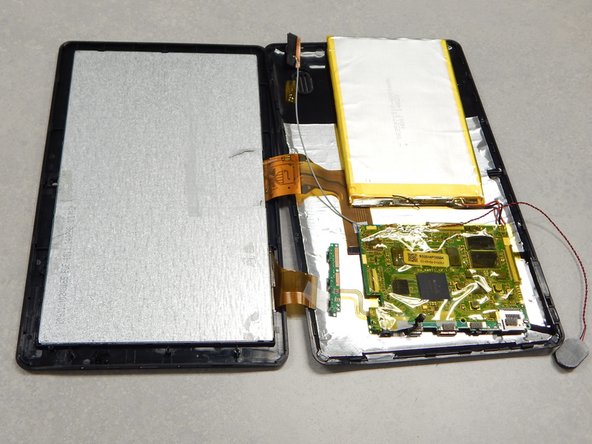


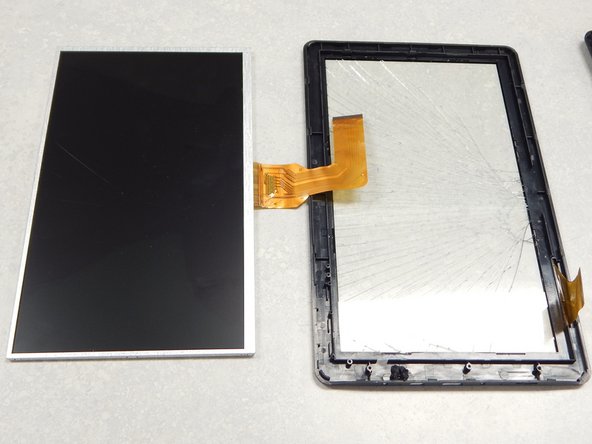


To reassemble your device, follow these instructions in reverse order.
Cancel: I did not complete this guide.
9 other people completed this guide.

Team

Pasco Hernando, Team 1-1, Prince Winter 2015 Member of Pasco Hernando, Team 1-1, Prince Winter 2015
PHSC-PRINCE-W15S1G1
6 Members
60 Guides authored
4 Guide Comments
Gracias y ademas la buenas fotografias ayudaron una inmesidad.
Kl
Nothing spectacular happened I just turned on my tablet today and voila! My display is crazed on part of the screen! I read these steps a couple times and I just don't understand how if this process is intended to replace the display screen a display screen isn't listed as a necessary part purchase. I have faith in reader generated sites so please help!
Denise a new display screen would need to be purchased. Unless you absolutely have to have this particular tablet fixed I suggest buying a new one.
hola, podrás tener este repuesto de la pantalla lcd para la venta para ese modelo?
gracias
William Weygel
williamw666@hotmail.com
