Introduction
Use this guide to replace the microphone of the RCA Lyra X2400.
What you need
-
-
-
Using slight pressure with your finger on the word "OPEN", slide the battery plate down.
-
Remove the battery plate.
-
Place your finger at the bottom of the battery.
-
Lift up on the battery until it pops out from the LYRA X2400.
 Ask FixBot
-
-
-
-
-
Remove the two Phillips screws from the silver cover at the top of the Lyra.
-
Slowly wiggle the silver cover while pulling it away from the device.
-
-
-
-
Remove the two Phillips screws from the bottom of the device, next to the charger port and Compact Flash release button.
-
Pull the silver case from the bottom of the device.
-
-
-
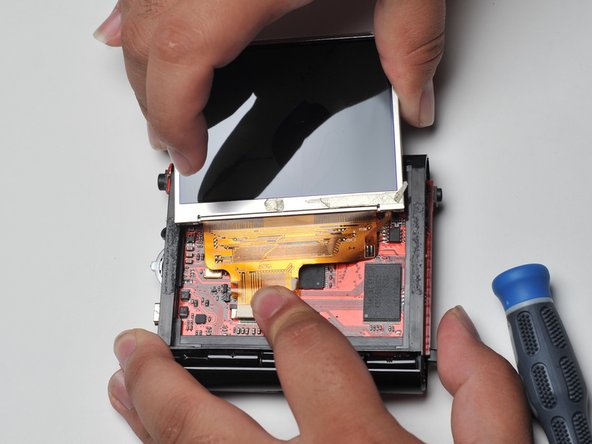
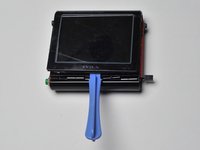
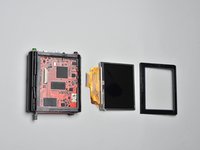
Carefully pry up the screen with a plastic opening tool.
-
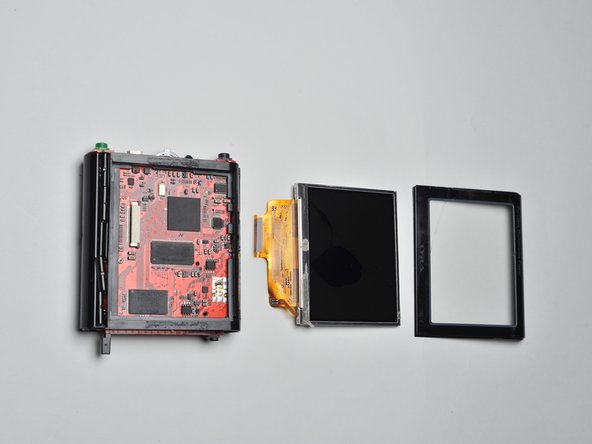
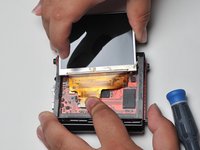
Disconnect the screen's ribbon cable from the circuit board.
-
Remove the screen.
-
-
-
-
-
Open the case of the Lyra.
-
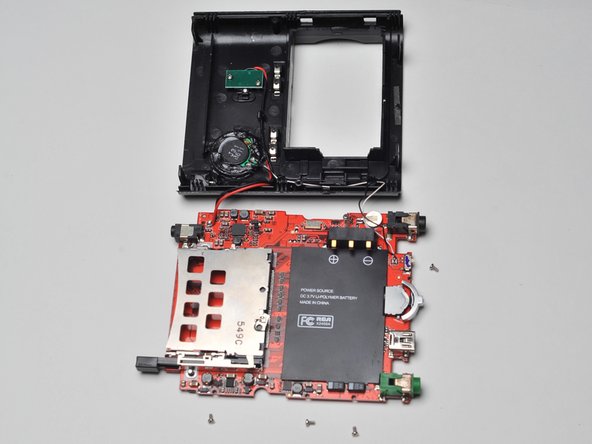
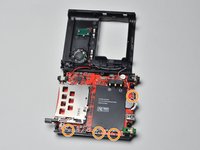
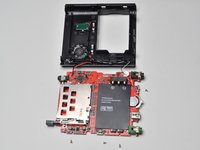
Remove the four screws that secure the motherboard to the frame of the Lyra X2400.
-
-
-
-
-
Locate the microphone component on your Lyra X2400. If you are having difficulty locating this component the picture to the left will show you where it is located.
-
Start using solder/desolder tools to remove the microphone.
-
Once removed replace it with the new working microphone.
-
Use the soldering tools to reattach the component back to the main logic board.
-
-




To reassemble your device, follow these instructions in reverse order.

Team

Cal Poly, Team 17-3, Regan Spring 2013 Member of Cal Poly, Team 17-3, Regan Spring 2013
CPSU-REGAN-S13S17G3
4 Members
96 Guides authored
