
RCA 8 Apollo Display Assembly Replacement

Last updated on Jun 24, 2024
Views: 313
View statistics:
- Past 24 Hours:
- 1
- Past 7 Days:
- 12
- Past 30 Days:
- 61
- All Time:
- 313
Comments: 0
No one has left comments on this guide. Will you be first?
Go to guide commentsCompleted: 0 1
No one has marked this guide "completed." Will you be the first?
1 person has marked this guide "completed." It's you — great job!
Favorites: 0 1
No one has favorited (and subscribed to) this guide. Will you be the first?
1 person has favorited (and subscribed to) this guide — and that's you!
Missing Details
Some of this guide's details are missing. Help users by adding tools, difficulty, or time.
Introduction
Go to step 1 ↓Use this guide to replace a cracked or malfunctioning display on your RCA Apollo 8 tablet (identified with model number RCT6573W23).
The display assembly is the output component to present information and is made up of the glass panel, digitizer, and AMOLED display sandwiched together. Your display may need to be replaced if the glass cracks or is broken because this will affect its touch screen capabilities. It could also experience something called “screen burn-in” that happens on AMOLED displays. “Screen burn-in” is when some of the individual light-emitting pixels powering the display will dim the more they are used, causing uneven lighting and colors.
If your display is shattered, follow this guide to reinforce your screen to avoid injury until you replace the display. Make sure to power off your tablet completely and disconnect from any external power source prior to beginning this guide.
What you need
Tools


-
-
-
Insert an iFixit opening tool into the gap between the tablet and back panel.
-
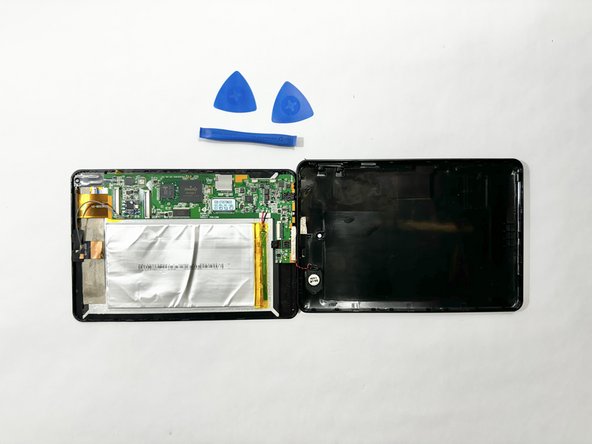
Using a combination of iFixit opening tools and iFixit opening picks, pry the tablet upward around its perimeter to release it from the plastic rear case.
-
-
-
-
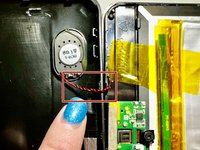
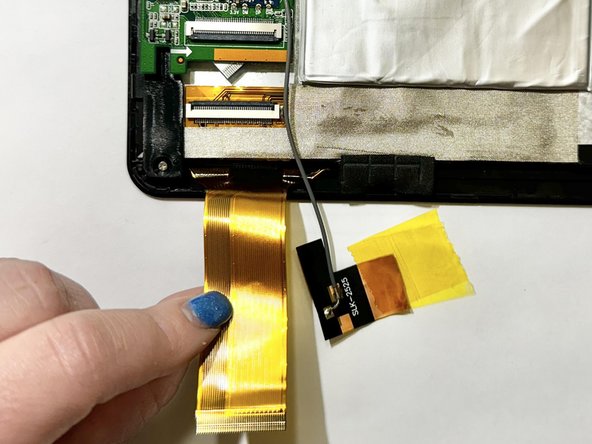
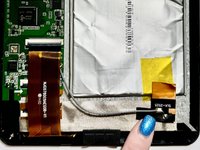
Release the gold and black tab from the battery that's attached to a gray wire. The gold tab is held down by an adhesive; pull it until the adhesive releases.
-
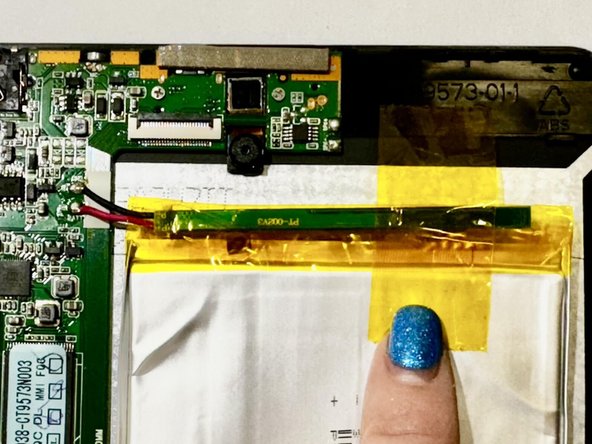
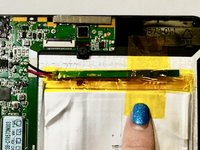
Remove the yellow tape that is around the battery.
-
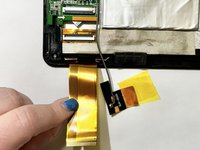
Unlock the ZIF socket and detach the display data interconnect cable from the front panel assembly.
-
-
-

 Ask FixBot





To reassemble your device, follow these instructions in reverse order.


