
RCA 8 Apollo Back Panel Replacement

Chantel Pfiefer and 3 other contributors
Last updated on Jun 24, 2024
Views: 271
View statistics:
- Past 24 Hours:
- 1
- Past 7 Days:
- 10
- Past 30 Days:
- 54
- All Time:
- 271
Comments: 0
No one has left comments on this guide. Will you be first?
Go to guide commentsCompleted: 0 1
No one has marked this guide "completed." Will you be the first?
1 person has marked this guide "completed." It's you — great job!
Favorites: 0 1
No one has favorited (and subscribed to) this guide. Will you be the first?
1 person has favorited (and subscribed to) this guide — and that's you!
Missing Details
Some of this guide's details are missing. Help users by adding tools, difficulty, or time.
Introduction
Go to step 1 ↓Use this guide to replace the back panel on your RCA Apollo 8 tablet (identified with model number RCT6573W23).
What you need
Tools


-
-
-
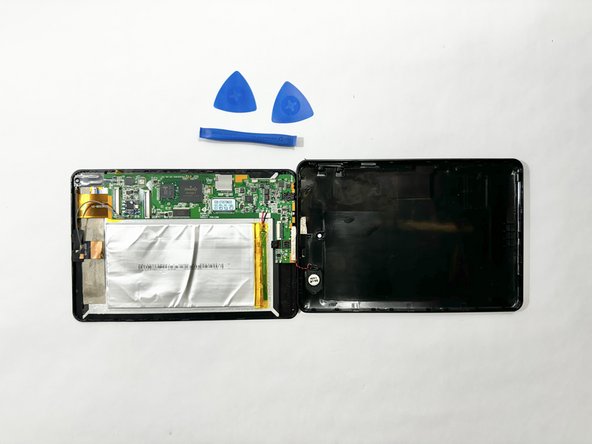
Insert an iFixit opening tool into the gap between the tablet and back panel.
-
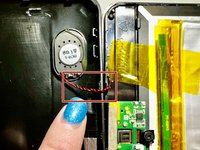
Using a combination of iFixit opening tools and iFixit opening picks, pry the tablet upward around its perimeter to release it from the plastic rear case.
-
-

 Ask FixBot


To reassemble your device, follow these instructions in reverse order.

Team

Casper College, Team 1-1, Lareau Spring 2024 Member of Casper College, Team 1-1, Lareau Spring 2024
CASC-LAREAU-S24S1G1
3 Members
48 Guides authored
