Free Shipping on Domestic Orders $75+

RC Vehicle Electronic Speed Control Replacement

What you need

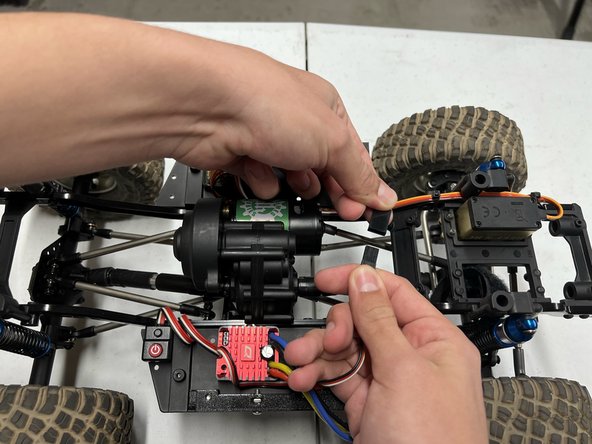
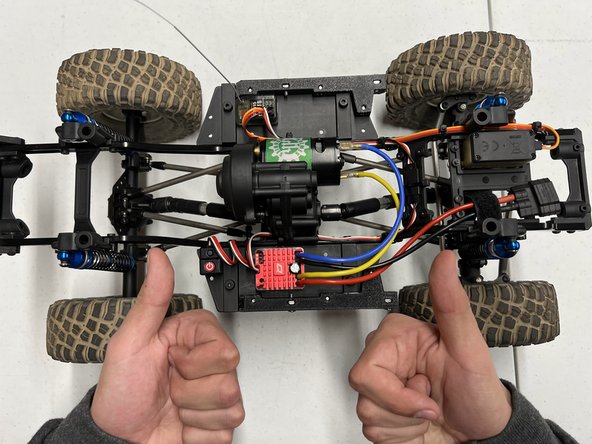
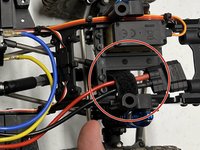
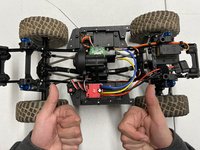
    1. RC Vehicle Electronic Speed Control Replacement, Electronic Speed Control: step 1, image 1 of 2 RC Vehicle Electronic Speed Control Replacement, Electronic Speed Control: step 1, image 2 of 2
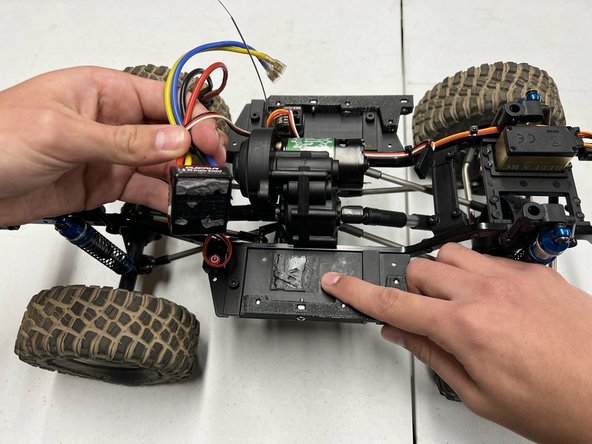
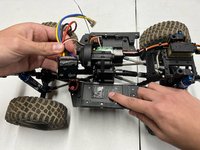
      • Position the car so that the wires are facing upwards.

      Ask FixBot

      Add Comment

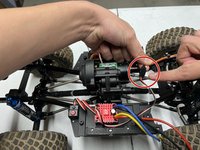
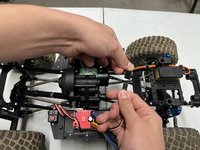
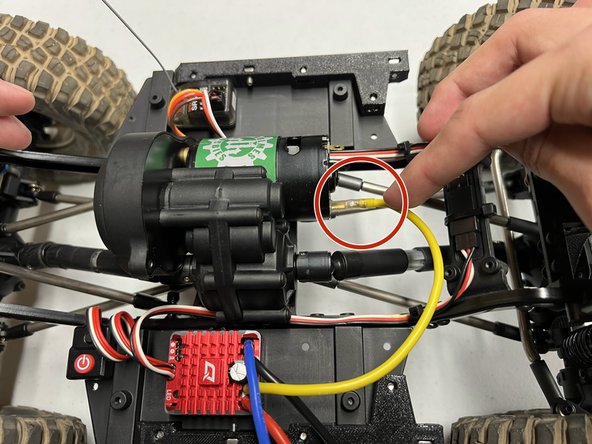
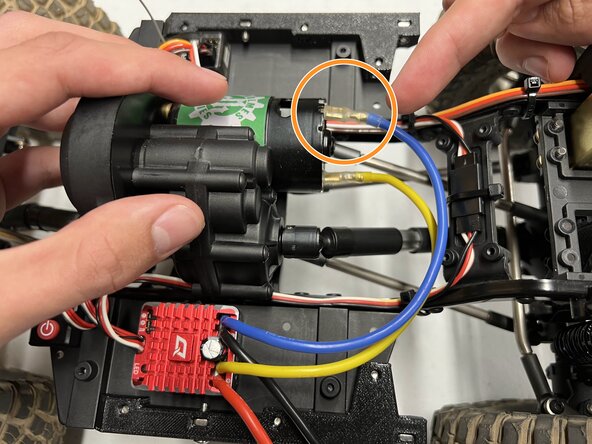
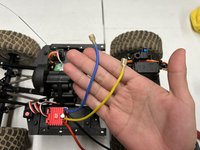
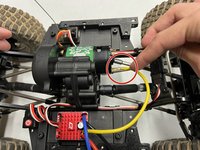
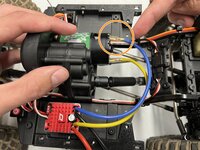
    2. RC Vehicle Electronic Speed Control Replacement: step 2, image 1 of 3 RC Vehicle Electronic Speed Control Replacement: step 2, image 2 of 3 RC Vehicle Electronic Speed Control Replacement: step 2, image 3 of 3
      • Unplug the blue wire.

      • Unplug the yellow wire.

      • To unplug these wires, firmly grasp the metal connector, then pull straight out.

      • Grab the wires by their metal connector, not the wire itself, to prevent any damage to the wires.

      Ask FixBot

      Add Comment

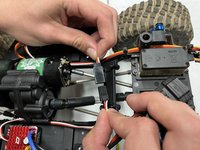
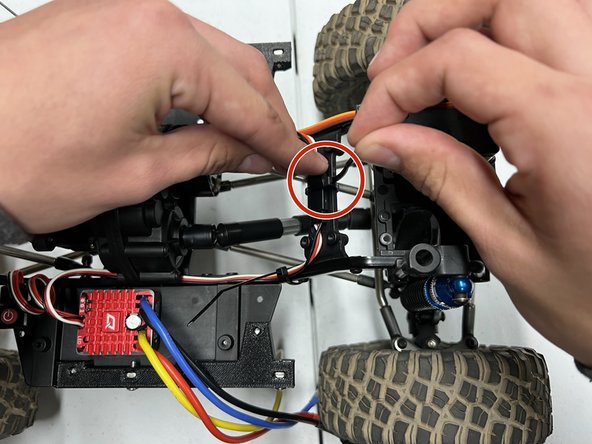
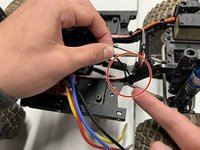
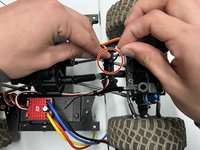
    3. RC Vehicle Electronic Speed Control Replacement: step 3, image 1 of 2 RC Vehicle Electronic Speed Control Replacement: step 3, image 2 of 2
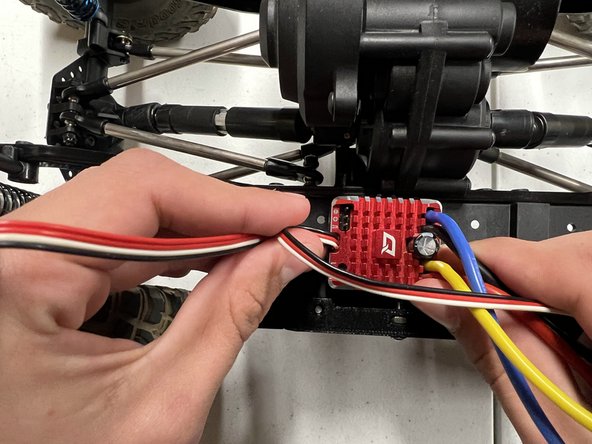
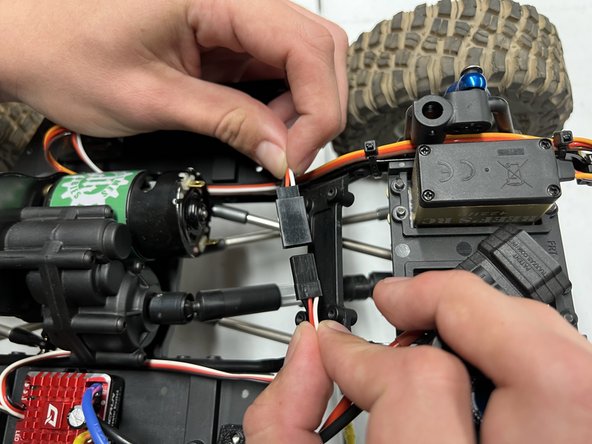
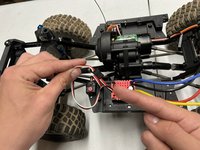
      • Unplug the thin bundle of black, white, and red wires.

      • Move both ends to the side of the car to clear your workspace.

      • Grab the wires by their metal connector, not the wire itself, to prevent any damage to the wires.

      Ask FixBot

      Add Comment

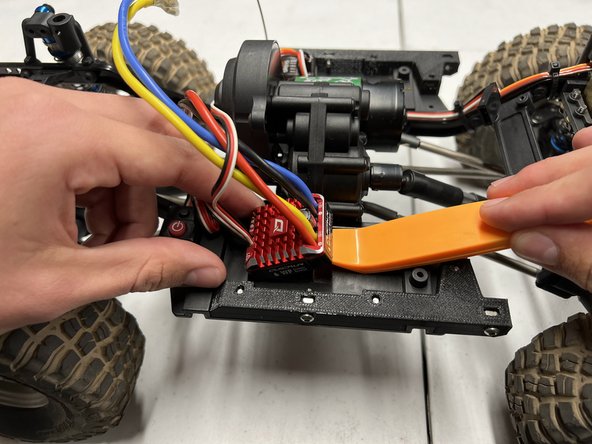
    4. RC Vehicle Electronic Speed Control Replacement: step 4, image 1 of 3 RC Vehicle Electronic Speed Control Replacement: step 4, image 2 of 3 RC Vehicle Electronic Speed Control Replacement: step 4, image 3 of 3
      Tool used on this step:
      iFixit Opening Tool
      $1.99
      Buy
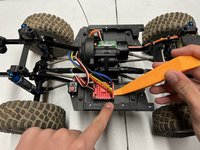
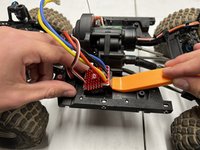
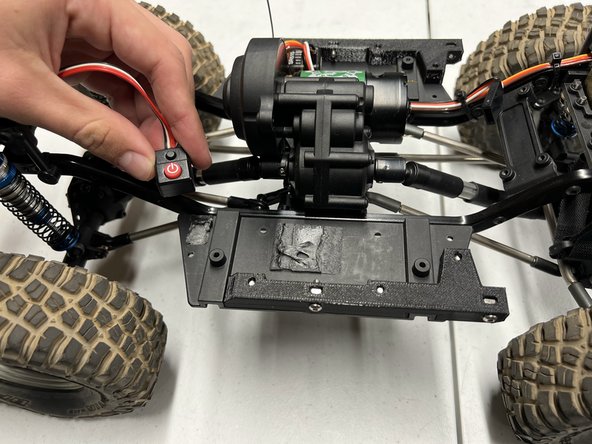
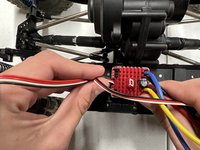
      • Slide an opening tool beneath the red controller unit.

      • Pry upwards with moderate force until the controller unit is detached.

      Ask FixBot

      Add Comment

    5. RC Vehicle Electronic Speed Control Replacement: step 5, image 1 of 3 RC Vehicle Electronic Speed Control Replacement: step 5, image 2 of 3 RC Vehicle Electronic Speed Control Replacement: step 5, image 3 of 3
      Tool used on this step:
      iFixit Opening Tool
      $1.99
      Buy
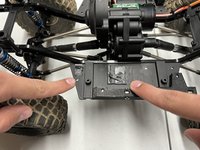
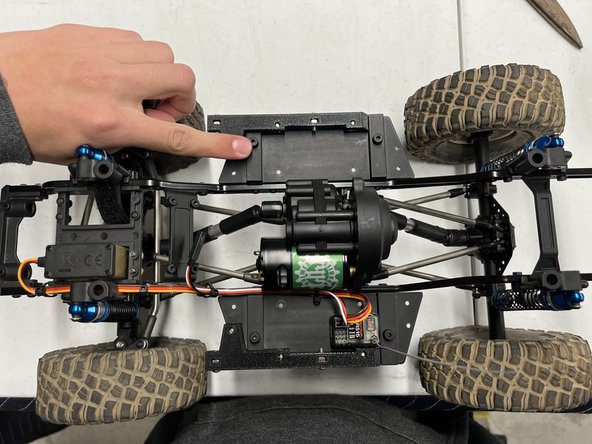
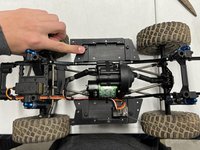
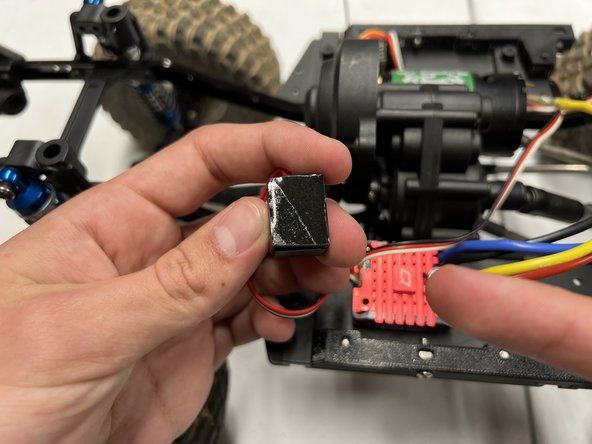
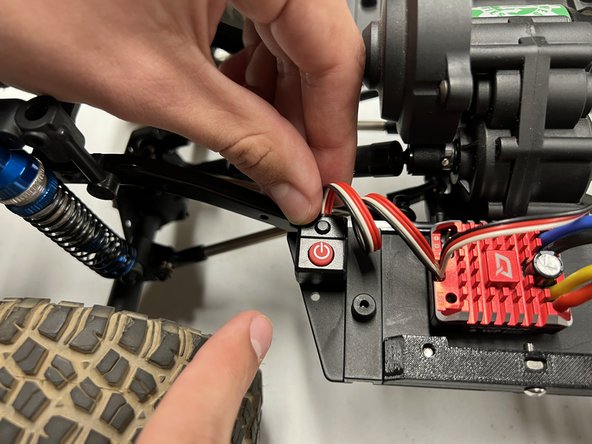
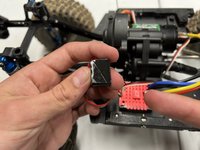
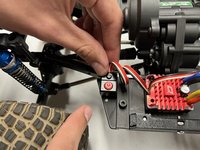
      • Slide an opening tool beneath the power button.

      • Pry upwards with moderate force until the power button is detached.

      Ask FixBot

      Add Comment

    6. RC Vehicle Electronic Speed Control Replacement: step 6, image 1 of 3 RC Vehicle Electronic Speed Control Replacement: step 6, image 2 of 3 RC Vehicle Electronic Speed Control Replacement: step 6, image 3 of 3
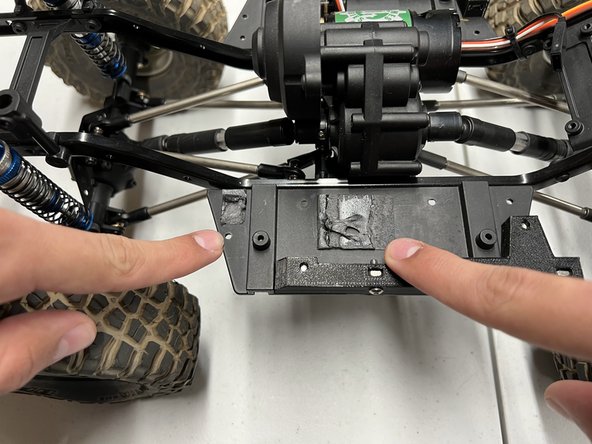
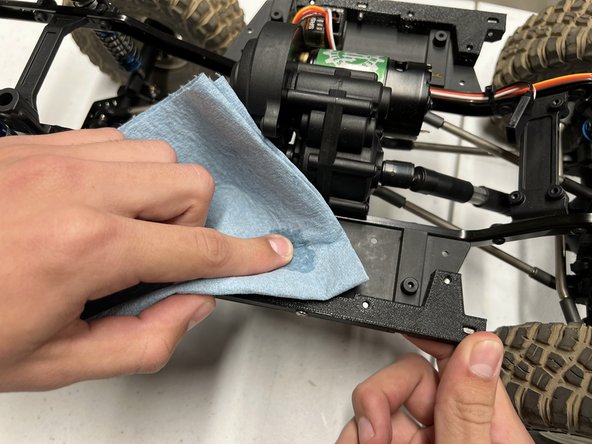
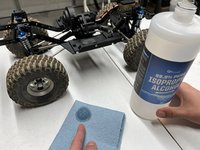
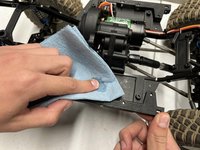
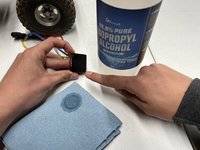
      • Dampen a shop towel with 99.9% pure isopropyl alcohol.

      • Rub the dampened towel over any residual adhesive on the car.

      • Clean the residue until the surface is smooth.

      • Isopropyl alcohol is extremely flammable. Work away from heat sources to prevent serious fires.

      Ask FixBot

      Add Comment

    7. RC Vehicle Electronic Speed Control Replacement: step 7, image 1 of 3 RC Vehicle Electronic Speed Control Replacement: step 7, image 2 of 3 RC Vehicle Electronic Speed Control Replacement: step 7, image 3 of 3
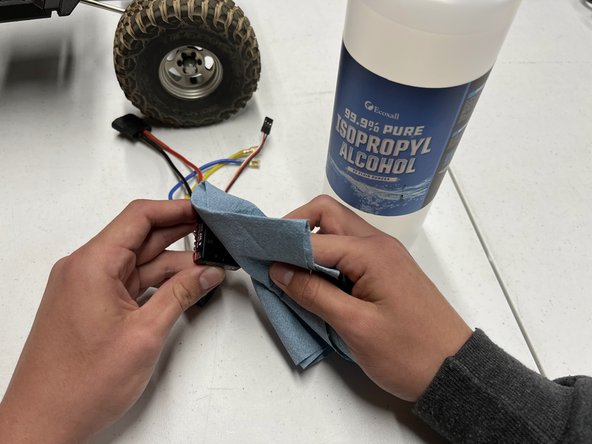
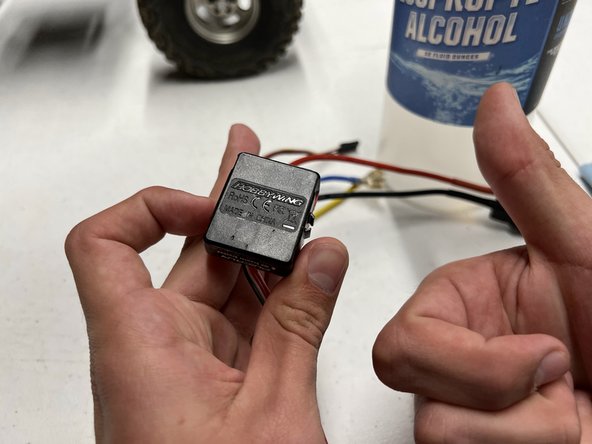
      • From this step onwards, work with your new controller unit, not the old one.

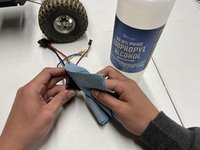
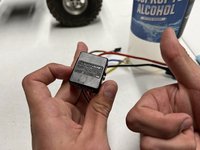
      • Dampen a shop towel with 99.9% pure isopropyl alcohol.

      • Rub the dampened towel over the bottom of the controller unit.

      Ask FixBot

      Add Comment

    8. RC Vehicle Electronic Speed Control Replacement: step 8, image 1 of 1
      Ask FixBot

      Add Comment

    9. RC Vehicle Electronic Speed Control Replacement: step 9, image 1 of 2 RC Vehicle Electronic Speed Control Replacement: step 9, image 2 of 2
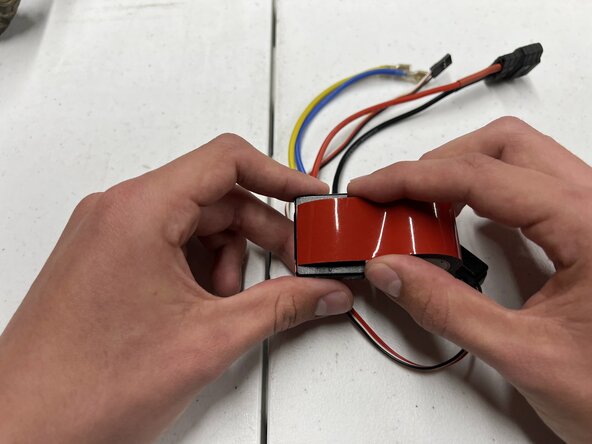
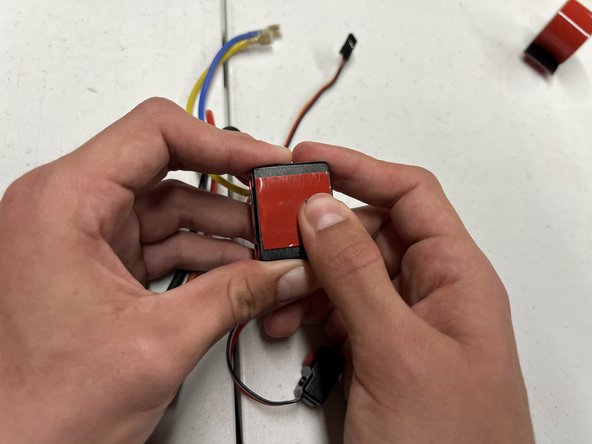
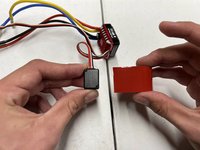
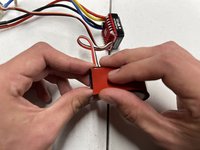
      • Position the controller unit so that the bottom faces upwards.

      • Unwind 1 inch of double-sided adhesive.

      • Center the adhesive on the bottom and press down to secure it.

      Ask FixBot

      Add Comment

    10. RC Vehicle Electronic Speed Control Replacement: step 10, image 1 of 3 RC Vehicle Electronic Speed Control Replacement: step 10, image 2 of 3 RC Vehicle Electronic Speed Control Replacement: step 10, image 3 of 3
      Tool used on this step:
      Utility Scissors
      $5.59
      Buy
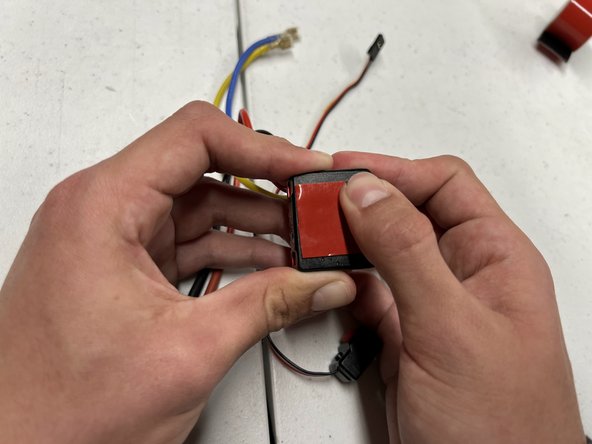
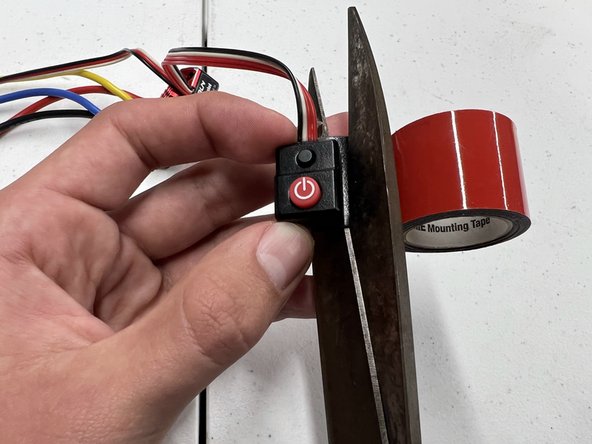
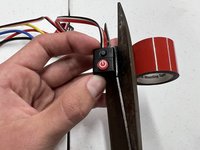
      • Trim any excess adhesive from the bottom of the controller unit.

      • Smooth the adhesive by rubbing it with your thumb.

      Ask FixBot

      Add Comment

    11. RC Vehicle Electronic Speed Control Replacement: step 11, image 1 of 3 RC Vehicle Electronic Speed Control Replacement: step 11, image 2 of 3 RC Vehicle Electronic Speed Control Replacement: step 11, image 3 of 3
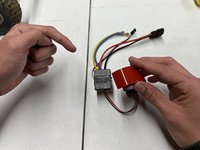
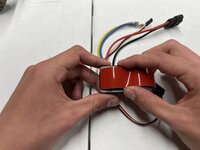
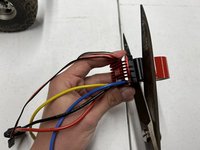
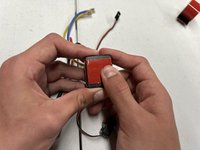
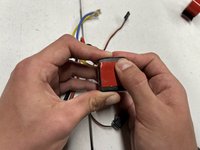
      • Repeat Steps 9 and 10 with the power button instead of the controller unit.

      Ask FixBot

      Add Comment

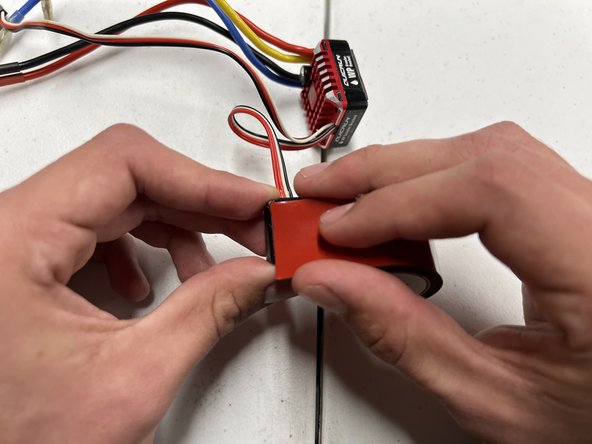
    12. RC Vehicle Electronic Speed Control Replacement: step 12, image 1 of 1
      • The bottom of your controller unit and power button should look like the given image.

      Ask FixBot

      Add Comment

    13. RC Vehicle Electronic Speed Control Replacement: step 13, image 1 of 3 RC Vehicle Electronic Speed Control Replacement: step 13, image 2 of 3 RC Vehicle Electronic Speed Control Replacement: step 13, image 3 of 3
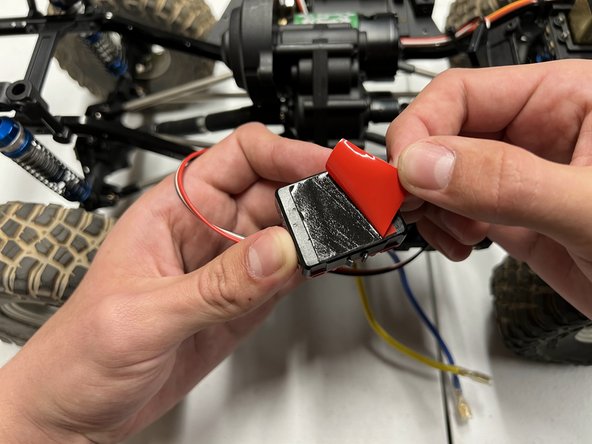
      • Peel off the red layer from the adhesive attached to the controller unit.

      • Secure it to the original spot of the old controller unit.

      • Use a precision knife to easily remove the layer on your double-sided adhesive.

      Ask FixBot

      Add Comment

    14. RC Vehicle Electronic Speed Control Replacement: step 14, image 1 of 3 RC Vehicle Electronic Speed Control Replacement: step 14, image 2 of 3 RC Vehicle Electronic Speed Control Replacement: step 14, image 3 of 3
      • Peel off the red layer from the double-sided adhesive attached to the power button.

      • Secure it to the original spot of the old power button.

      • Use a precision knife to easily remove the layer on your double-sided adhesive.

      Ask FixBot

      Add Comment

    15. RC Vehicle Electronic Speed Control Replacement: step 15, image 1 of 2 RC Vehicle Electronic Speed Control Replacement: step 15, image 2 of 2
      • Locate the thin bundle of black, white, and red wires and reconnect their heads.

      Ask FixBot

      Add Comment

    16. RC Vehicle Electronic Speed Control Replacement: step 16, image 1 of 2 RC Vehicle Electronic Speed Control Replacement: step 16, image 2 of 2
      • Secure the black, white, and red wires to the frame of your car using two 4-inch zip ties.

      Ask FixBot

      Add Comment

    17. RC Vehicle Electronic Speed Control Replacement: step 17, image 1 of 3 RC Vehicle Electronic Speed Control Replacement: step 17, image 2 of 3 RC Vehicle Electronic Speed Control Replacement: step 17, image 3 of 3
      • Plug the yellow wire into the connector at the bottom of the motor (Image 2).

      • Plug the blue wire into the connector at the top of the motor (Image 3).

      Ask FixBot

      Add Comment

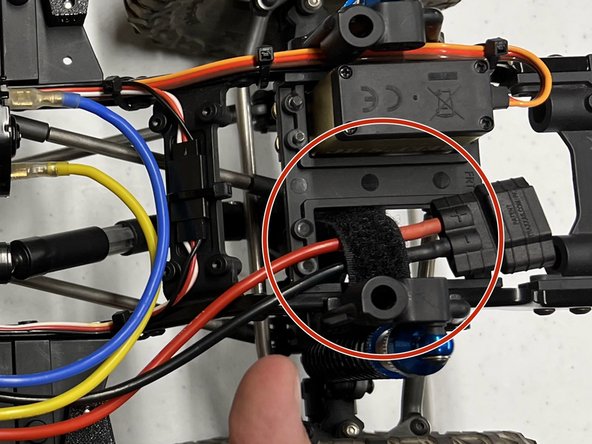
    18. RC Vehicle Electronic Speed Control Replacement: step 18, image 1 of 3 RC Vehicle Electronic Speed Control Replacement: step 18, image 2 of 3 RC Vehicle Electronic Speed Control Replacement: step 18, image 3 of 3
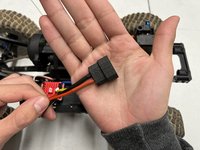
      • Tuck away the thick red and black charging wires.

      • Securing the charging wires using Velcro is optional but recommended to keep the wires from moving while driving your vehicle.

      Ask FixBot

      Add Comment

Finish Line

Cancel: I did not complete this guide.

One other person completed this guide.

Maxwell Limon

Member since: 11/11/22

301 Reputation

1 Guide authored

0 Guide Comments

Add Comment

View Statistics:

Past 24 Hours: 6

Past 7 Days: 20

Past 30 Days: 71

All Time: 1,767