Introduction
The Prusa i3 Mk2 is a popular desktop 3D printer on the market today with thousands of units sold annually. The nozzle is part of the printer that the plastic filament gets pushed or extruded out of. The nozzle can become jammed or worn when using bad filament or composite materials. This guide will show how to disassemble the print head and then replace the nozzle.
What you need
-
-
Tool used on this step:Tweezers$4.99
-
Turn the 3D printer on using the power switch.
-
Move the head to the highest position on the Z axis. This provides working room to access the head.
-
Heat the nozzle up. This step depends on what type of filament is currently in the machine (e.g. 190 for PLA, 220 for ABS).
-
Remove filament from the 3D printer.
-
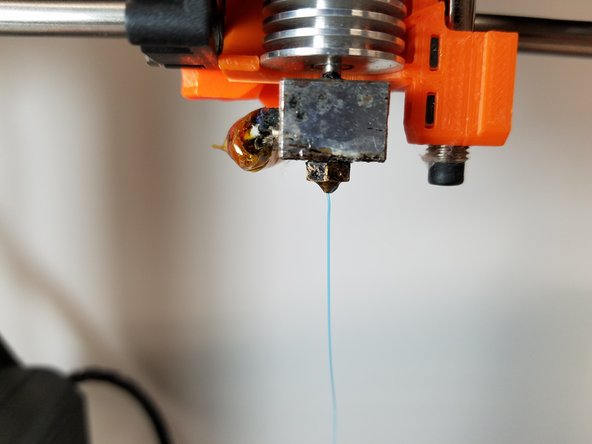
Clean off the old nozzle with tweezers.
 Ask FixBot
-
-
-
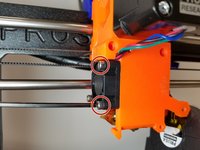
Remove the 1 X M3 Bolt holding on the fan shroud on the outlet of the fan.
-
Remove the fan shroud.
-
Remove the 2 X M3 Bolts holding on the blower fan.
-
Remove the fan and place it in a safe location.
-
-
-
-
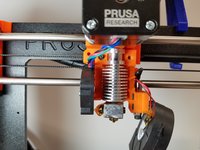
Remove the two M3 Bolts that are holding on the Extruder Cooling Fan.
-
Remove the Extruder Plate carefully, and avoid touching the hot metal print head.
-
-
-
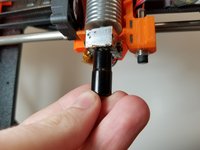
Use an adjustable crescent wrench and a 7mm wrench or socket to remove the old nozzle.
-
-
-
Screw in the new nozzle using a socket to get the threads started.
-
Use a crescent wrench and a 7mm wrench or socket to tighten a quarter turn past hand tight.
-
Insert some new filament and push it through to test the connection.
-
-




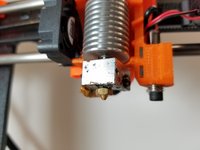
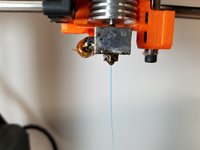
To reassemble your device, follow these instructions in reverse order. Once reassembled, print a test print to ensure the replaced nozzle is not leaking.
Cancel: I did not complete this guide.
6 other people completed this guide.

Team

Michigan Tech, Team S5-G5, Galliah Fall 2017 Member of Michigan Tech, Team S5-G5, Galliah Fall 2017
MTU-GALLIAH-F17S5G5
2 Members
12 Guides authored
